The XVS Products extension facilitates faster and simpler product onboarding by providing a central place for tracking product customizations and which product version is deployed to which Commerce Hub or Marketplace.
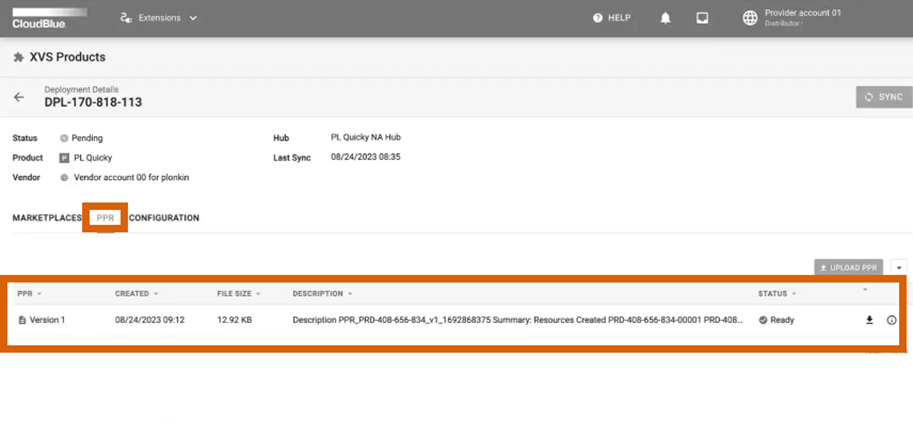
You can see the live deployment status on the Deployments tab and track which PPR version is applied to which Hub. Inside each deployment, you can download a PPR file for the required version, see the list of Marketplaces where it is deployed, upload a new PPR or regenerate it for a product, add and track JSON configuration files.
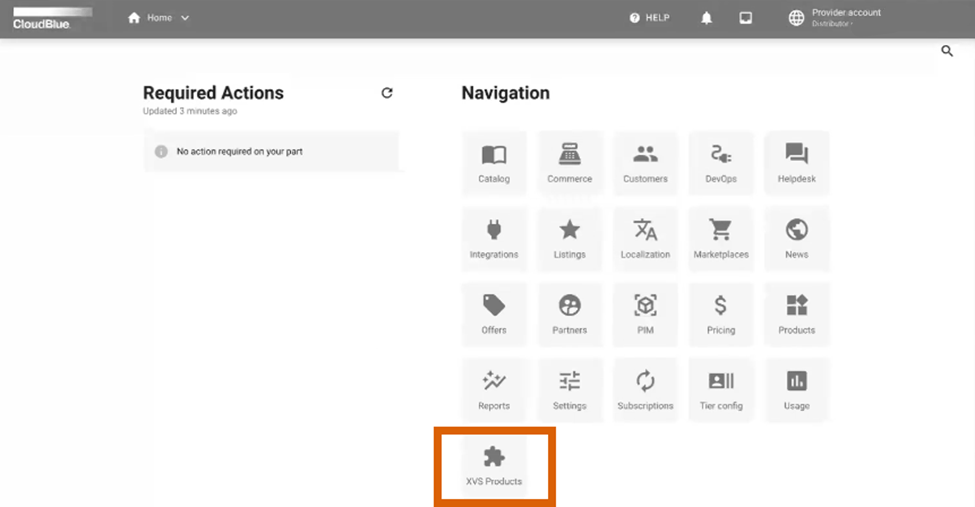
To use the XVS Products extension, in the main navigation dashboard or under the Home drop-down menu choose XVS products:

Once you modify a product in Connect – for example, add a new item to it – and create a new public product version, a new PPR file version is automatically generated and becomes available on the PPR tab of the Deployment details screen:
On the PPR tab, you can also download the PPR file by clicking the download icon or regenerate PPR by clicking the arrow icon and then Regenerate.
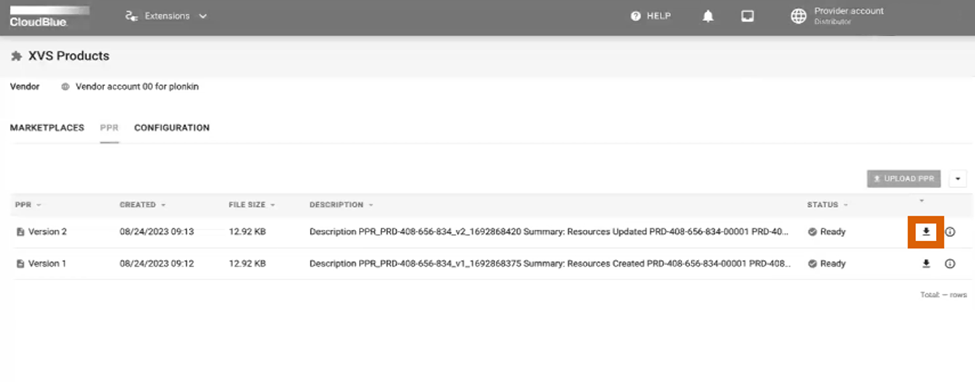
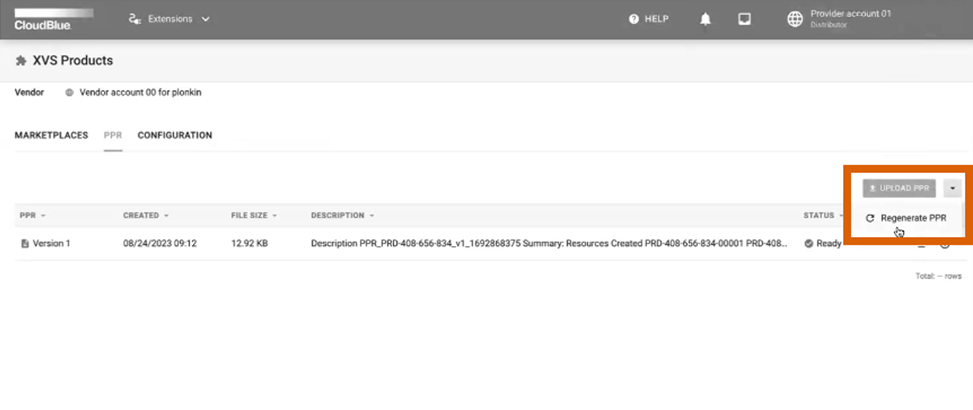
You may need to regenerate the file if new changes were applied to a product, or a mistake was made while configuring it.
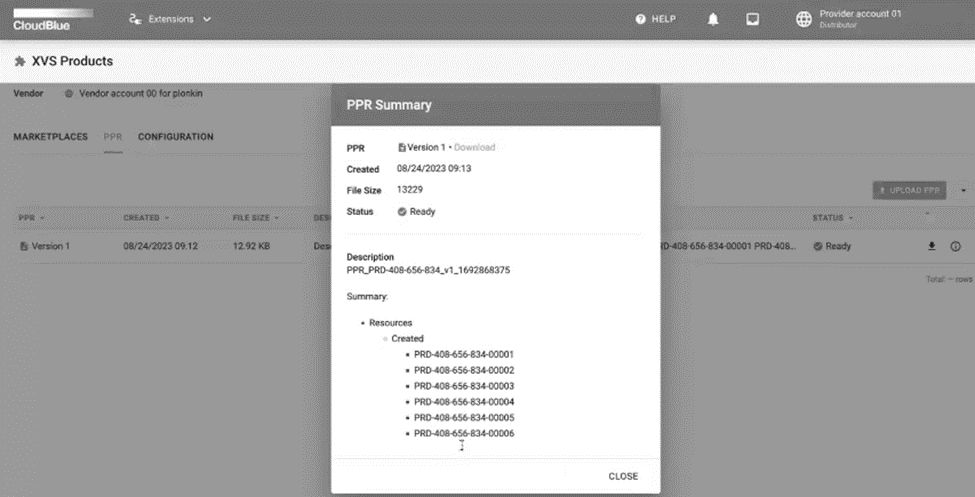
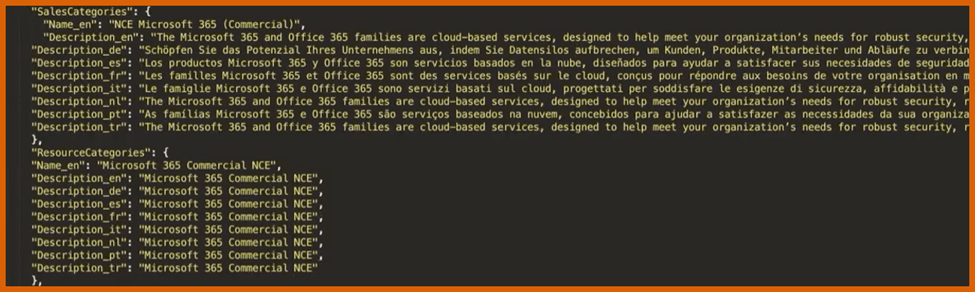
You can manually update the data on the empty sheets of the automatically generated PPR file. If then you need to update the product item data or regenerate PPR, the new automatically generated PPR file version will contain all your manual updates. For example, try updating the Sales Categories sheet in the following way:
On the Configuration tab, Product managers can upload their JSON configuration files to customize product configuration, the way products are deployed, and populate this data automatically to the PPR file. For example, you can define sales and resource categories in your JSON file and upload the configuration file on the Configuration tab:
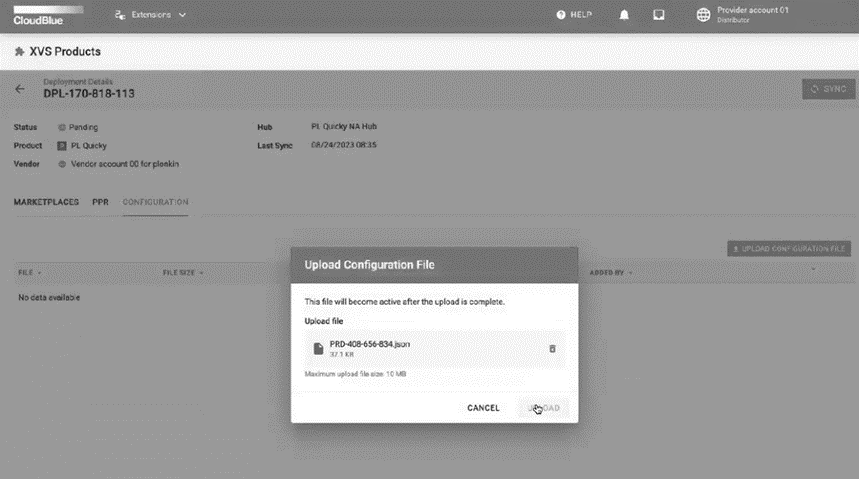
Once a new configuration file is uploaded, it becomes Active.
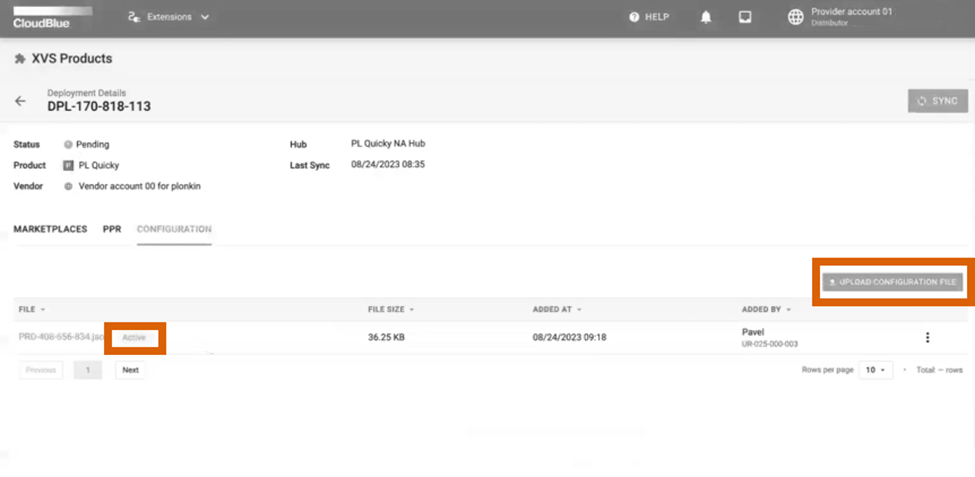
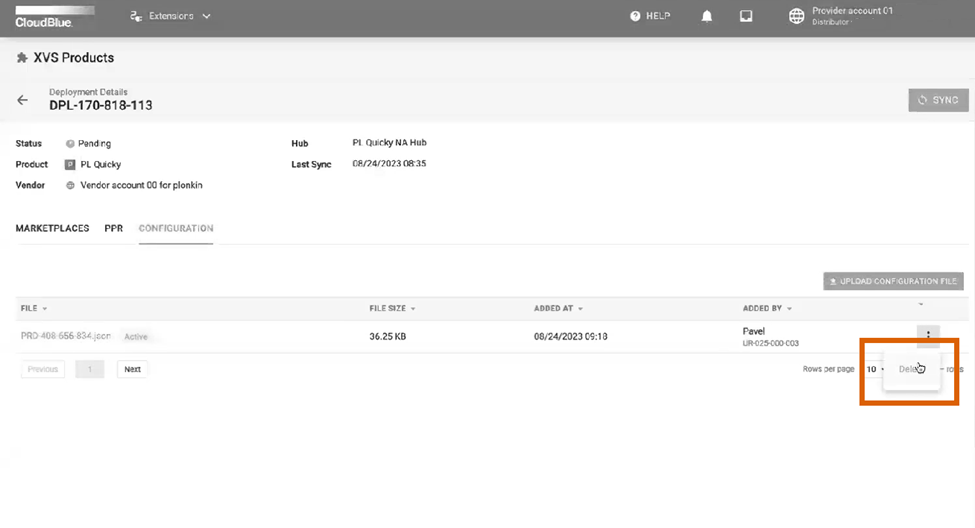
The configuration tab allows you to track JSON configuration file history, see which one is currently applied and interacts with the PPR file.
Now if you switch to the PPR tab, click Regenerate, download the new file version, and go to Sales and Resource categories sheets, you will see that they have been successfully populated from the JSON configuration file.
To remove a JSON configuration file, click the three dots icon next to it and then click Delete.
On the Deployments tab of the XVS Products extension, you may see the product deployment status on a particular hub:
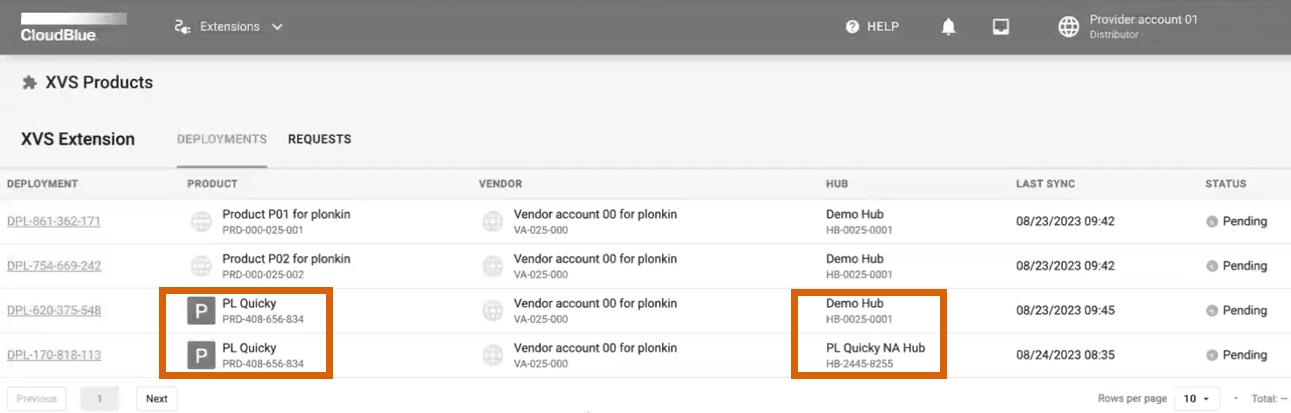
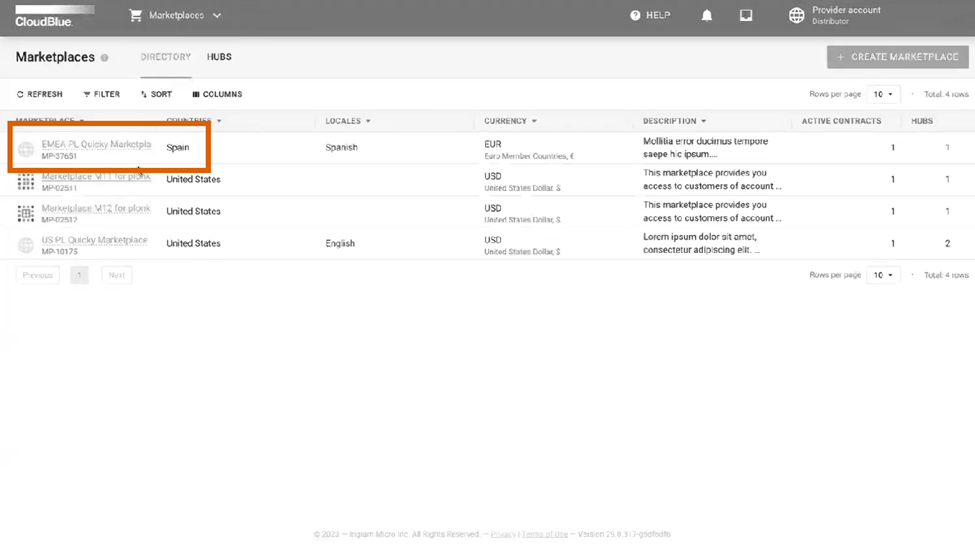
The XVS Products extension tracks automatically on which hub, marketplace and for which account the product is available. For example, you configured a new Marketplace which is linked to a new hub:
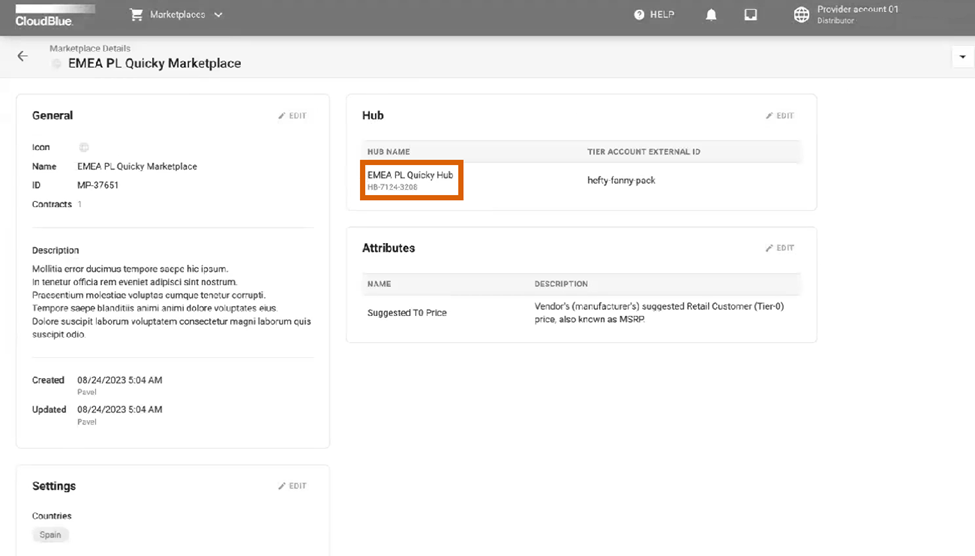
When you complete listing of your product for this marketplace, the new deployment will automatically be tracked by the XVS Products extension and appear on the Deployments tab.

If you unbind a marketplace or remove product listing, the deployment will be removed automatically from the Deployments tab.