Fulfillment requests are originated from specified marketplace and consequently sent to the CloudBlue Connect platform. Therefore, Vendors can review and manage provided fulfillment requests via the provided graphical user interface.
Fulfillment requests are also interconnected with subscriptions and stored in the Subscriptions module. Thus, for instance, purchase requests create subscriptions, while cancel requests terminate them. Fulfillment requests can be also generated manually by following the Subscription Creation guidelines.
Note that Vendors are able to create product parameters that can be necessary to fulfill a request. Refer to Product Parameters for more information.
The following showcases how to access your request details and how to process a request.
Click on a request ID from the Fulfillment tab to access the Subscription Request Details screen.

The Subscription Request Details screen provides general information like associated product, marketplace, subscription, request type, activation date and request status.
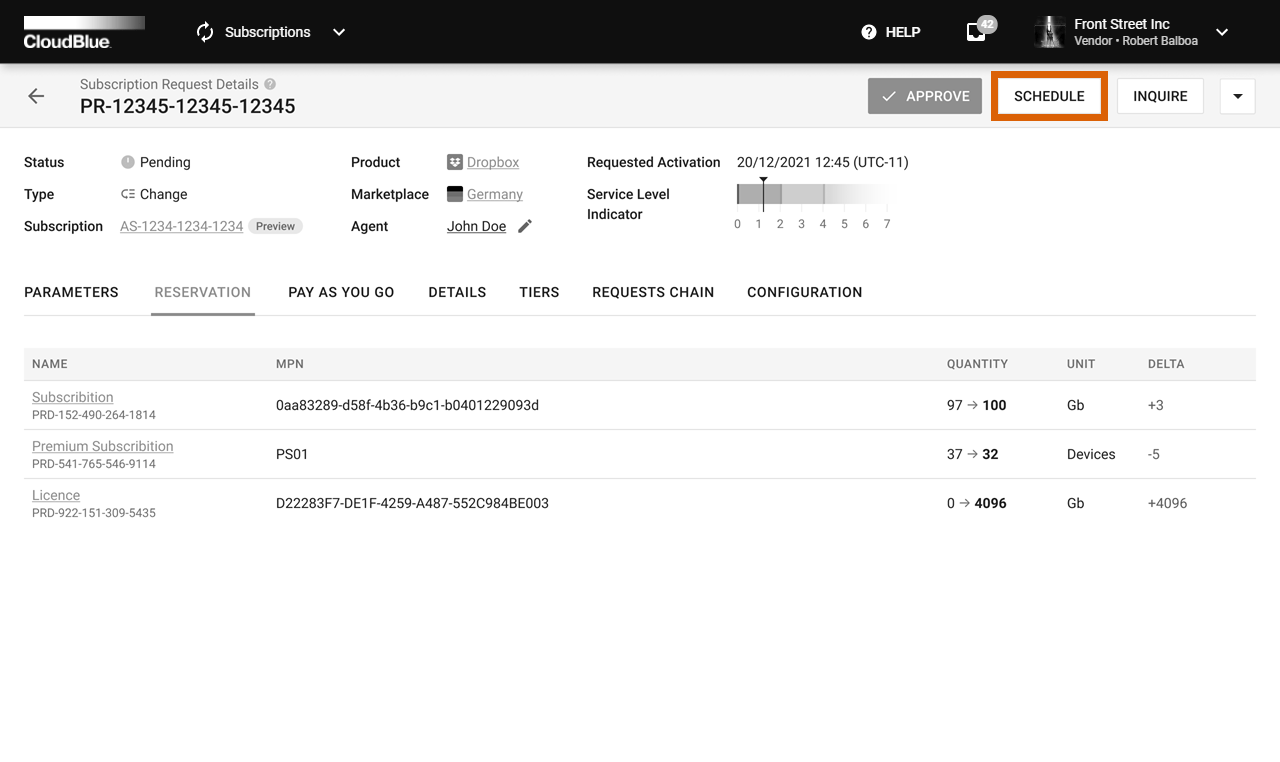
This screen is also used to access your service level indicator. This indicator, as its name implies, displays the rating of your service on a scale of 1 to 7. For more information, refer to the SLM documentation.
Furthermore, the system provides various data within the following tabs:
The Subscription Request Details screen enables Vendors to process requests by approving, rejecting or scheduling the delayed activation of the fulfillment requests. In addition, the system allows inquiring parameter data and assigning a specific user of your account to process your fulfillment request. The instructions below showcase how to perform the aforementioned operations.
Use the edit icon next to the Agent field to select a user of your account as an agent for the selected request processing.
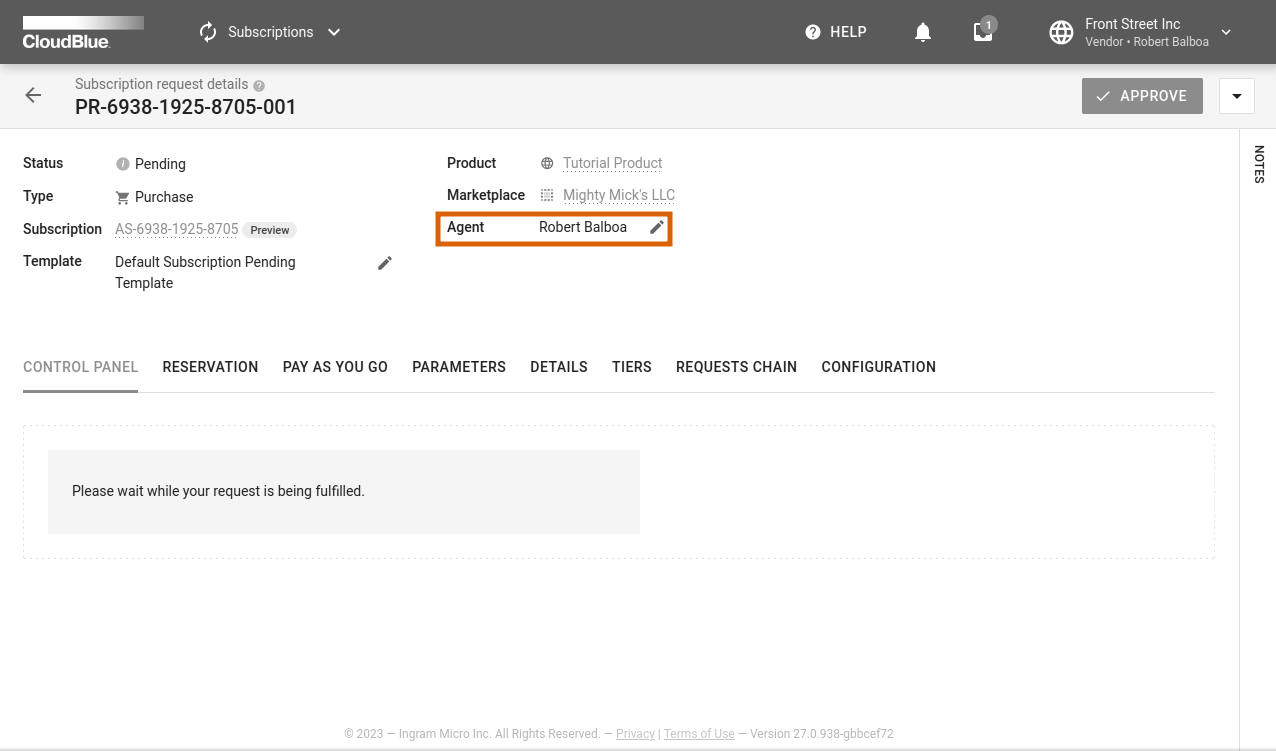
In case this field remains empty and you approve, reject, schedule or transfer this request to the inquiring state, the system will assign you as an agent automatically.
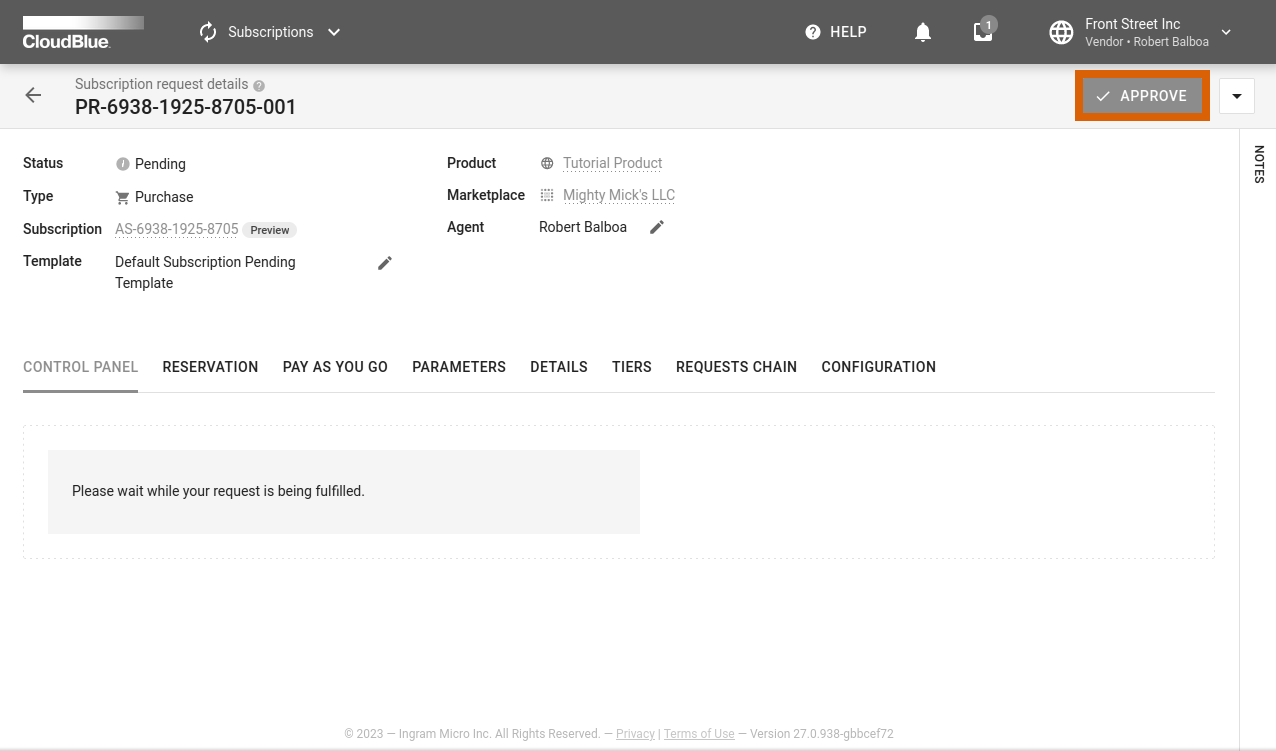
Click the Approve button to open a specific form that allows approving your fulfillment request in the Pending state.
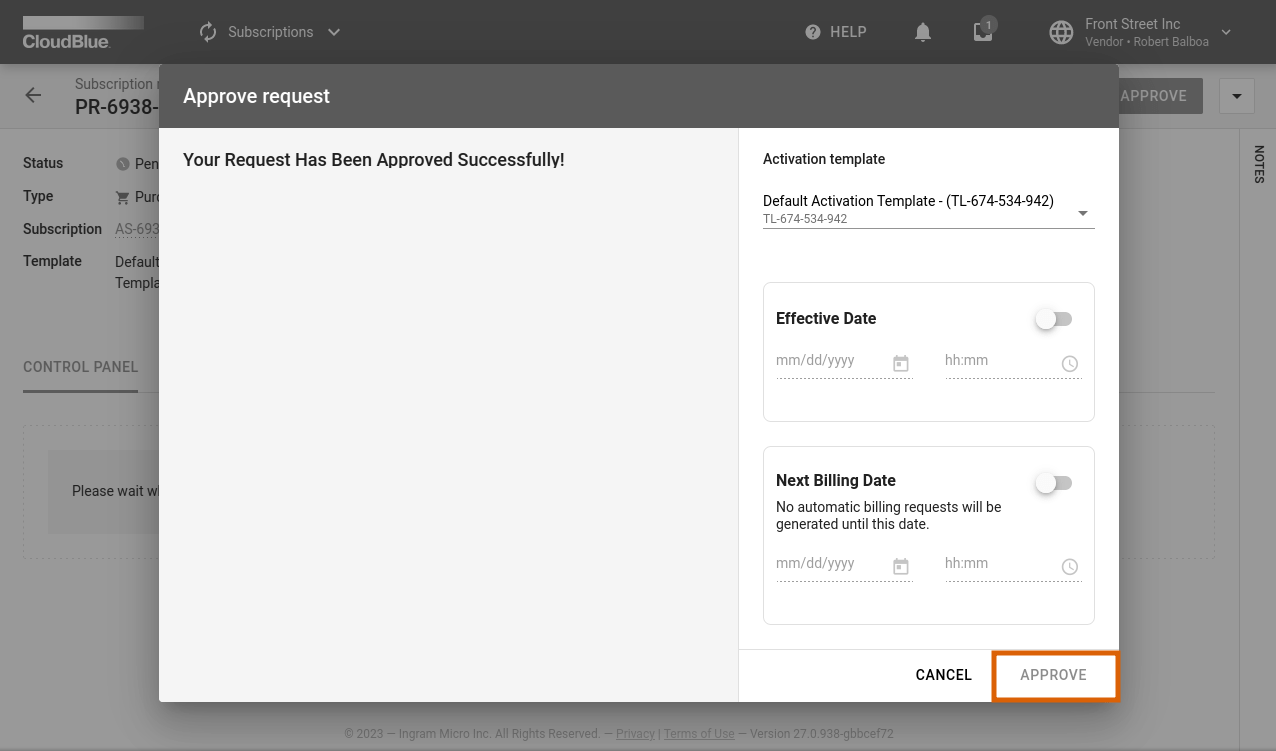
Therefore, Vendors can select one of their subscription Activation Templates that are specified within the the Embedding section of your product profile page.
Vendors can also provide the Effective Date of the subscription activation. In some cases, the actual provisioning date differs from the request activation date. Therefore, the system enables Vendors to specify the effective provisioning date for their fulfillment requests. This allows Connect users to bill their customers by using the effective date timestamp.
In addition, the system allows specifying Next Billing Date for your subscription by using the corresponding switch.
Once all required parameters are configured, click Approve to finalize the operation. Therefore, the system will assign the Approved state to your selected request and will perform required subscription changes.
The Connect platform enables Vendors to schedule time and date for their request processing. Namely, this functionality is used to explicitly define a waiting period before approving or revoking Cancel and Change requests. Therefore, it allows businesses that collaborate on Connect to synchronize their workflows and avoid undesirable situations in which a subscription can be cancelled while Vendors could have made all necessary preparations.
Click the Schedule button at the top-right corner of the fulfillment request details screen to open a specific form.
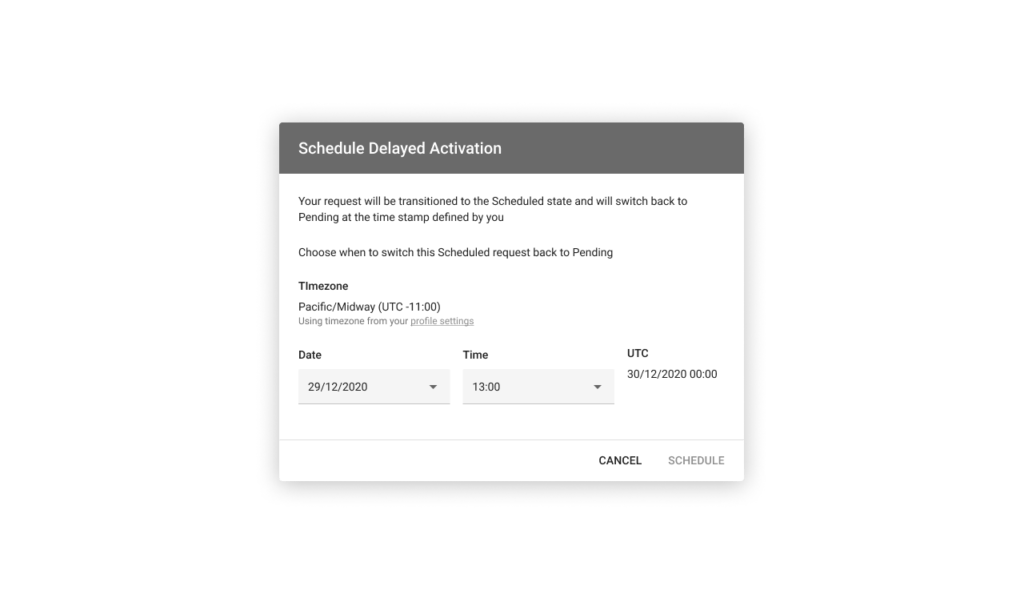
Use the provided Schedule Delayed Activation form to select time and date for your fulfillment request processing. Once your time and date are specified, click the Schedule button to confirm your decision. Thus, the system transfers the selected fulfillment request object to the Scheduled status. Thereafter, a fulfillment request can be assigned to the Revoking state by Distributors or Resellers and subsequently to the Revoked state once Vendors confirm the revoking operation. Otherwise, scheduled requests can be assigned back to the Pending status.
in case some of the provided ordering parameter data is not valid or outdated, use the Inquire button at the top-right corner of the screen . The system allows inquiring parameter data only in case your fulfillment request is assigned to the Pending status.
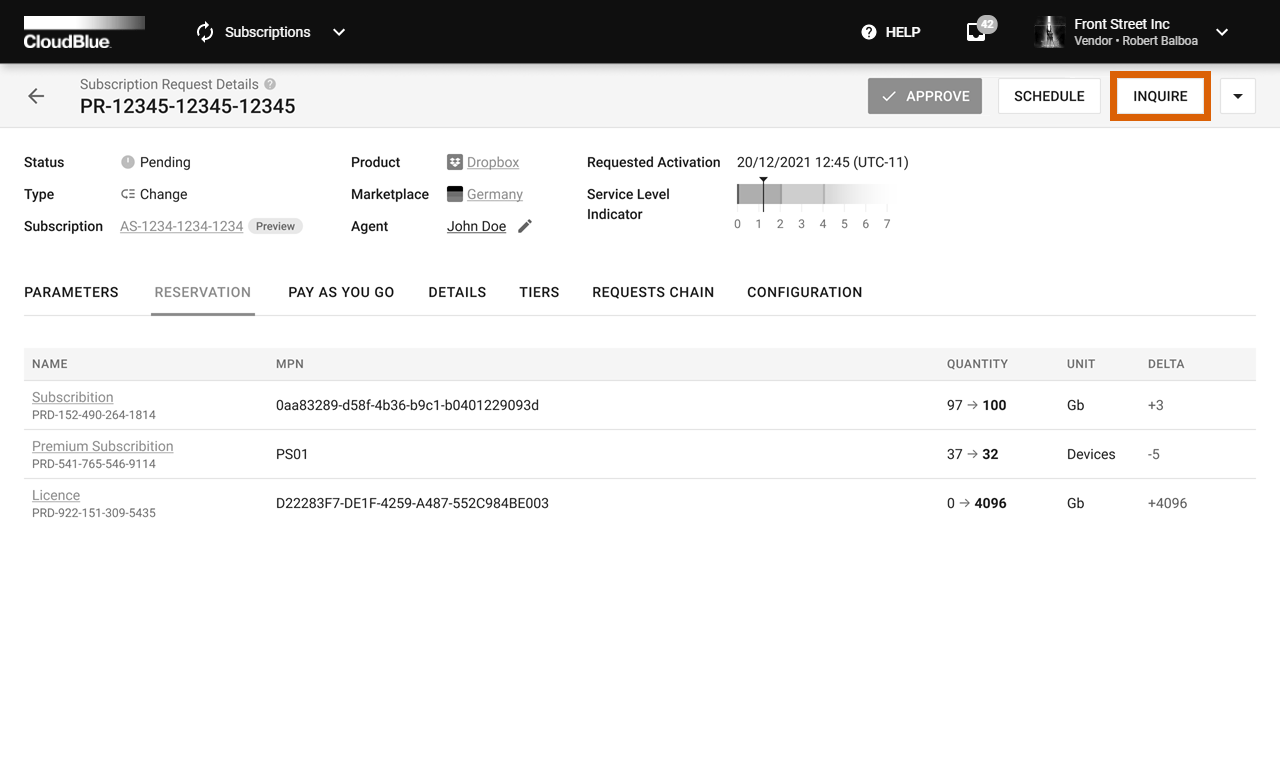
Mark ordering parameters that should be changed via the Parameters tab. Thereafter, the system will allow Vendors to inquire parameter data and consequently transfer the request to the Inquiring state.
In case your request is assigned in the Inquiring state and it is necessary to transfer it back to the Pending state, click the Set to Pending button on the provided interface.
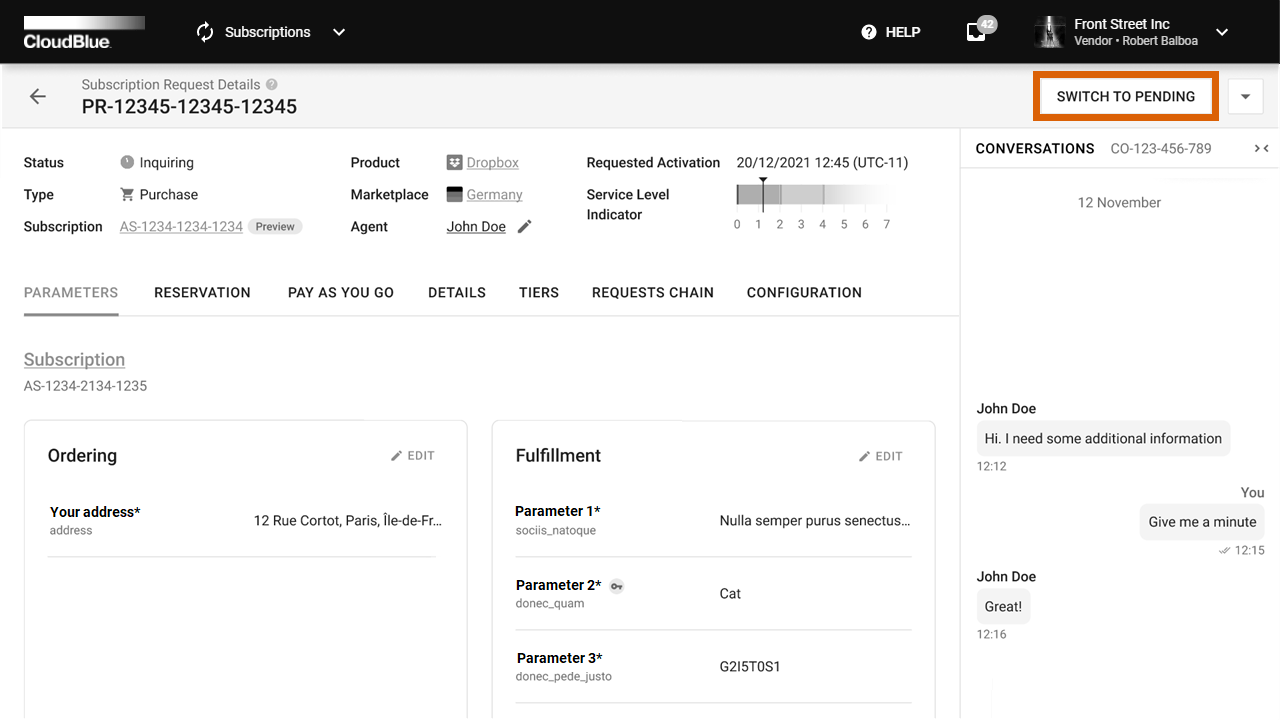
This button can be helpful in various scenarios. For example, in case more ordering parameters should be corrected or updated.
In case it is required to reject a request and cancel an operation that is associated with a subscription, you can reject a request as follows:
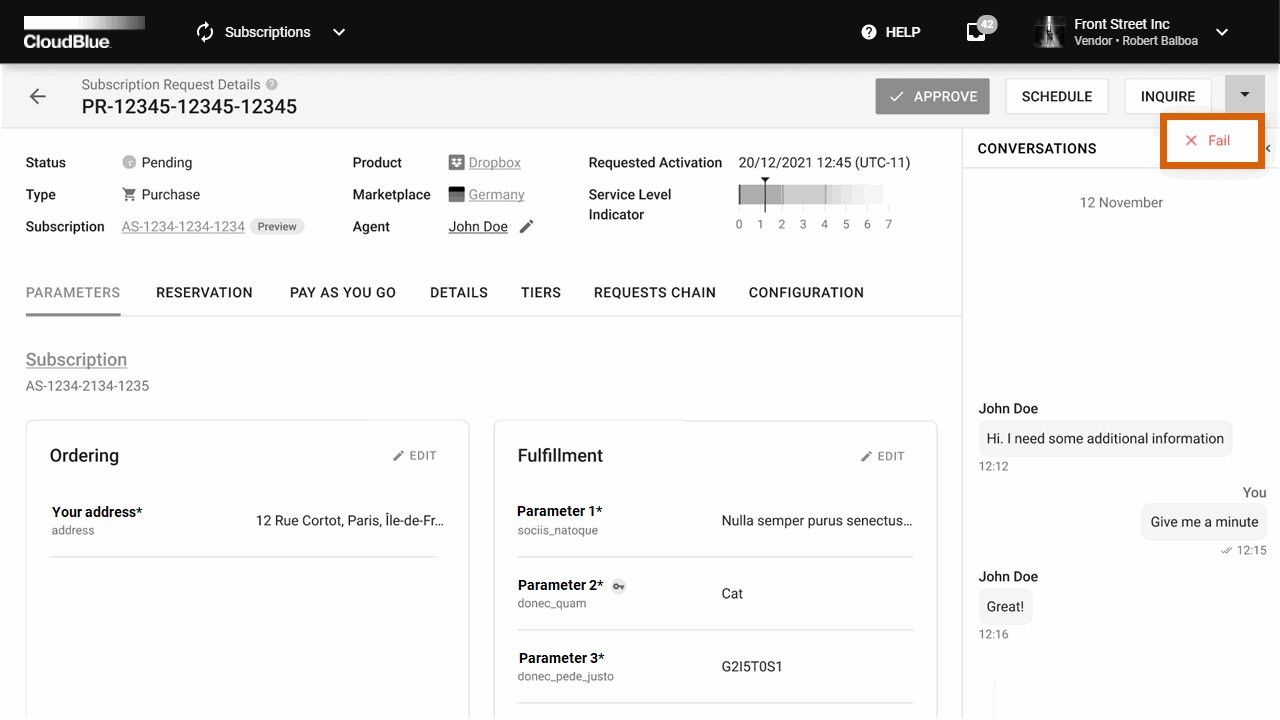
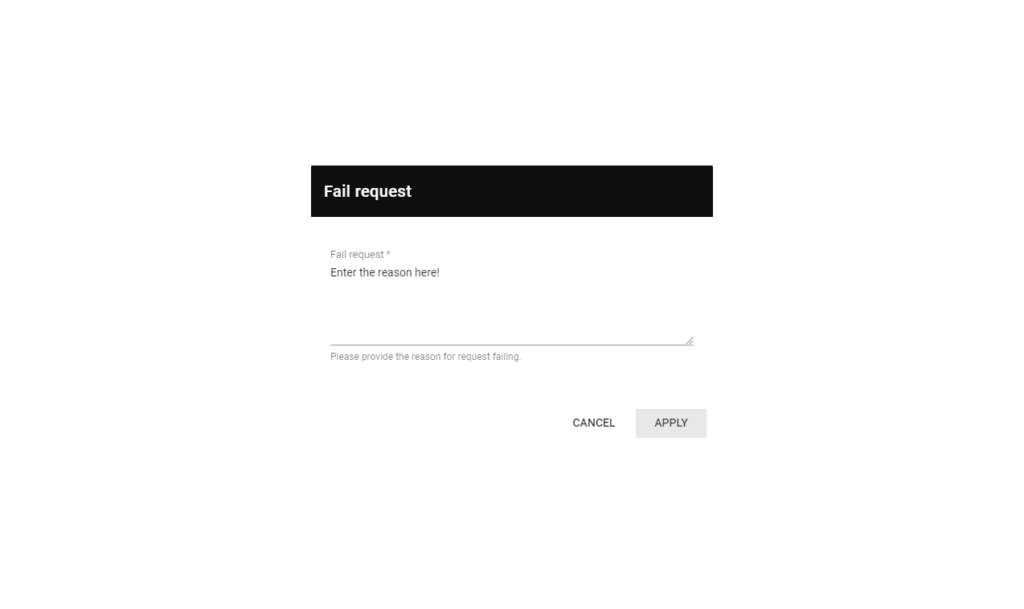
Therefore, your request will be assigned to the Failed state and associated operation will be rejected.