The following describes the graphical user interface of the Product Information Management (PIM) module on the CloudBlue Connect® platform. The following also outlines all available operations within this module. It is highly recommended to familiarize yourself with the PIM module description and understand the difference between items and products before following the instructions and guidelines below.
Attributes represent the core and foundation of the PIM module. However, each attribute should belong to a certain group that is defined on the Connect platform. Thus, it is required to configure at least one group before starting to work with the attributes. Once your group is defined, the system allows managing attributes via the Group Details screen.
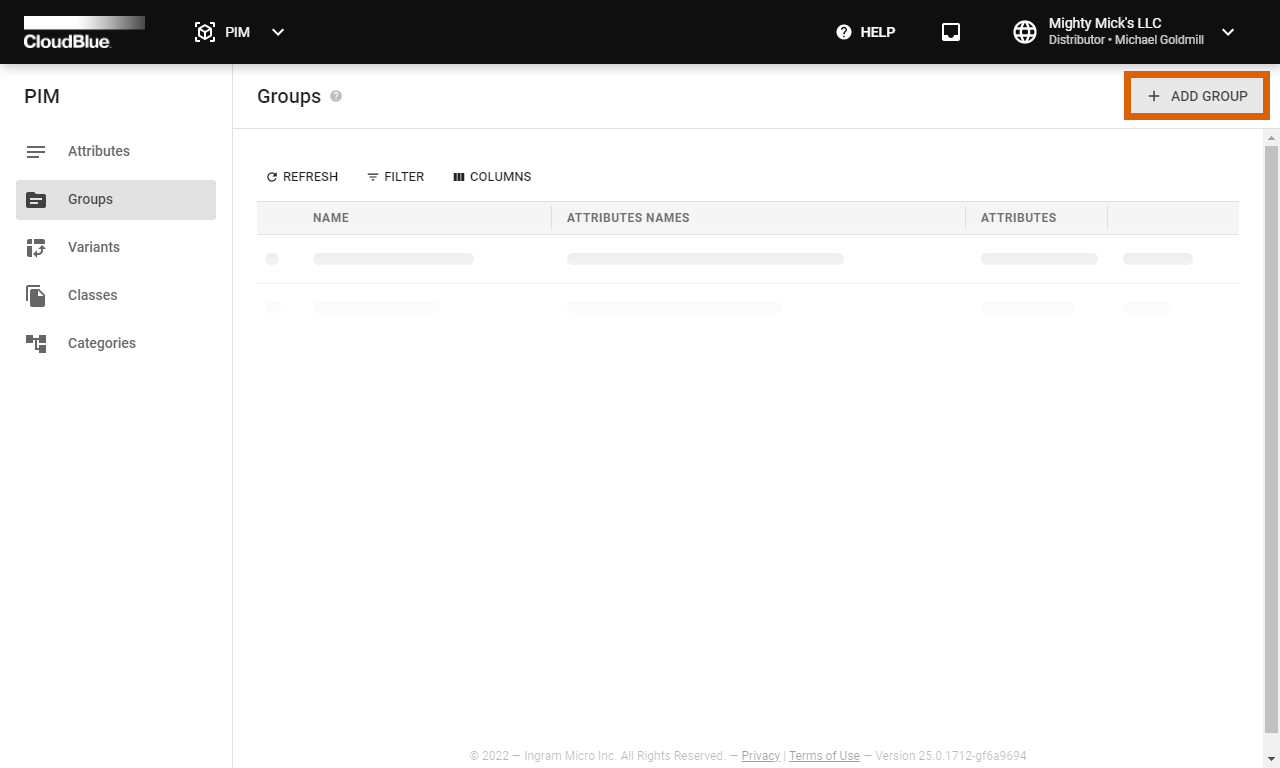
Access the Group section of the PIM module and click Create Group at the top-right corner of the screen to start configuring a new group.

The Connect platform prompts to specify your group name and your group code from your distribution system. Once you provide your group name and its code, click the Create button to finalize your group configuration.
Therefore, the system allows creating attributes and assigning them to your configured group. When you access the Group Details screen, the system prompts you to add an attribute for your new group. Create new product-level or item-level attributes as described under the corresponding heading.
Access the Group Details screen by clicking on your created group name. The Group Details screen displays a list of your added attributes, provides group update and creation dates, and allows editing or deleting selected groups by using corresponding buttons at the top right corner of the screen.
Once your group features multiple configured attributes, the Connect platform allows reordering them as described below:
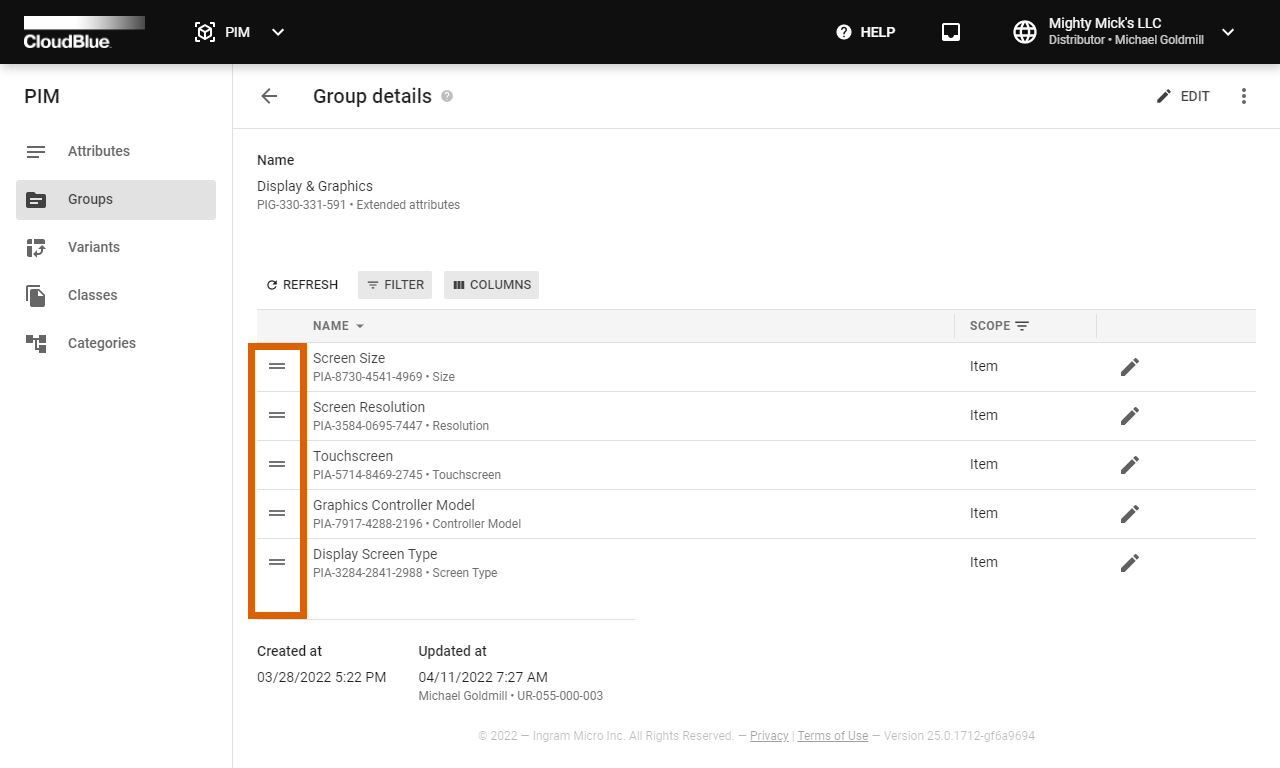
Reorder your added attributes by using specific drag and drop buttons next to your selected attribute. Therefore, your business partner will be prompted to specify product specifications according to your provided attribute order.
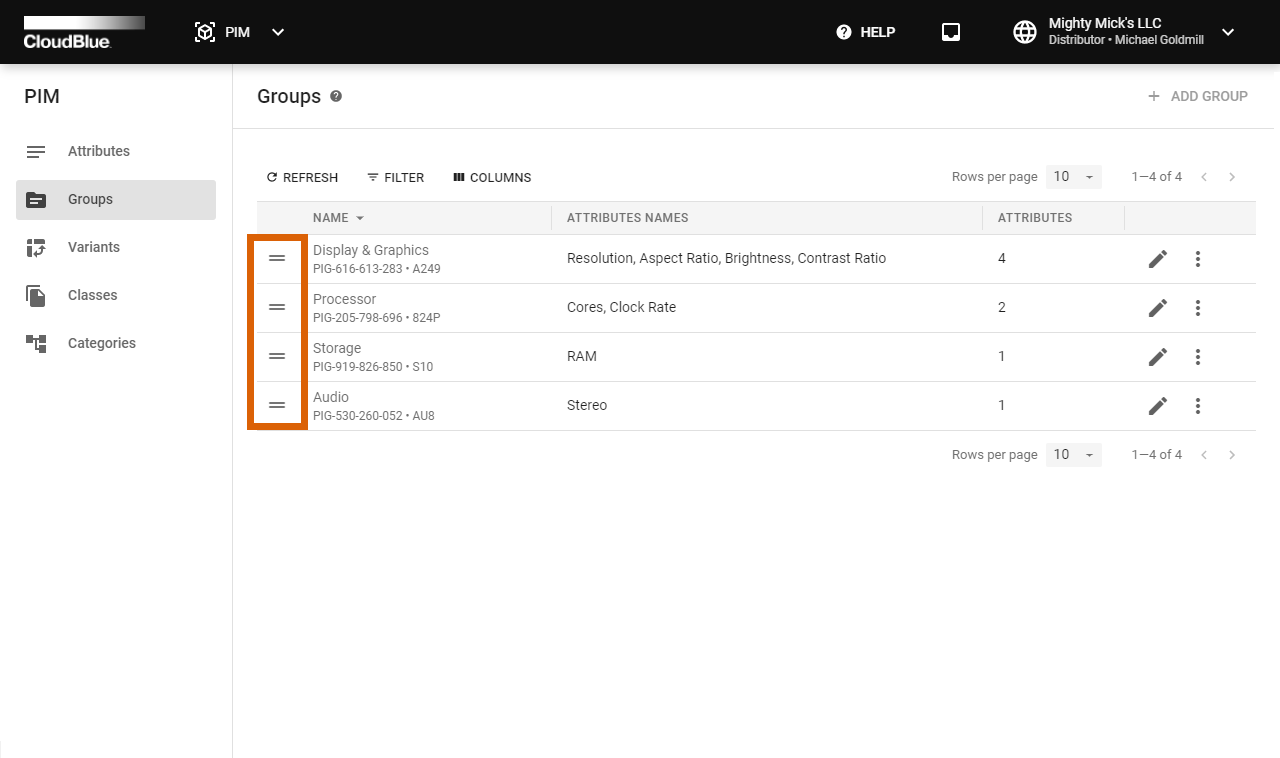
Note that the system also allows organizing your created groups by using the same drag and drop buttons from your Groups list.
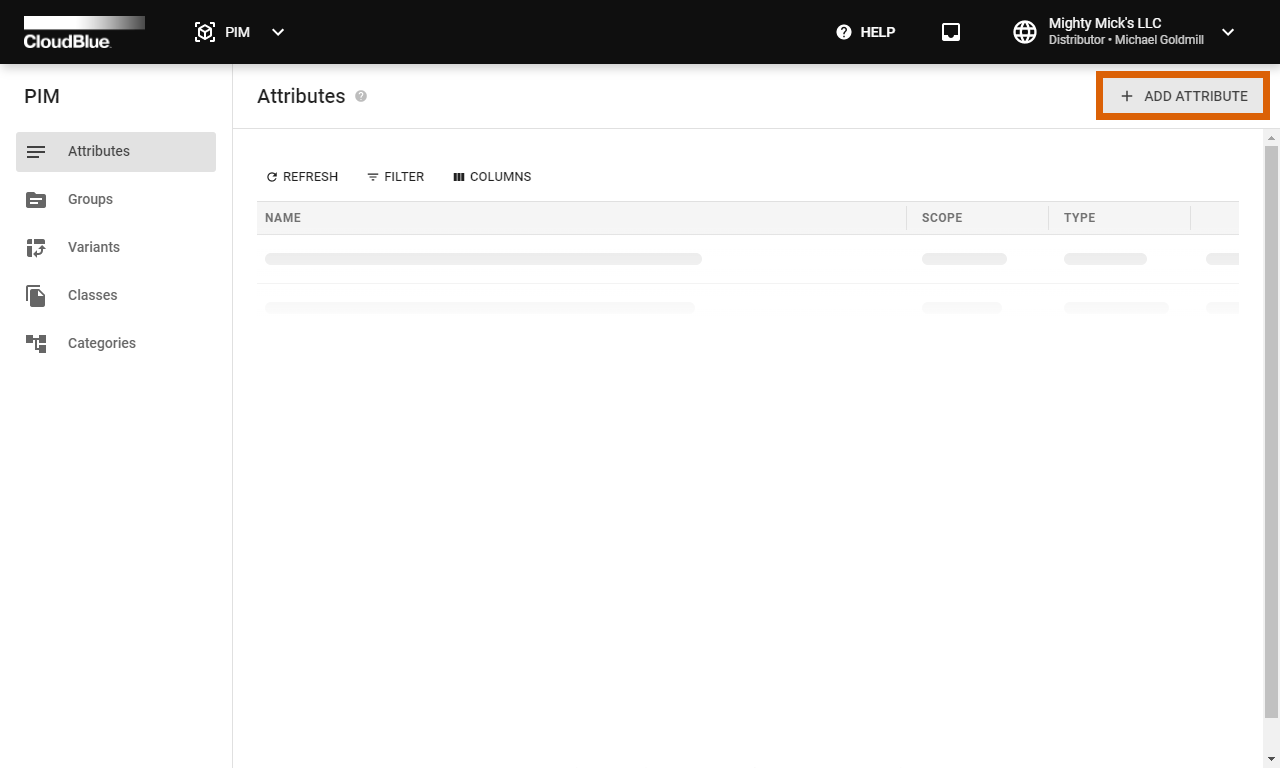
The system displays a list of your defined attributes within the Attributes section of the PIM module. Add a new attribute to your attribute list by using an attribute creation wizard. Once your attribute is successfully configured, the system allows accessing your attribute details and preview the attribute value assignment.
Click the Add Attribute button from the Attributes section to launch the attribute creation wizard.
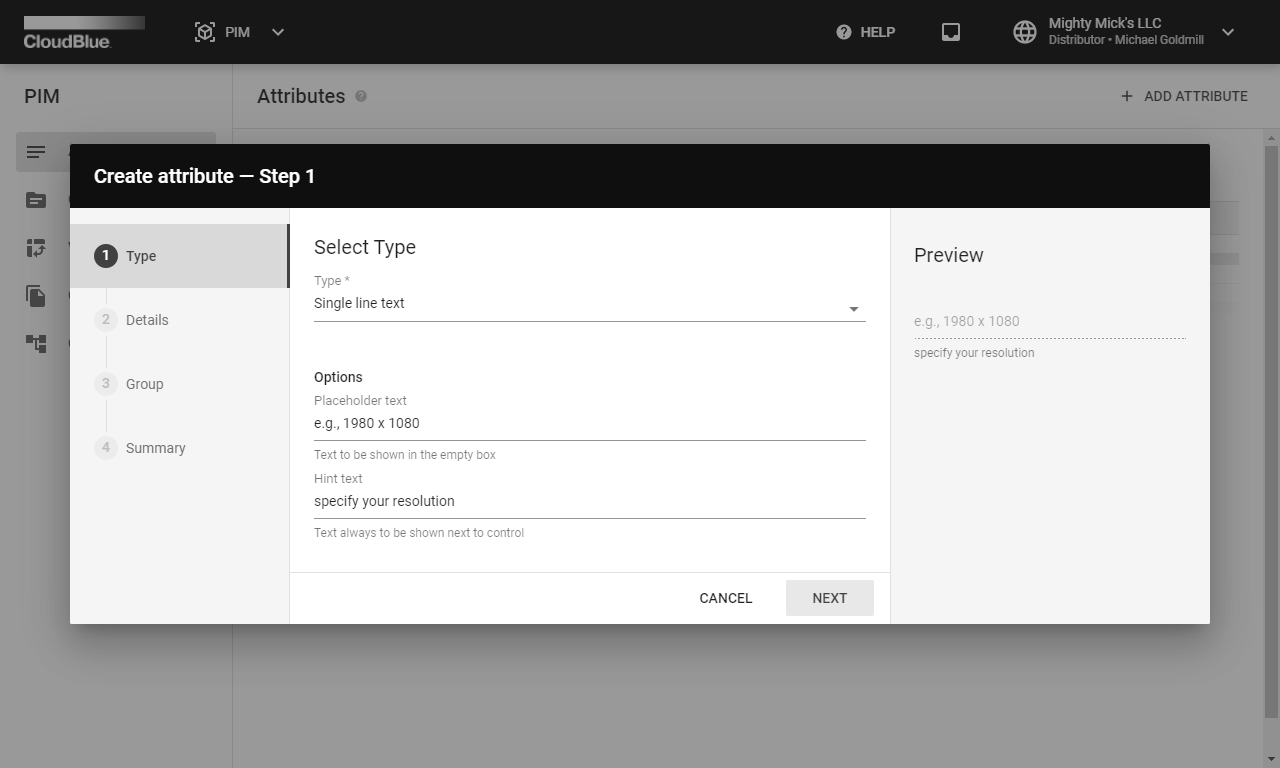
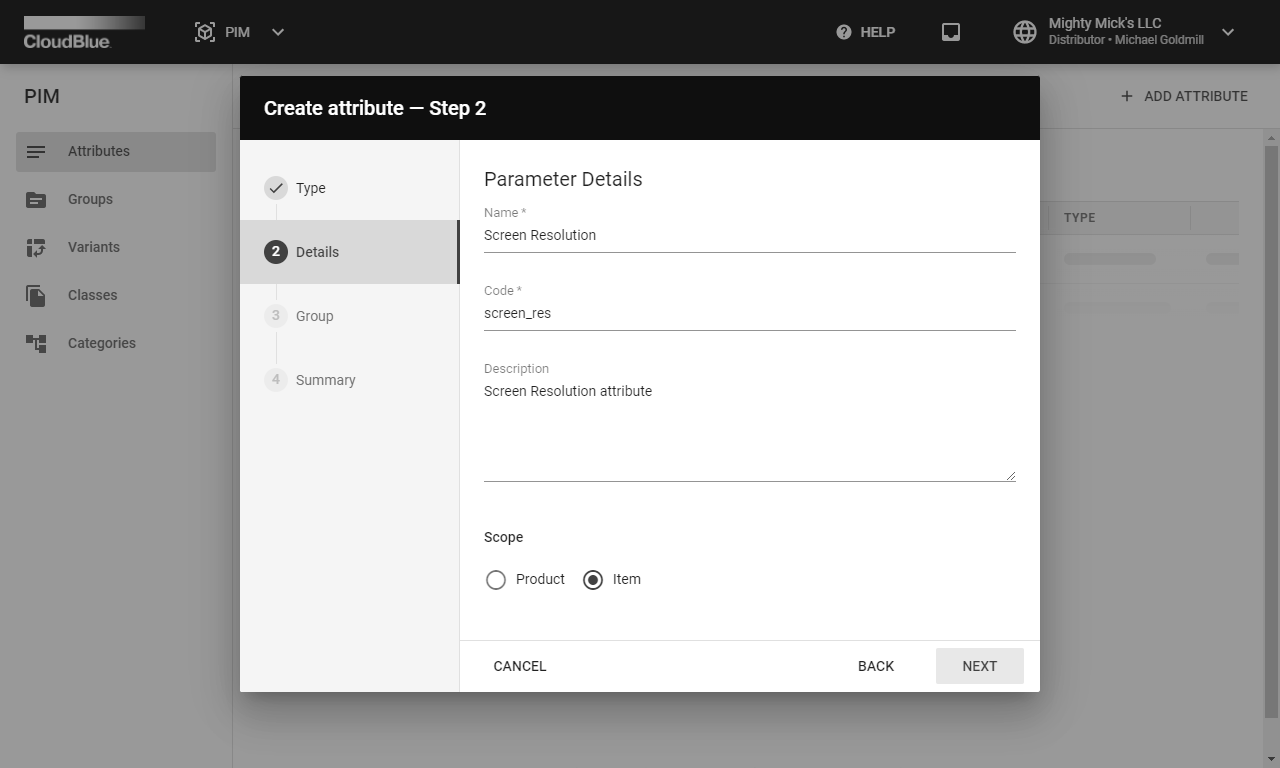
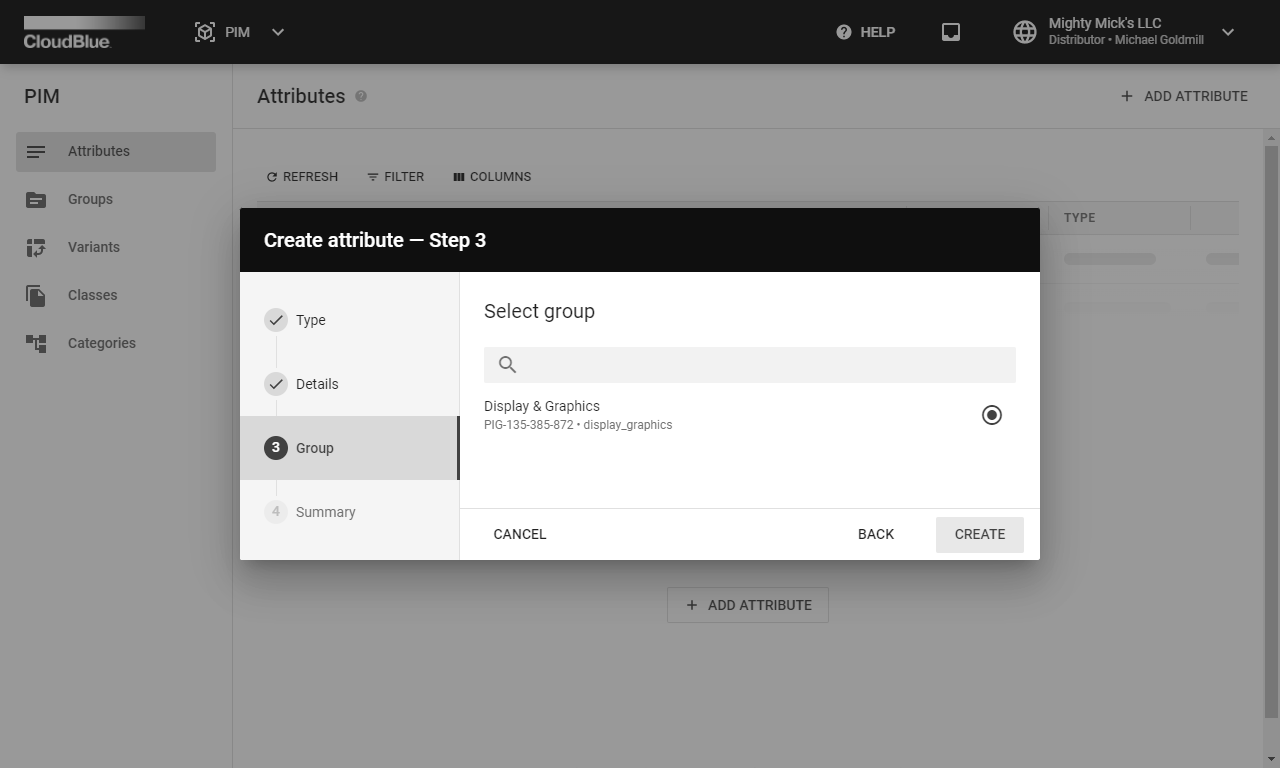
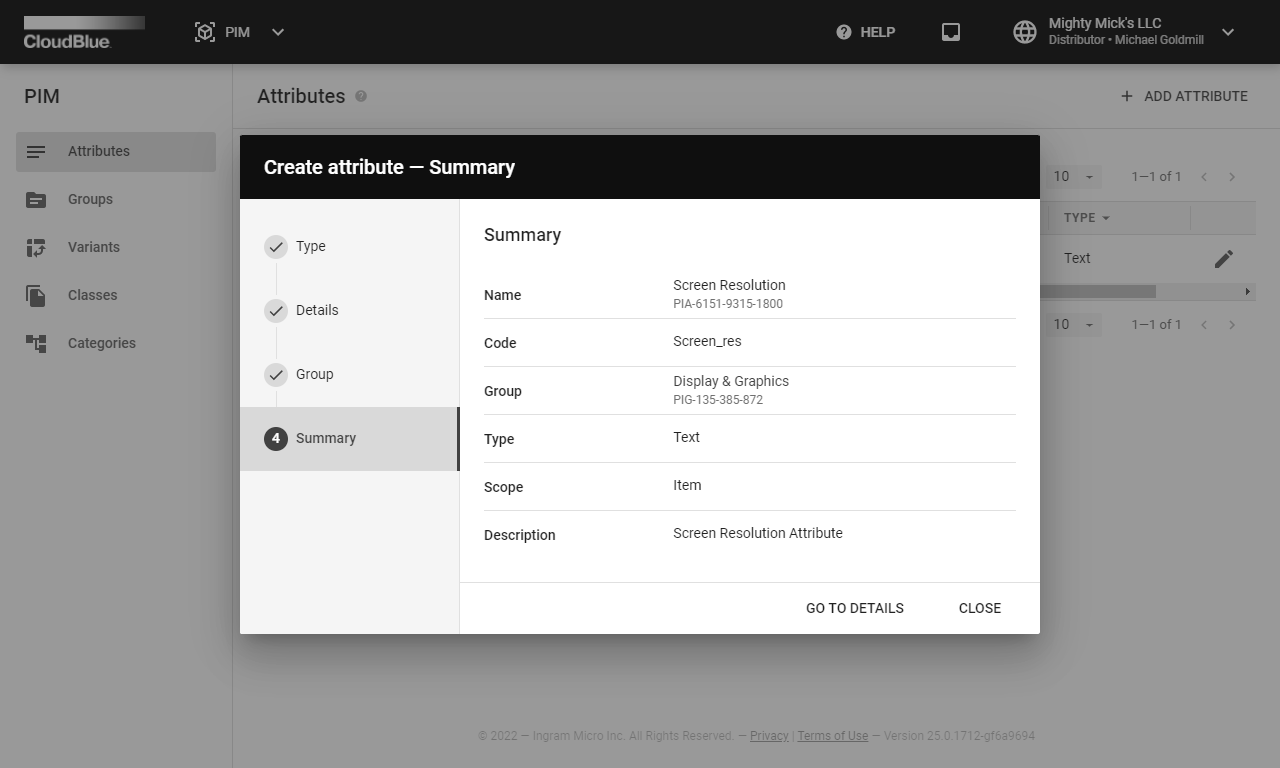
Follow the wizard steps to successfully configure a new attribute:
Click the Go to Details button to access your created attribute details screen. Otherwise, close the summary by clicking Close.
Click on your added attribute name to access the Attribute Details screen. This screen, as the name suggests, is used to review attribute details and provided attribute options.

Specified attribute information, such as your attribute name, identifier, scope and group are displayed under the General attribute details.
The Attribute Details screen can be also used to review attribute update and creation dates as well as associated users of your Connect account that created this attribute and updated it.
Your attribute type, placeholder and hint text or your specified dropdown list are displayed under the Control attribute details. Click the Preview button to the value of your attribute can be assigned or selected by your Vendors.
Note that the system also allows adjusting your created attribute by clicking the Edit button at the top-right corner of the screen. In case it is necessary to remove your attribute, click the ellipsis (⋮) button and select the Delete option.
Once your item-level attributes are successfully configured, the system allows creating product variant templates. Configure your product variations by assigning your created attributes as axes for a particular template. Note that configured variations can be also used within your specified classes. Follow the instructions below to create a new variant template.
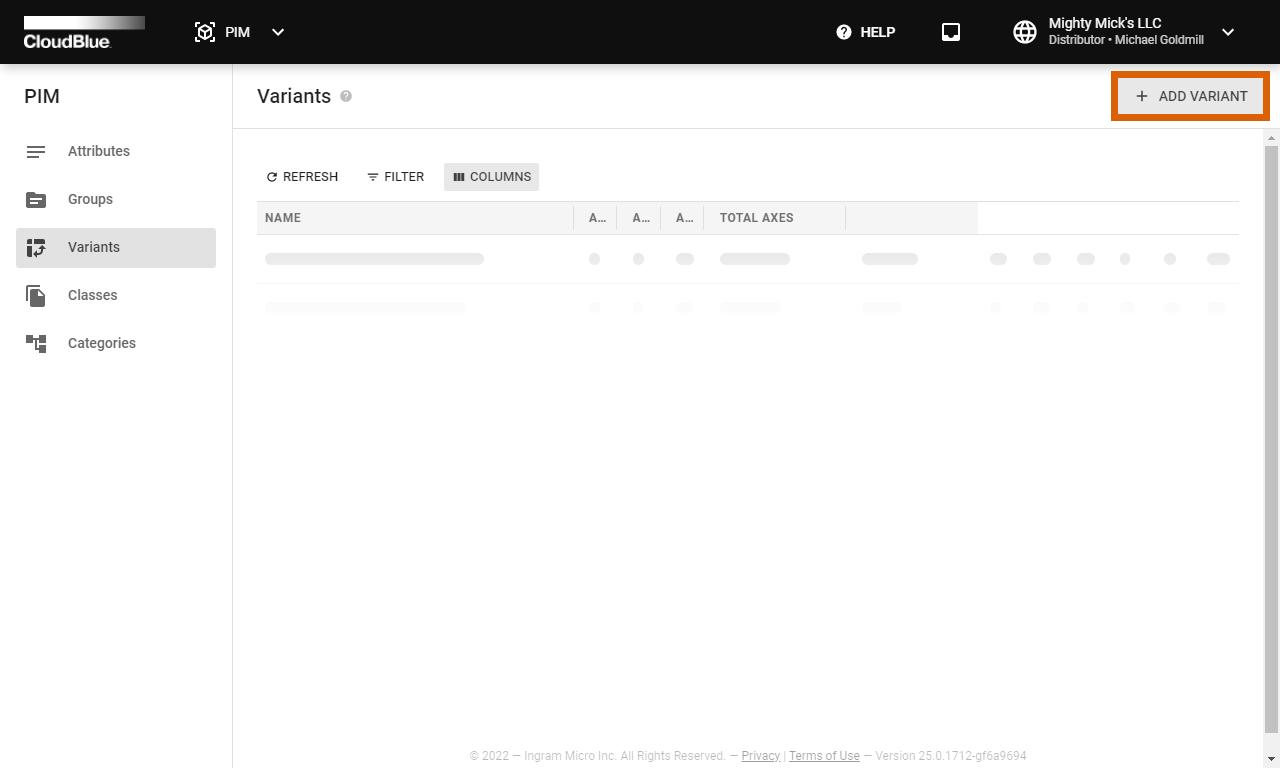
Proceed to the Variants section of the PIM module to access the list with your variants. Click the Create Variant button to start configuring a new variant object:


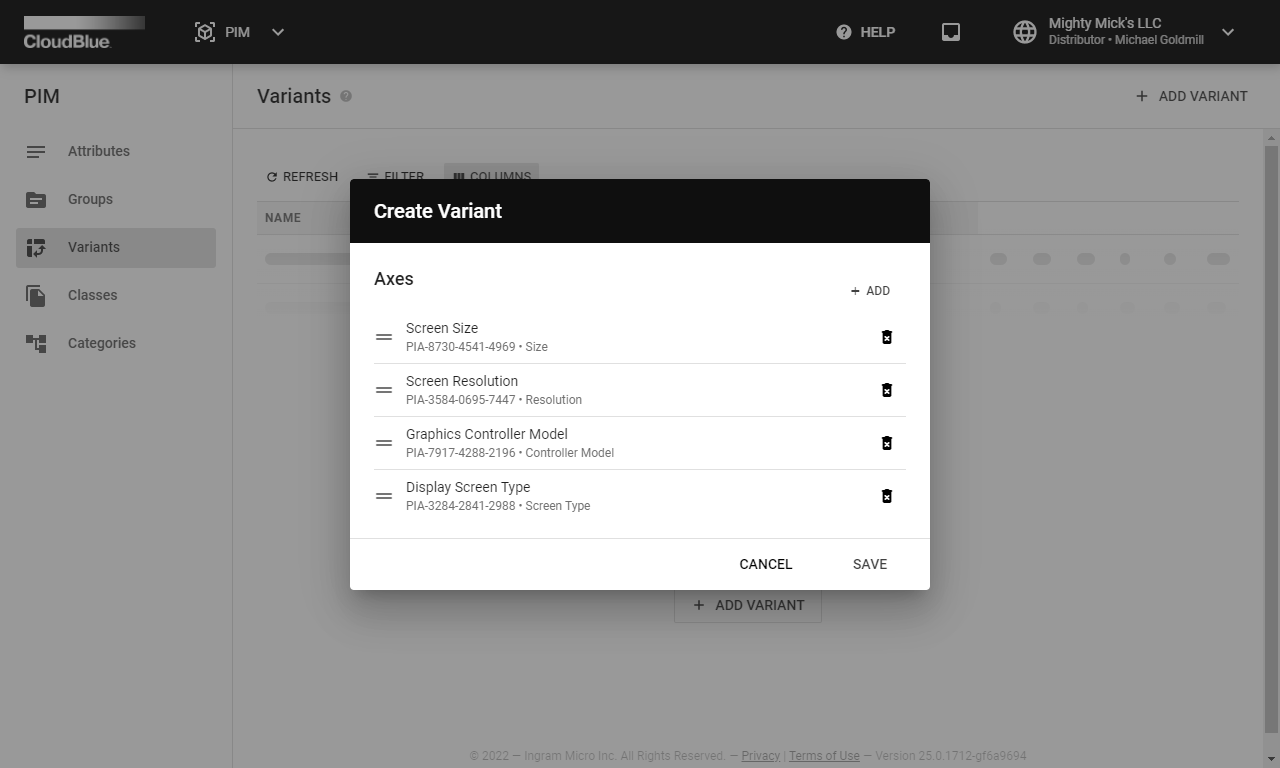
The system prompts you to add item-level attributes as axes for your new variation template. Click the Add button to specify required attributes to the appeared Create Variant form.
Next, select required item-level attributes by checking their corresponding checkboxes. Once all required attributes are specified, click the Save button to continue.
Make sure that all required attributes are presented in the Create Variant form. The system allows removing and adding attributes by using the corresponding buttons on the wizard interface. Once all required attributes are selected, click the Save button to finalize your variant template configuration.
Click on your configured variant object name from the Variants list to access the Variants Details screen.
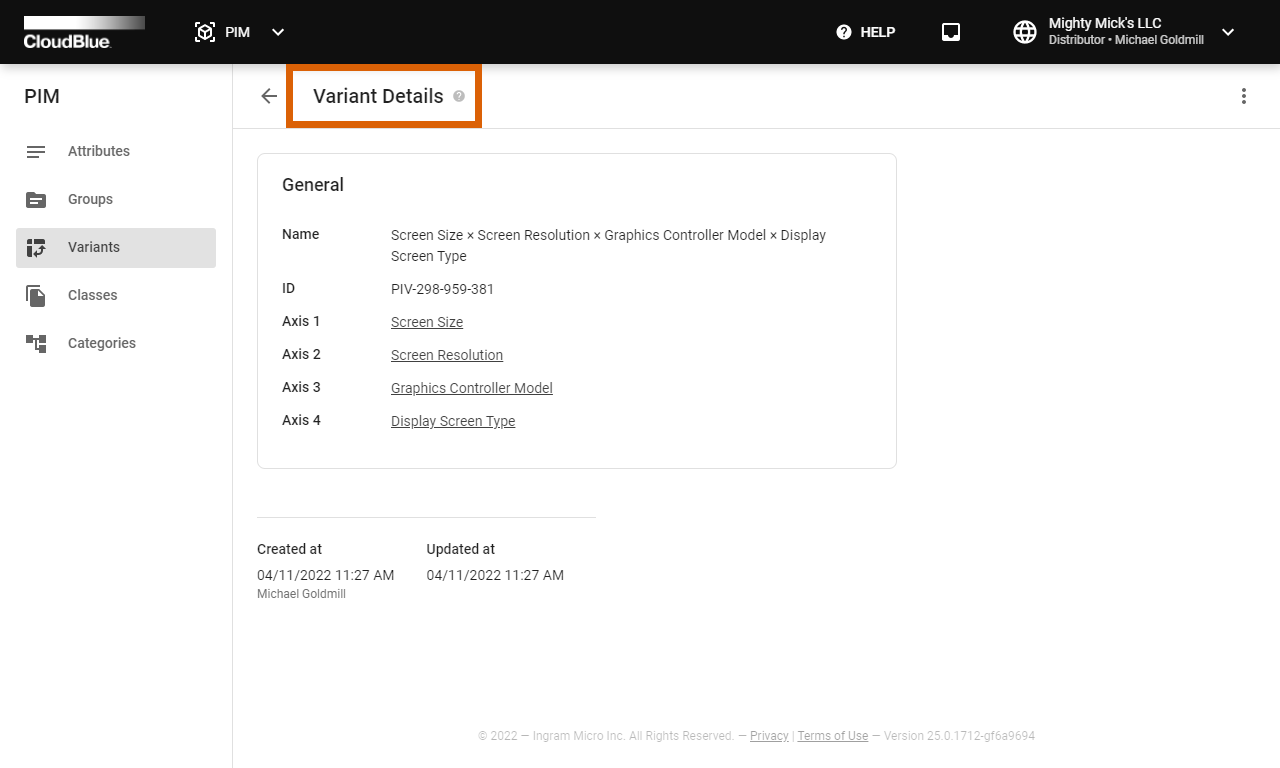
This screen is used to examine the variation update and creation dates, review selected attributes and learn which classes use your selected variant.
The platform allows managing your specified attributes by clicking on the vertical ellipsis (⋮) icon and selecting the Edit option at the top-right corner of the Variant Details screen. In case it is necessary to remove your variant, select the Delete option via the vertical ellipsis (⋮) menu.
The PIM module can be also used to create classes as well as to manage attributes and specified variations that are associated with your defined classes. Your created classes can also feature child classes or parent classes. Child classes inherit selected attributes and variants from their parents. Furthermore, note that classes are essential for creating categories. The following instructions demonstrate how to create a new category, how to manage attributes and how to manage variants via the PIM module.
Navigate to the Classes section of the PIM module to access a list of your created classes. Click the Create Class button to start configuring a new class.


The system prompts you to select your class name and enter your class code from your distribution system. In case several classes are already created, Connect also allows specifying a parent class for your new class.
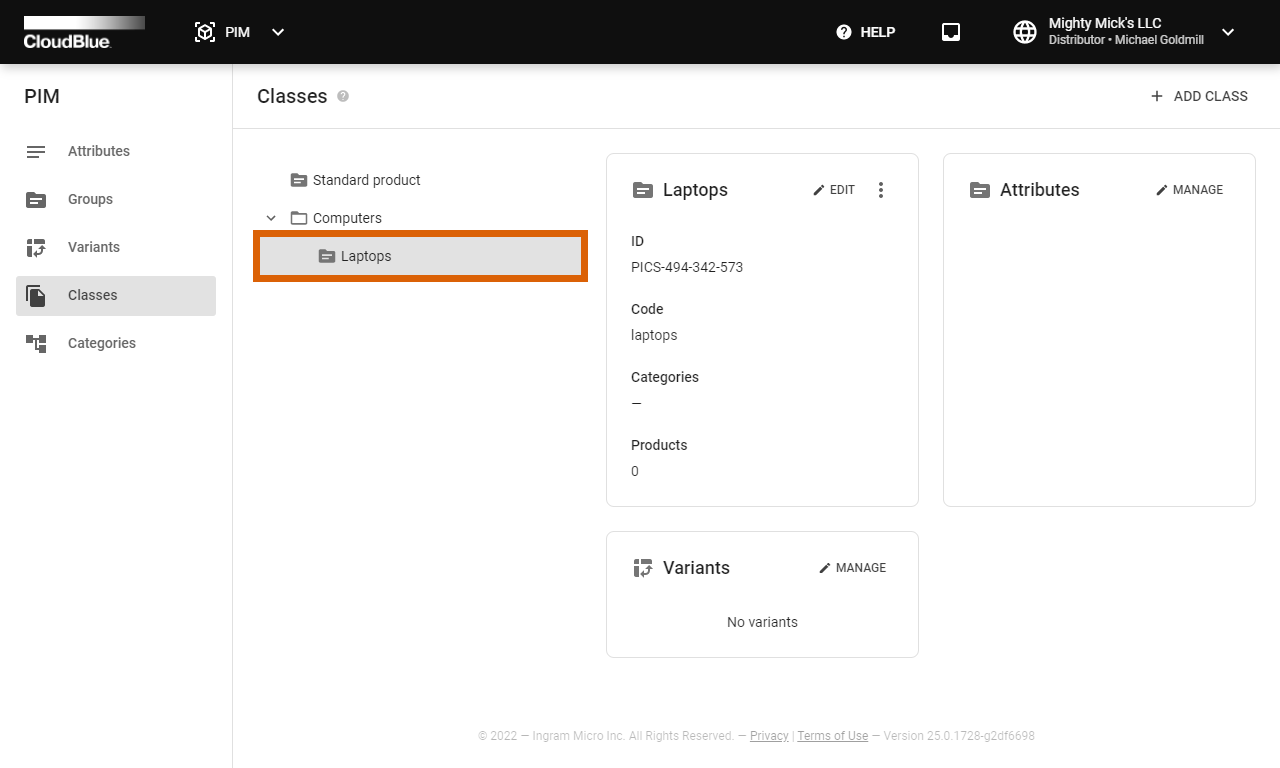
Click the Add button to finalize your class object creation. As a result, the system displays your new class in the Classes list. In case your created class have a parent class, the system provides the child class within its corresponding parent.
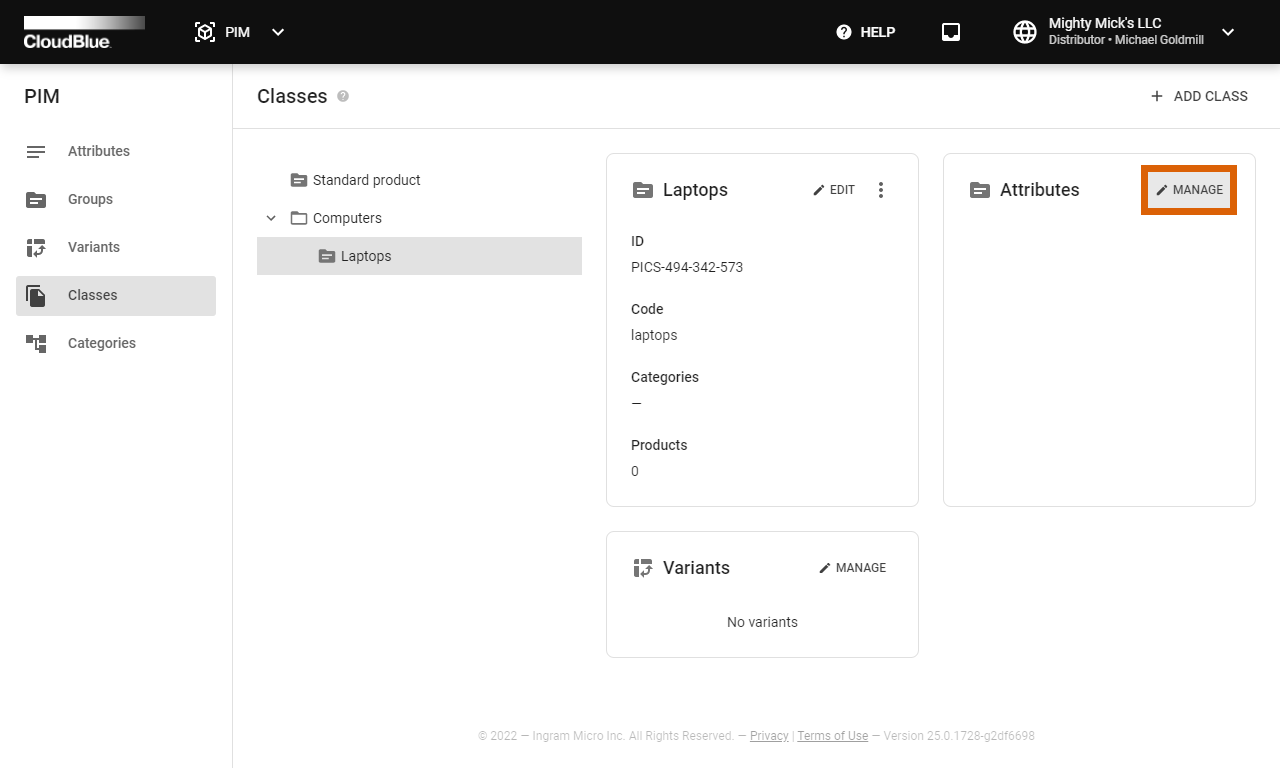
Once a new class is added, the Connect platform also enables you to manage your defined attributes and variants that should be associated with your added class.
Click the Manage button above the presented attributes list to include and exclude your specified attributes.

Check or uncheck corresponding checkboxes to include or exclude your defined groups and individual attributes from the list. Note, however, that the system doesn’t allow managing attributes that are inherited from the parent class. Inherited attributes are grayed out in the provided attribute list and it is impossible to check or uncheck them.
Click the Manage button above the provided variants list to include or exclude your defined variant templates.

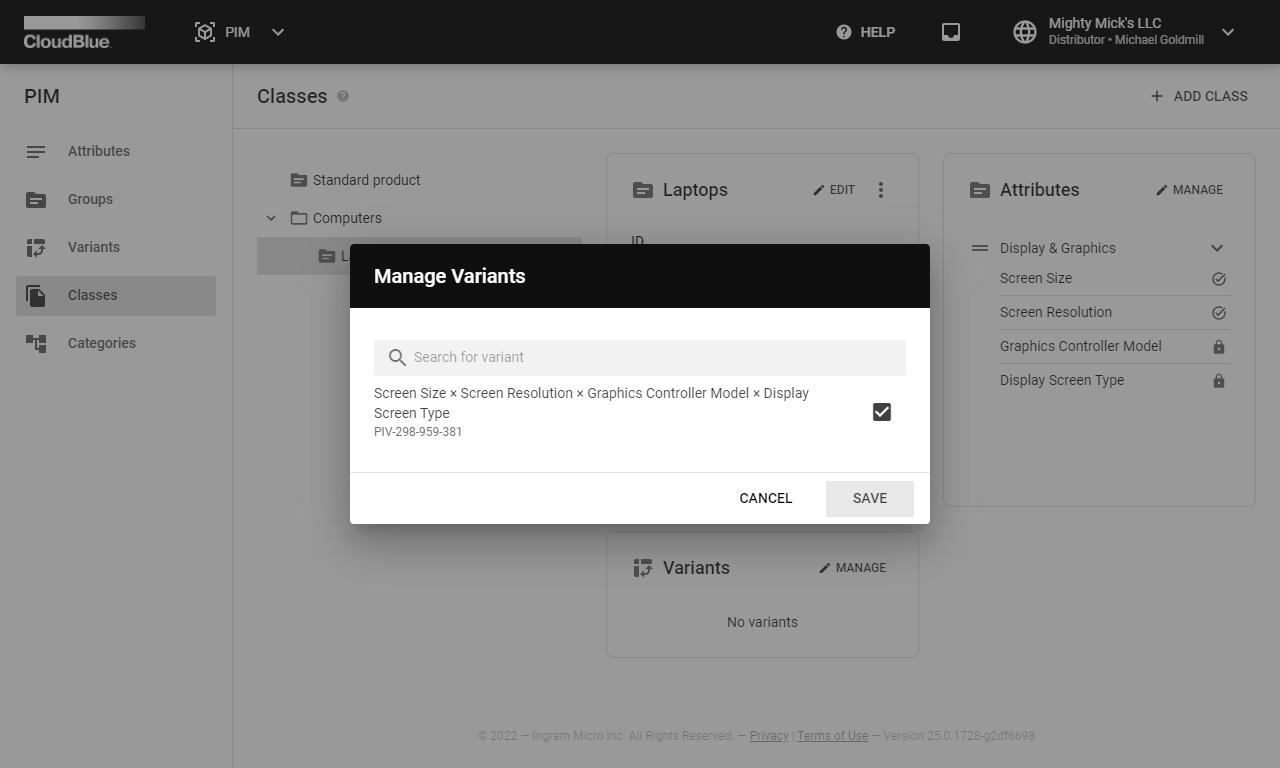
Manage associated variant templates by checking or unchecking corresponding checkboxes. The system also doesn’t allow managing variant templates that are inherited from the partner class. Inherited templates are also grayed out and it is impossible to check or uncheck such templates.
In case it is required to update your class name or specified code, click the Edit button above your class information.
Once your classes are successfully created and configured, the Category section of the PIM module allows creating product categories. Each category should be interconnected with a particular class. In addition, your created categories can feature child categories or parent categories. Therefore, you can define a hierarchy for your configured categories.
Access the Categories section and click the Add Category button to start creating a new category.
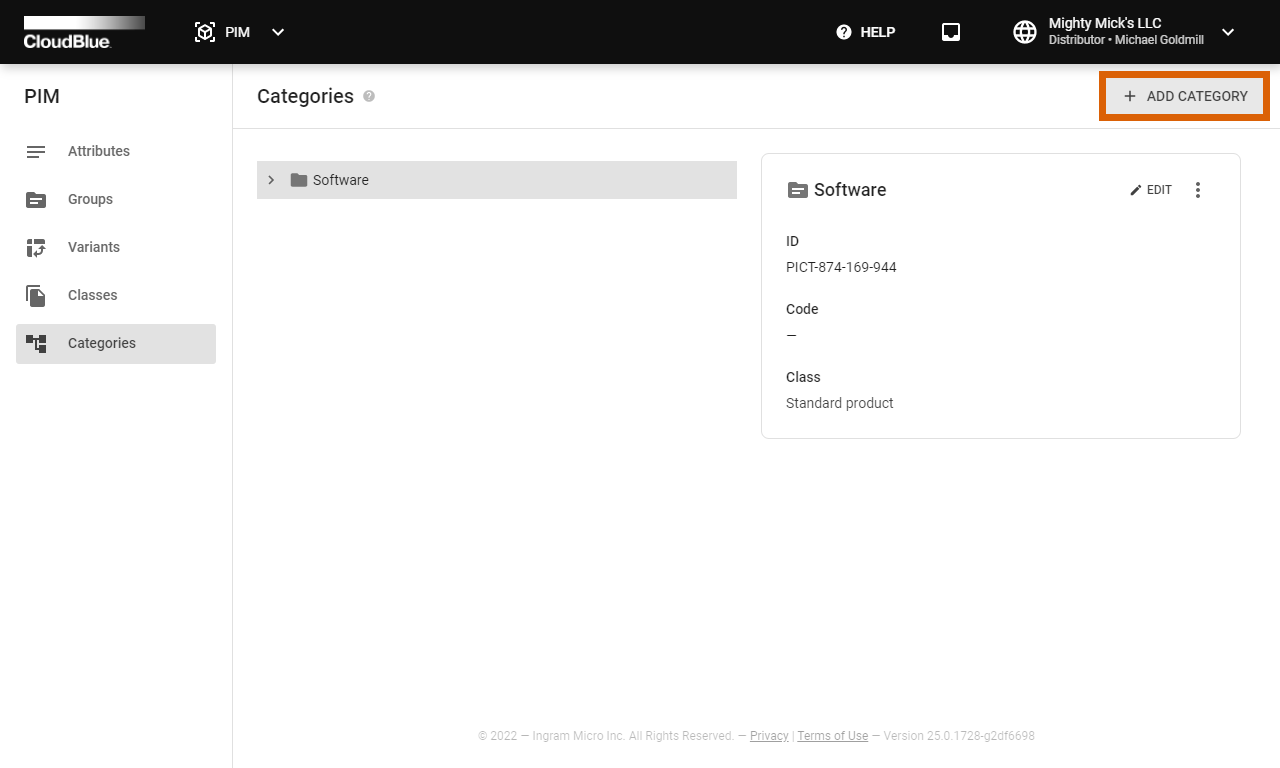

The system prompts you to specify a class that is associated with your new category. Furthermore, it is also required to enter your category name and code from your distribution system. In case several categories are already defined, you can select a parent category for your new category.
Click the Add button to finalize your category object creation. As a result, the system displays your new category in the Categories list. If your created category have a parent, the system provides the child category within its corresponding parent.
In case it is necessary to update your category name, associated class, code or specified parent category, click the Edit button above your category information.
.