The following article describes available Catalog management operations that are available only for the Distributor accounts on the CloudBlue Connect® platform. Namely, this article demonstrates how to manage your product groups that are required for the product catalog, how to manage the product group visibility for your business partners, and how to switch on the automated activation of your syndication contracts for your Catalog.
Product groups, as the name implies, are used to group products of a single or multiple Vendors. Namely, products can be grouped to represent a specific product category, target audience, products of specific Vendors, products that should be available for specific Resellers/Distributors or to indicate any other product differentiation.
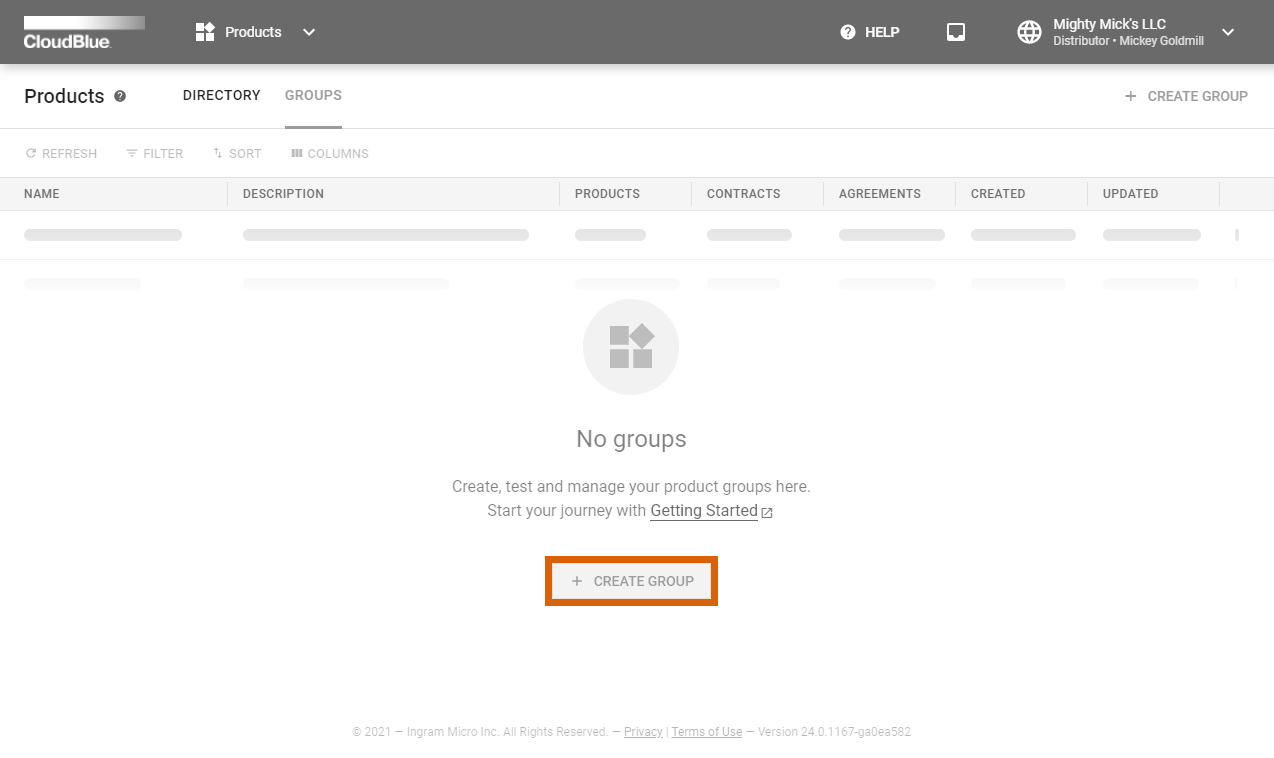
Note that configuring your product groups is an essential operation to define products that will be available within your Catalog. Create a new product group and manage your configured groups as described below:
Access the Groups tab of the Products module and click the Create Group button to launch a group creation wizard.
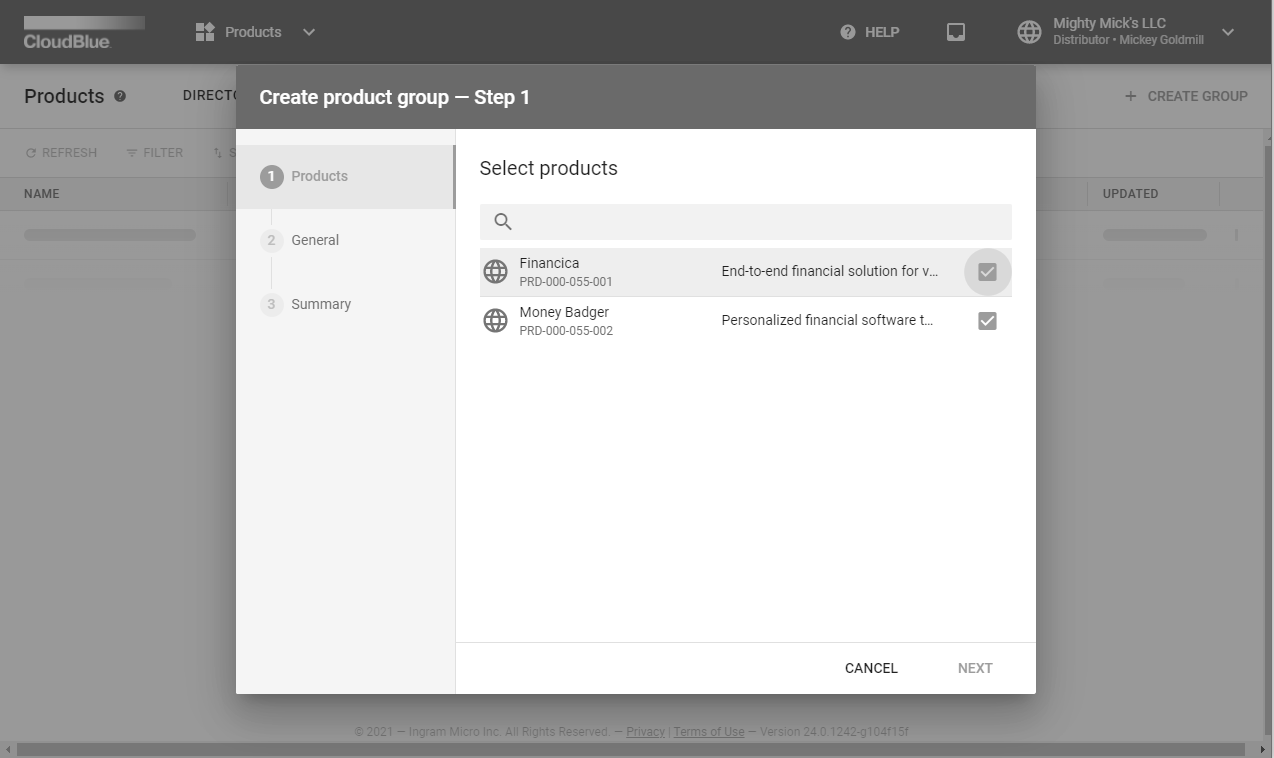

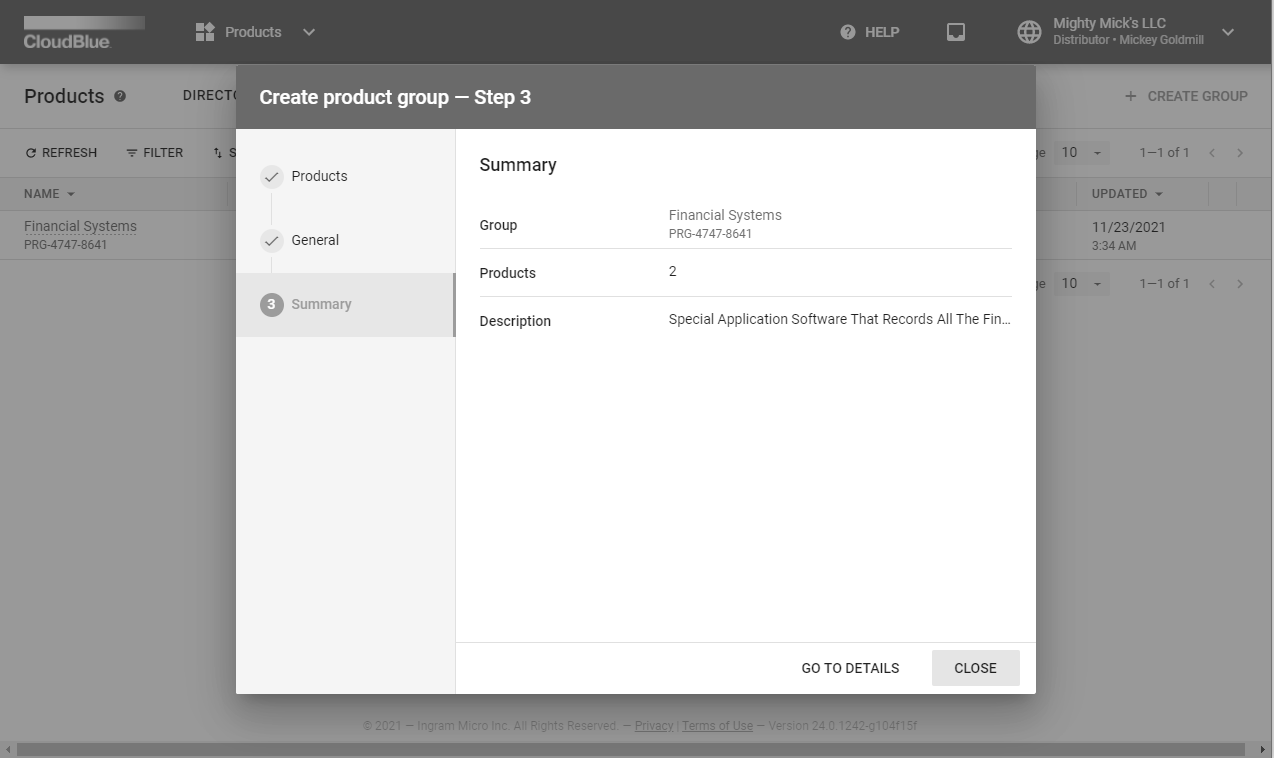
Follow the wizard steps to successfully configure your new product group:
Once your product group is configured successfully, it can be used for the subsequent the Catalog module operations. It is also possible to access the Product Group Details screen as described below.
Once your product group is successfully created and configured, click on your group object name to access the Product Group Details screen:
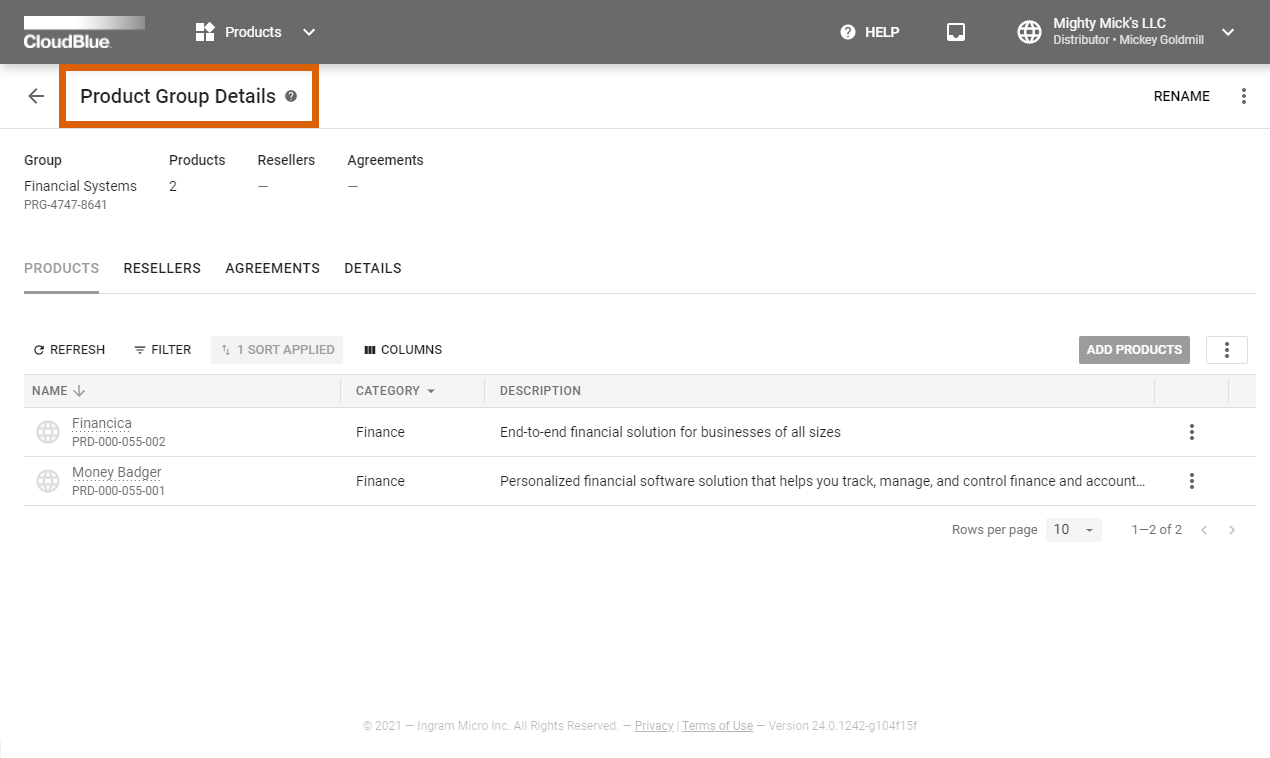
Rename your product groups by using the corresponding button at the top-right corner of the Groups Details screen. Click the vertical ellipsis icon (⋮) and select the Delete option in case you want to delete your product group.
The Product Groups Details screen also provides the following tabs that contains various data and allows performing various operations:
Note that your product groups can also be selected for your individual Reseller partners as described below.
The following describes how to edit your service and sourcing agreements and consequently manage the visibility of your product groups for your new added business partners as well as for your existing partners on the CloudBlue Connect® platform.
Specify required product groups while inviting a new Reseller/ Distributor partner on the CloudBlue Connect® platform. Access the Partners module to launch the Add Partner wizard. Select the Reseller/Distributor partner type and follow the wizard steps.
The wizard prompts you to include existing product groups that should be available for your new business partner on Connect.

Therefore, your selected product groups will be available for your added partner within the Catalog module. Note that it is also possible to edit product groups that will be available for your specific partners by updating your service agreements as described below.
The system also allows managing the Catalog visibility for your invited business partners by updating their corresponding service agreements. Proceed to the Agreements section of the Partners module to access a service agreement that should be configured or updated. Thereafter, access the agreement details screen to manage required product groups, edit marketplaces, and select associated sourcing agreement.
The Marketplace tab indicates source marketplaces that are associated with the service agreement. Namely, your business partners (that establish business relationship based on your service agreement) will be able to enroll a sourcing agreement only in case at least one source marketplace is attached to the service agreement. Click the Edit button to include or exclude your marketplaces.


Once your required marketplaces are selected, click Save to confirm your changes. Thus, your business partners will be able to select your specified source marketplaces and successfully enroll their sourcing contract.
The Groups tab displays all groups that are associated with your selected service agreement. Click the Edit button to exclude irrelevant product groups or include the product groups that should be available for your selected service agreement and consequently for your business partners within the Catalog module.


Check or uncheck the provided checkboxes to include or exclude corresponding product groups. Confirm your changes by clicking the Save button. Therefore, your selected products will be available for all service contracts that are based on this service agreement.
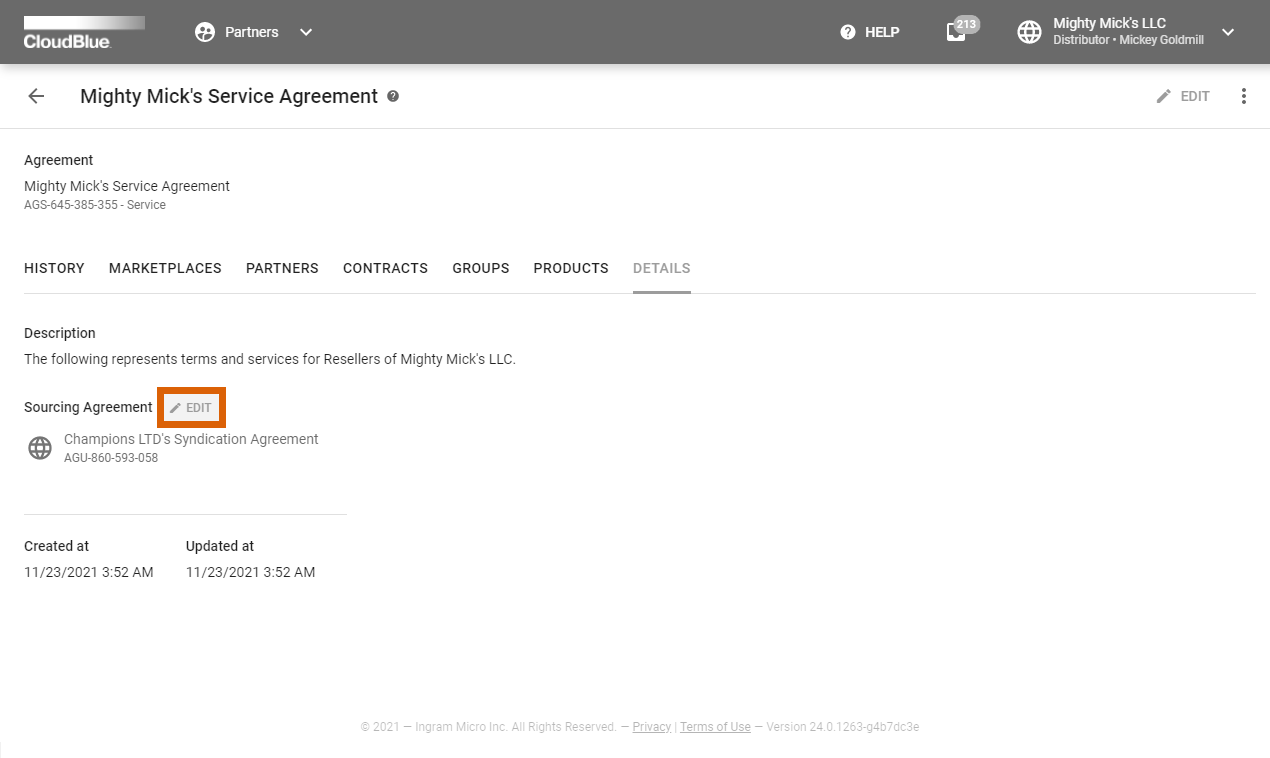
Access the Details tab to select your associated sourcing agreement for your service agreement. Click the Edit button under Sourcing Agreement to open a list of your available syndication and referral agreements. Thereafter, use the corresponding radio button to choose a required sourcing agreement from the list.
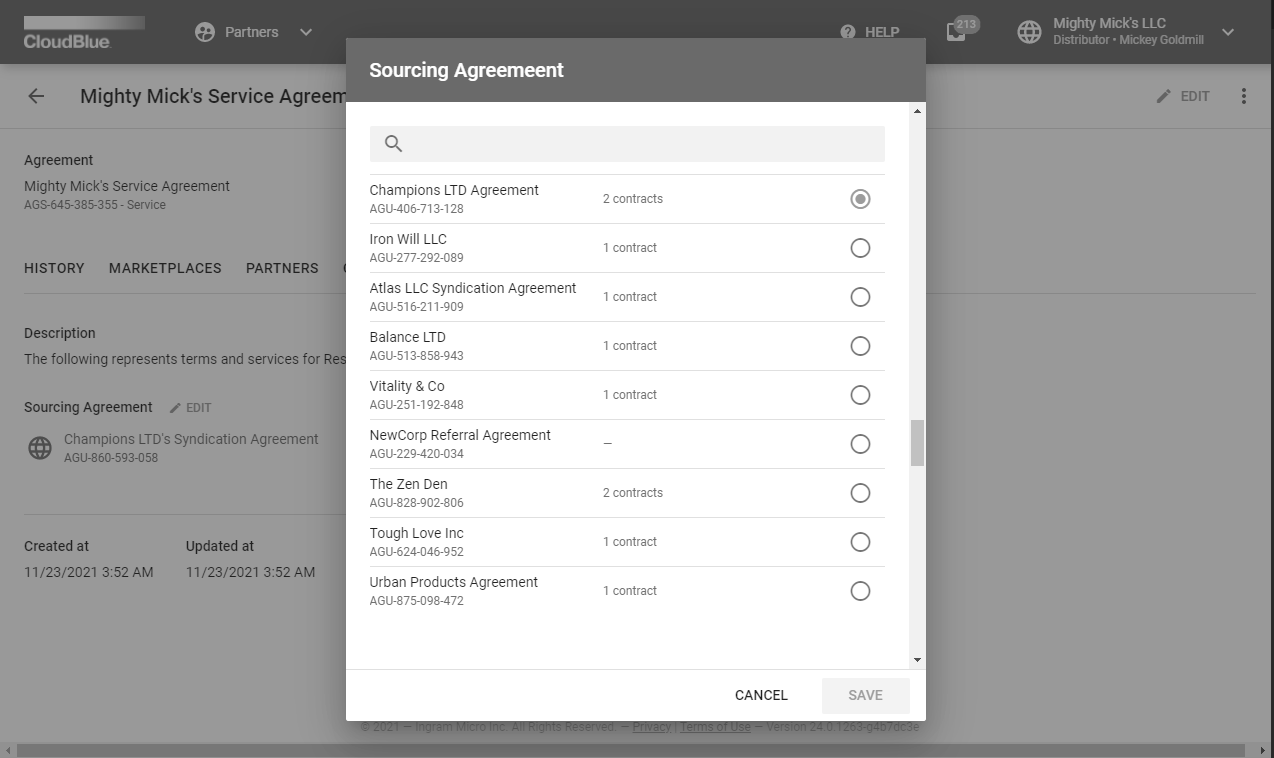
Once your required syndication or referral agreement is selected, confirm your decision by clicking the Save button. As a result, your selected sourcing contracts will be generated based on your attached sourcing agreement.
Once Resellers activate their service contract and select product for provisioning, the system allows Resellers to enroll a syndication contract that should consequently be activated by their Distributors. The Connect platform allows Distributors to enable the automated activation of sourcing contracts. Therefore, all enrolled sourcing contracts will be activated automatically.
Navigate to the Agreements section of the Partners module and access a syndication agreement that should (or should not) feature the contract auto-accept feature.

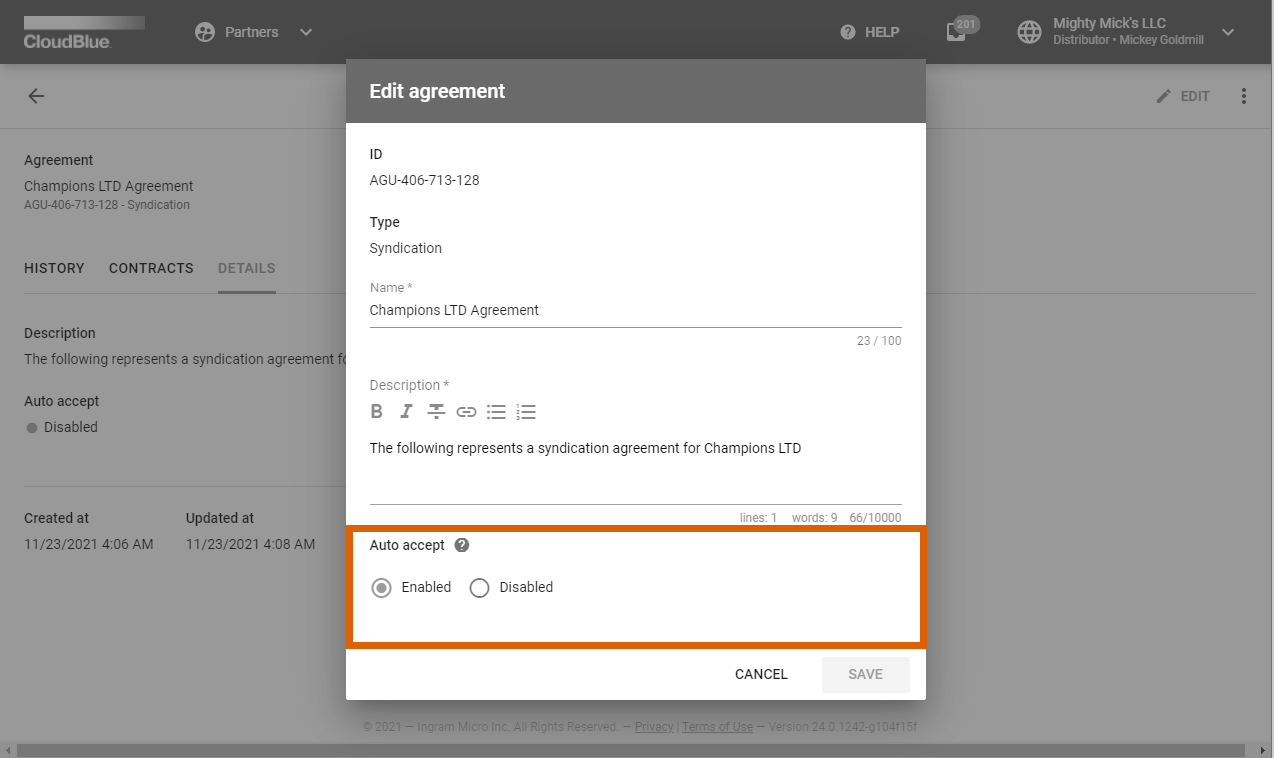
The Details tab of your selected agreement displays if the auto-accept feature is enabled or disabled for your contracts based on this agreement. Click the Edit button at the top-right corner of the agreement details screen to activate or deactivate this feature.