CloudBlue Connect® allows creating reports based on your custom templates. Such templates should be created by following the Connect Reports SDK guidelines. It is required to upload custom templates to a Git repository and assign a specific release tag. Thereafter, your repository can be linked with the system via the Reports section of the Account module.
The following showcases how to prepare your template files and provides step-by-step instructions on how to prepare your Git repository, how to add your Git repository to Connect, and how to successfully generate a report by using a custom template.
Follow the Connect Reports SDK guidelines to successfully create your custom report template. Namely, prepare your report template by following the provided steps:
Therefore, in case your report template is generated successfully, you can upload your report template files to your Git repository. Note that in order to use your custom templates on the Connect platform, your repository should have a version tag. Prepare your Git repository as described below.
Before adding your Git repository to Connect and starting to use your custom template within the system, it is required to make sure that your repository includes at least one version tag. Otherwise, your repository will not be added to the system. The following steps demonstrate how to create a new release and prepare your repository on GitHub:

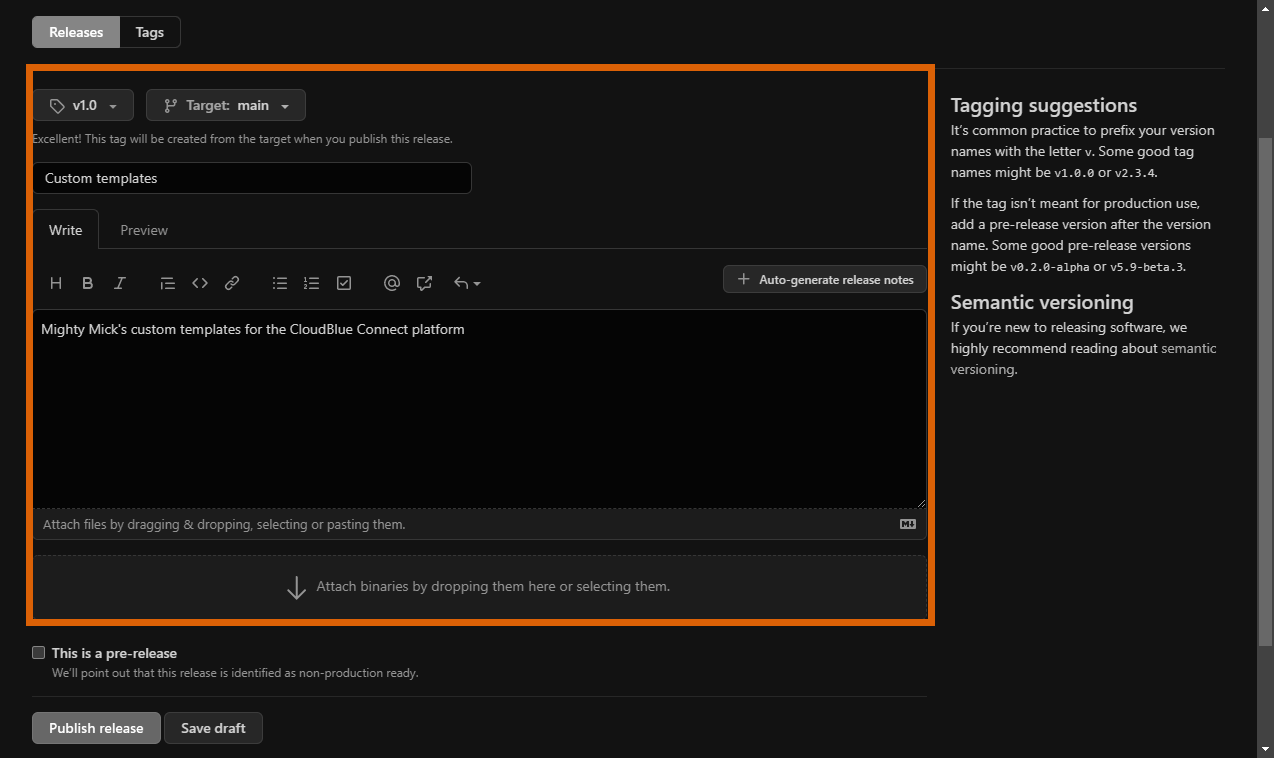
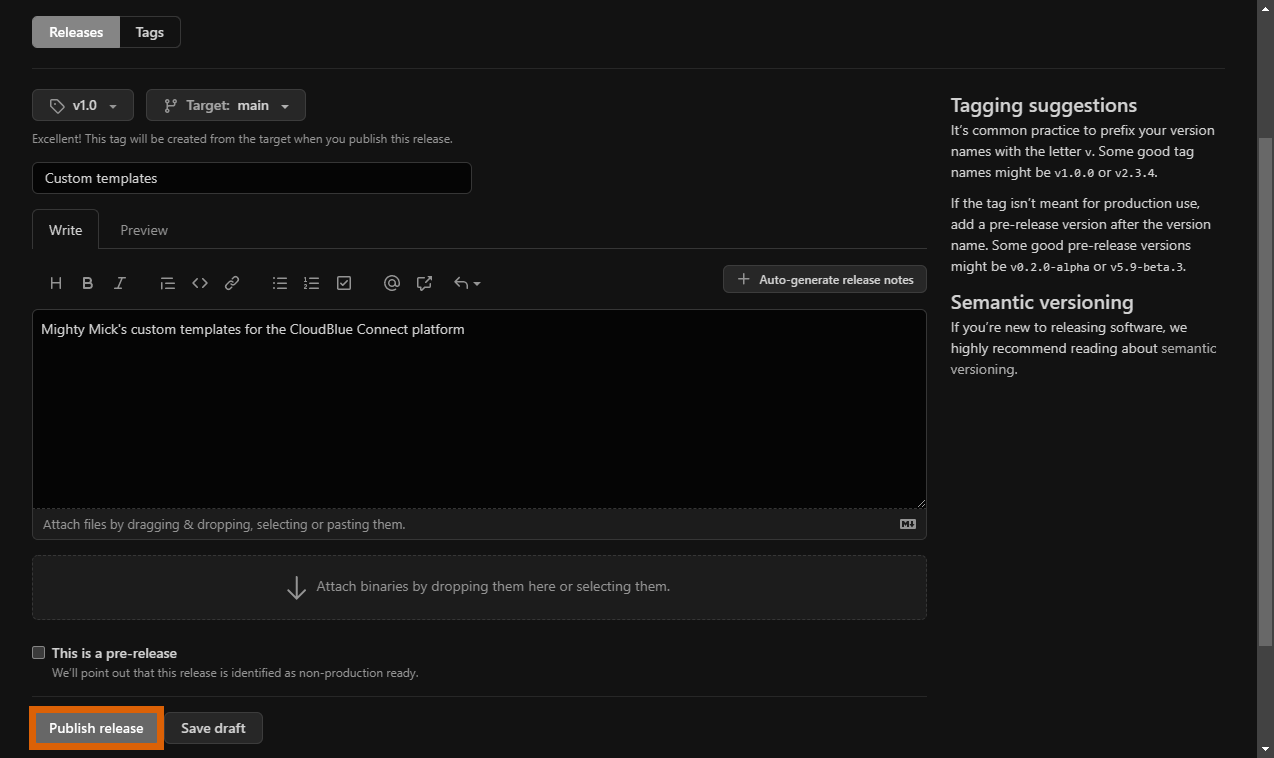
Thus, a new version tag of your custom template will be created and your repository will be successfully configured for the following operations. In case more information on managing your releases is required, please refer to the GitHub documentation.
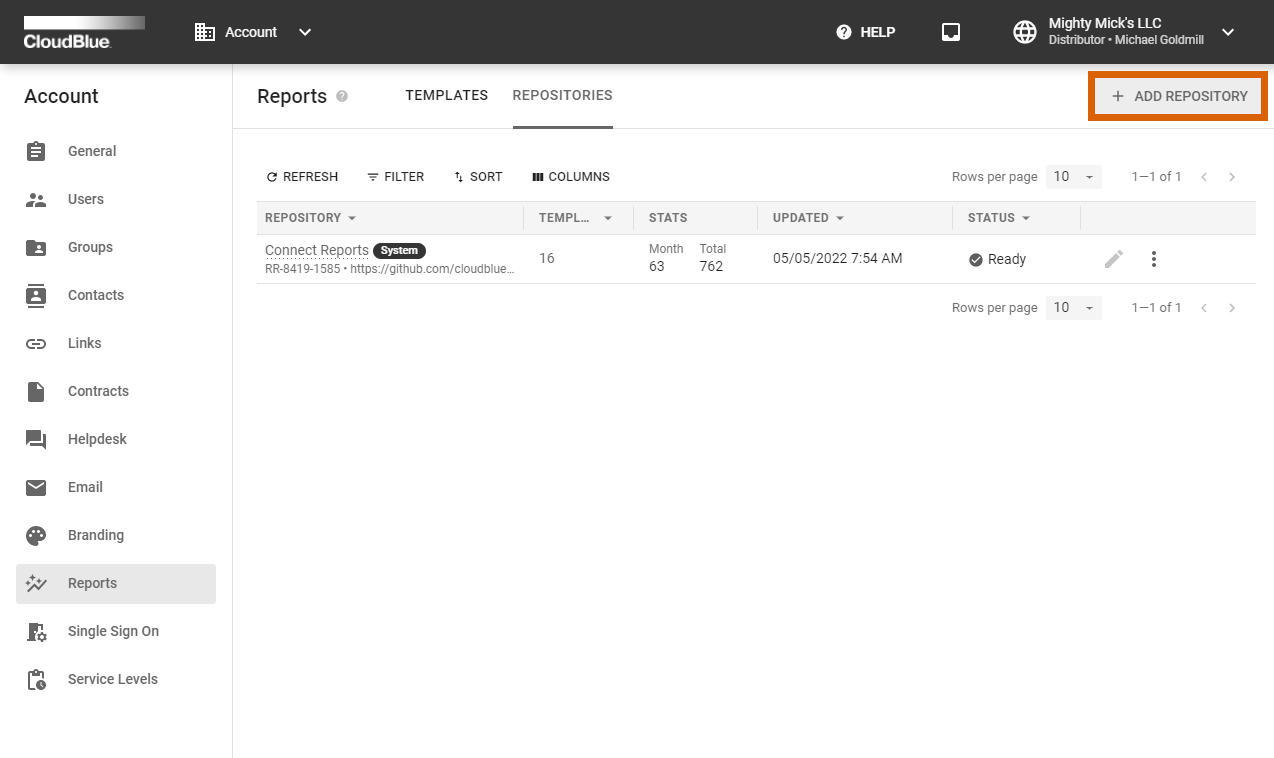
Once your Git repository includes at least one release with your custom templates and a version tag, it is possible to add this repository to the Connect platform. Navigate through the Accounts module on Connect and access the Reports section that provides available templates and repositories. Switch to the Repositories tab and click Add Repository to launch a wizard.
Follow the wizard steps to add your Git repository to the system:

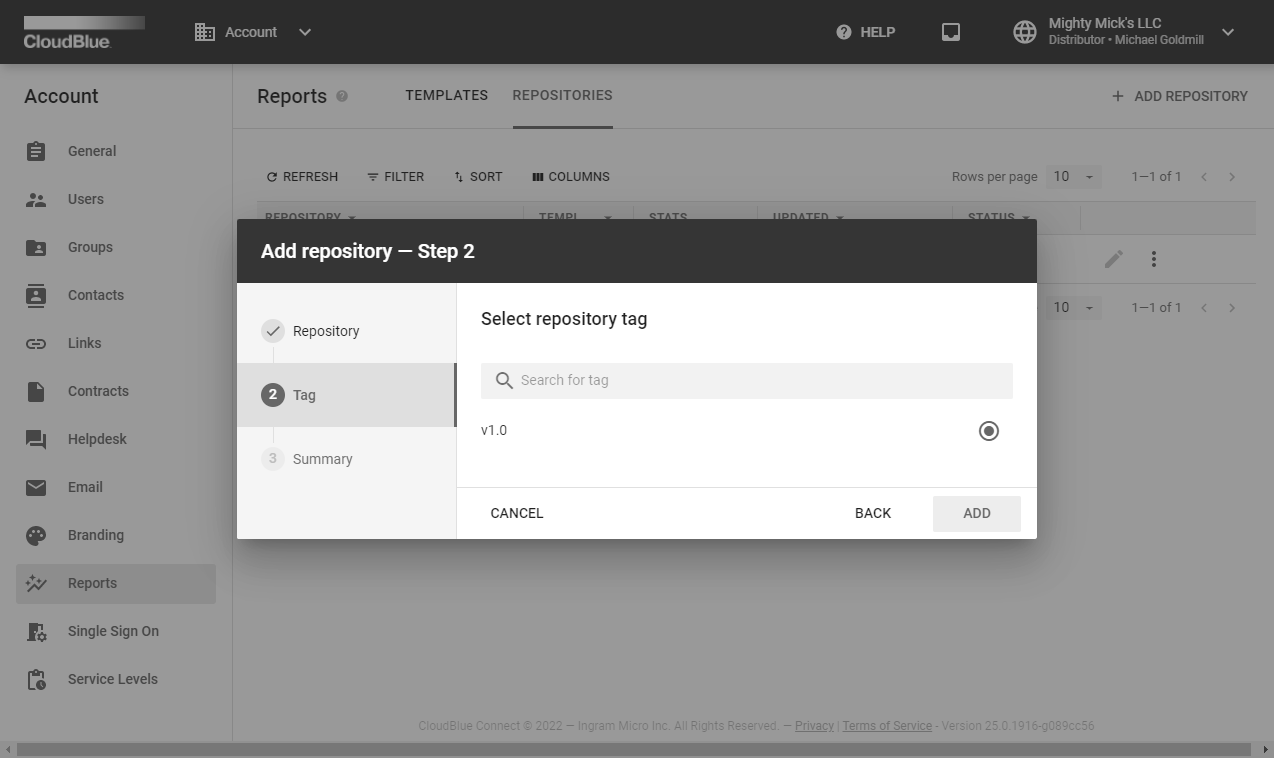
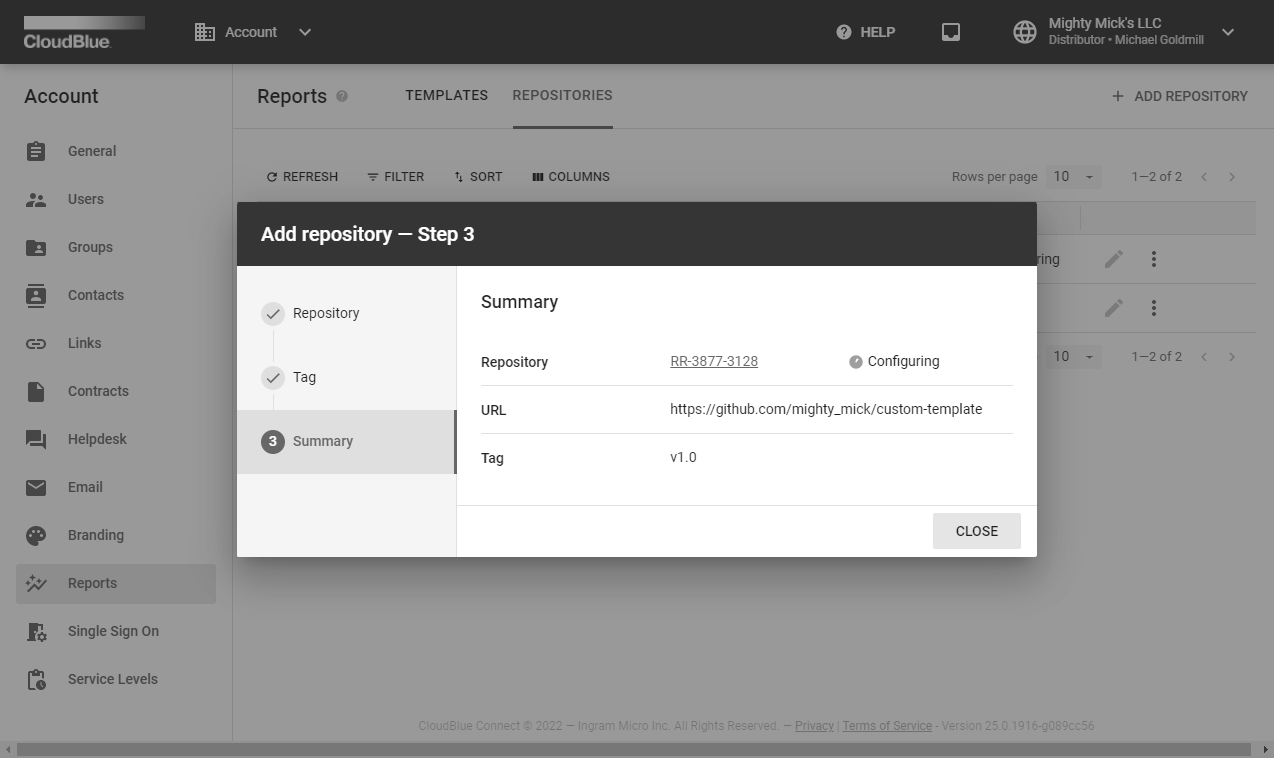

Therefore, the system starts adding your Git repository. Note that the system provides a status of your repository. Once the status of your repository object is switched to Ready, the system will successfully add your custom templates and will allow generating reports by using these templates. In case of an error, the system provides an error description within your repository details and conversation box.
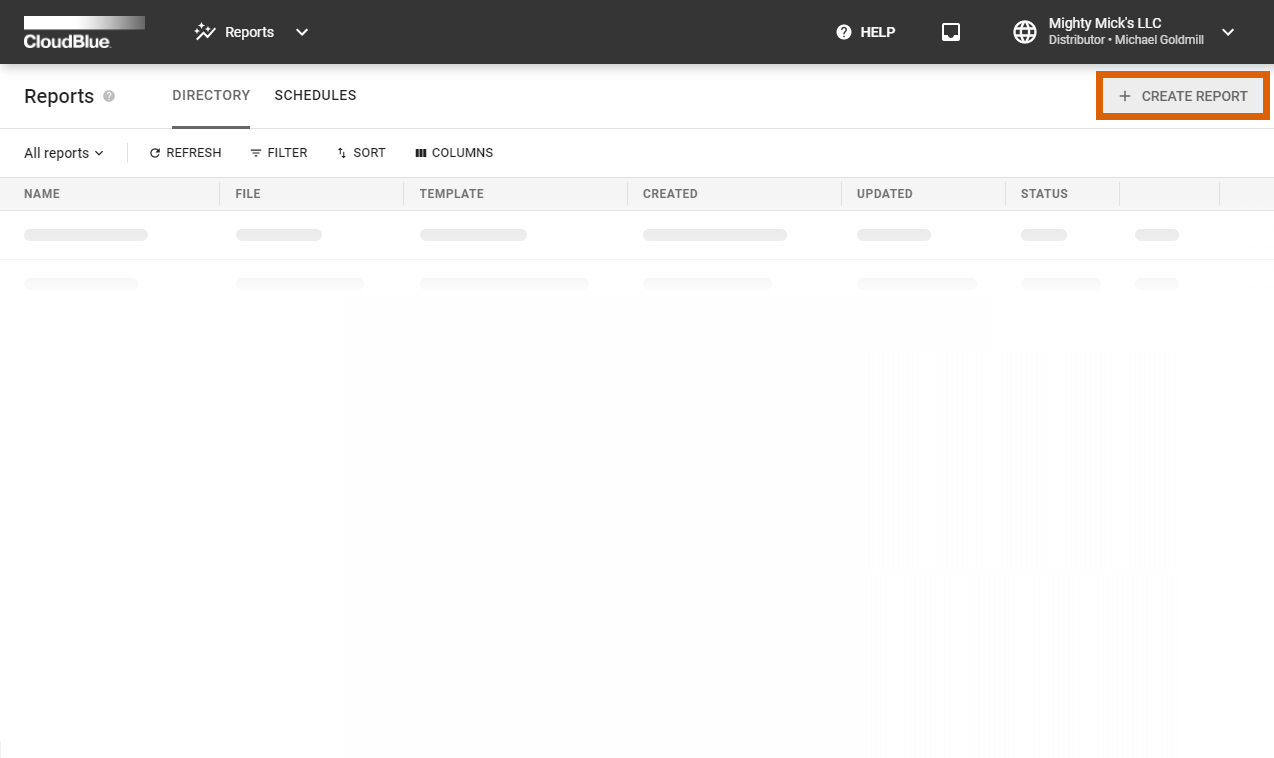
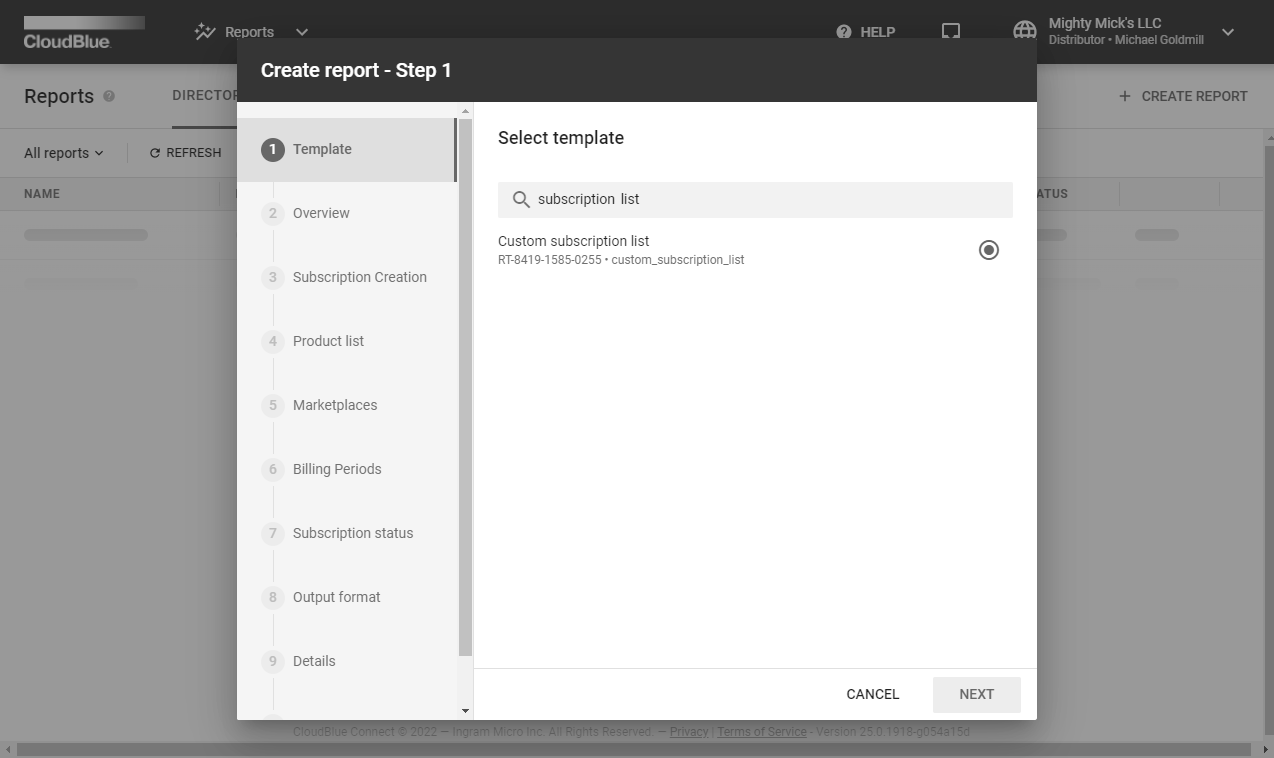
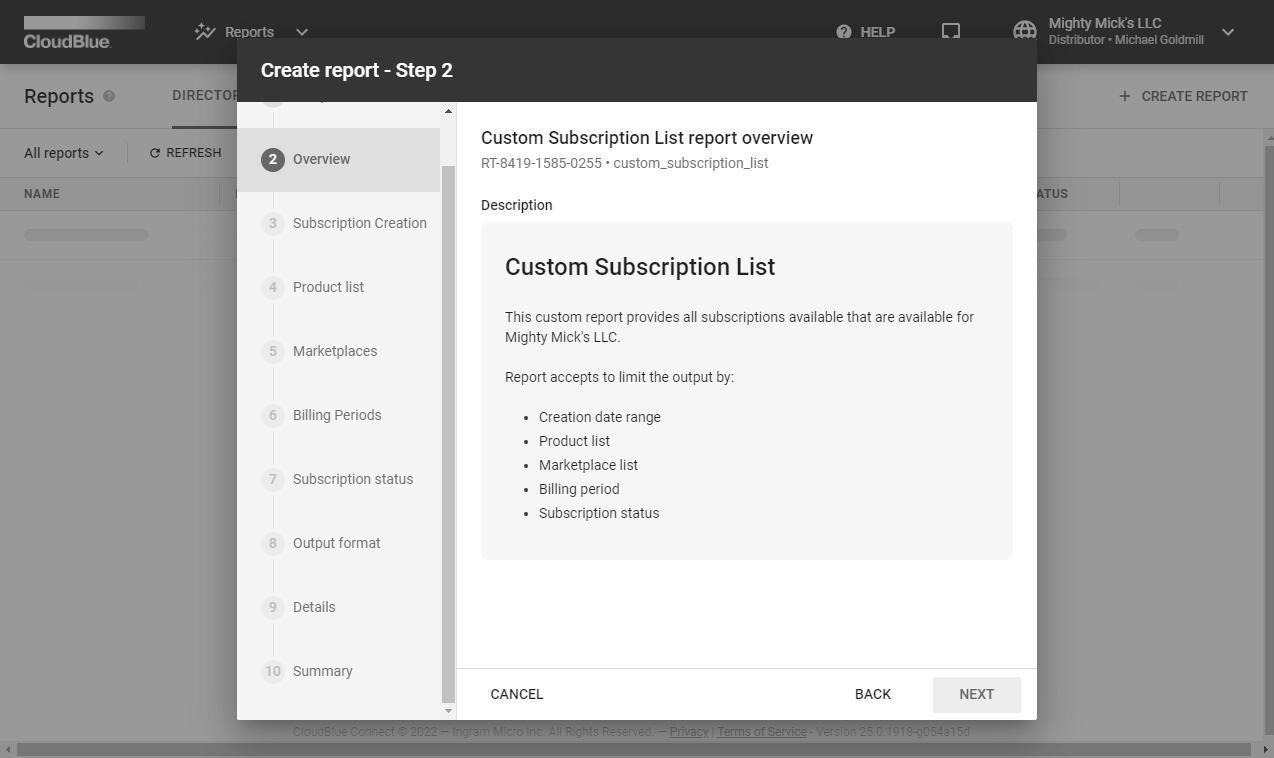
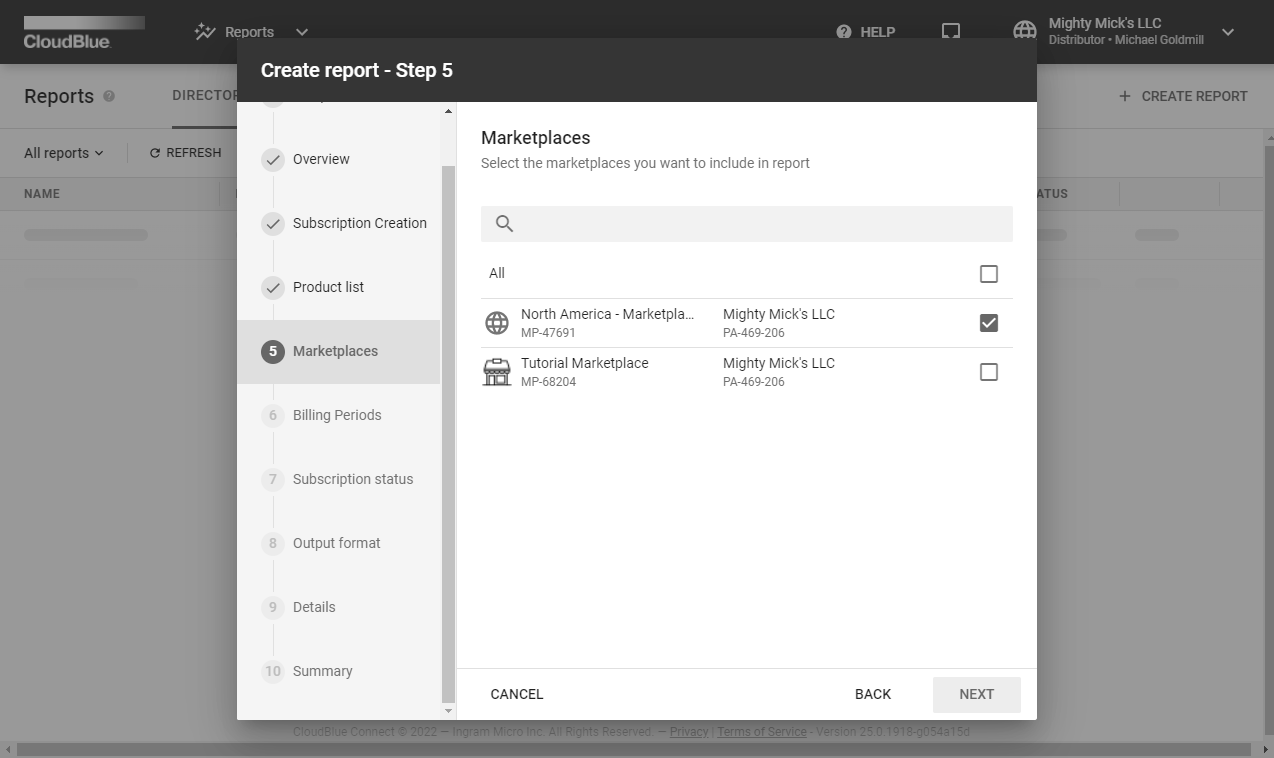
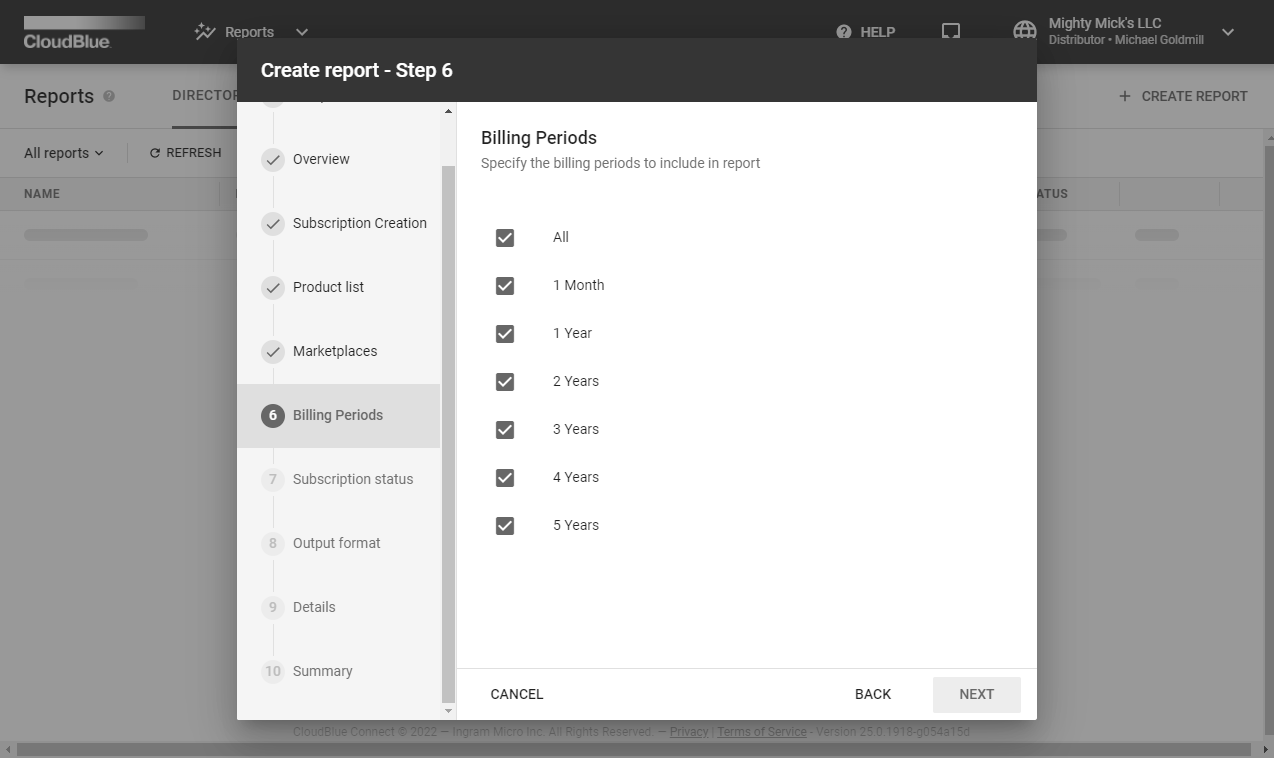
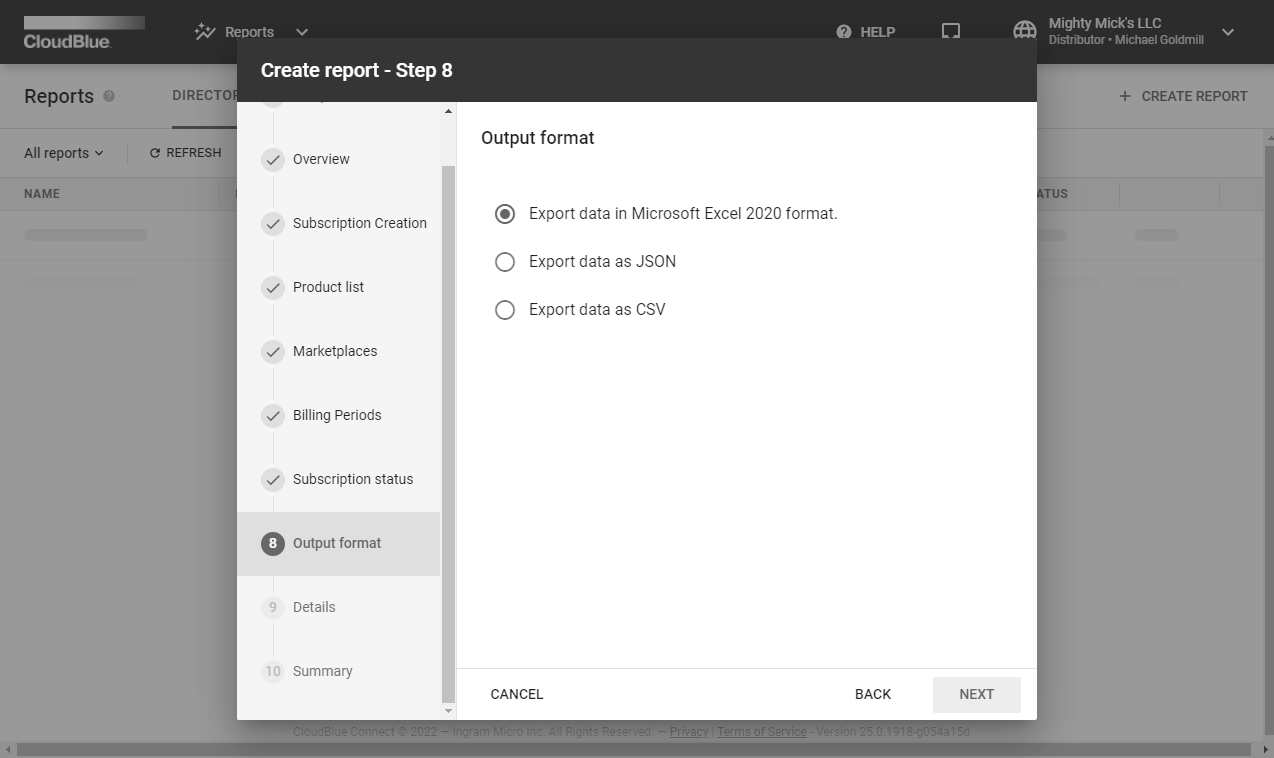
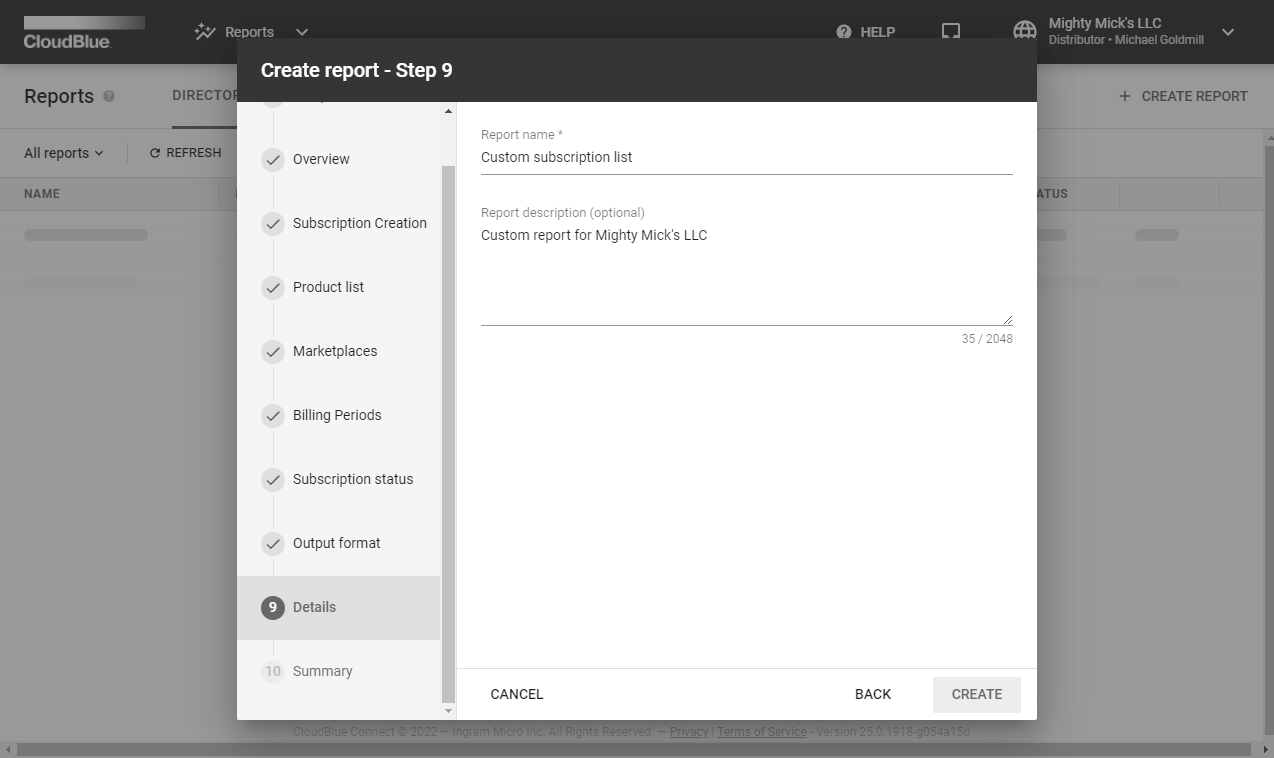
When your custom reports are successfully uploaded to Connect, the system allows generating reports by using the reports creation wizard in the Reports module. Note that the number of wizard steps vary depending on your created template.
The following showcases how to create a new Connect report based on a custom template:


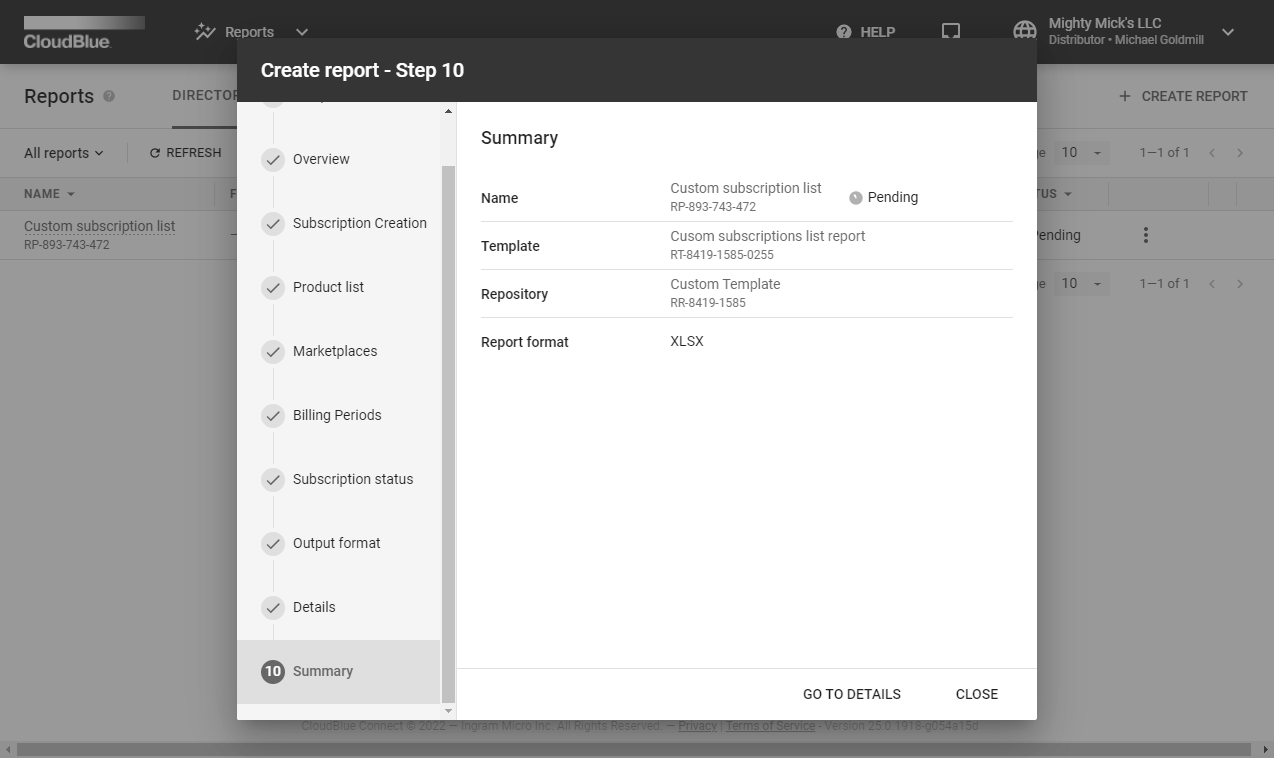
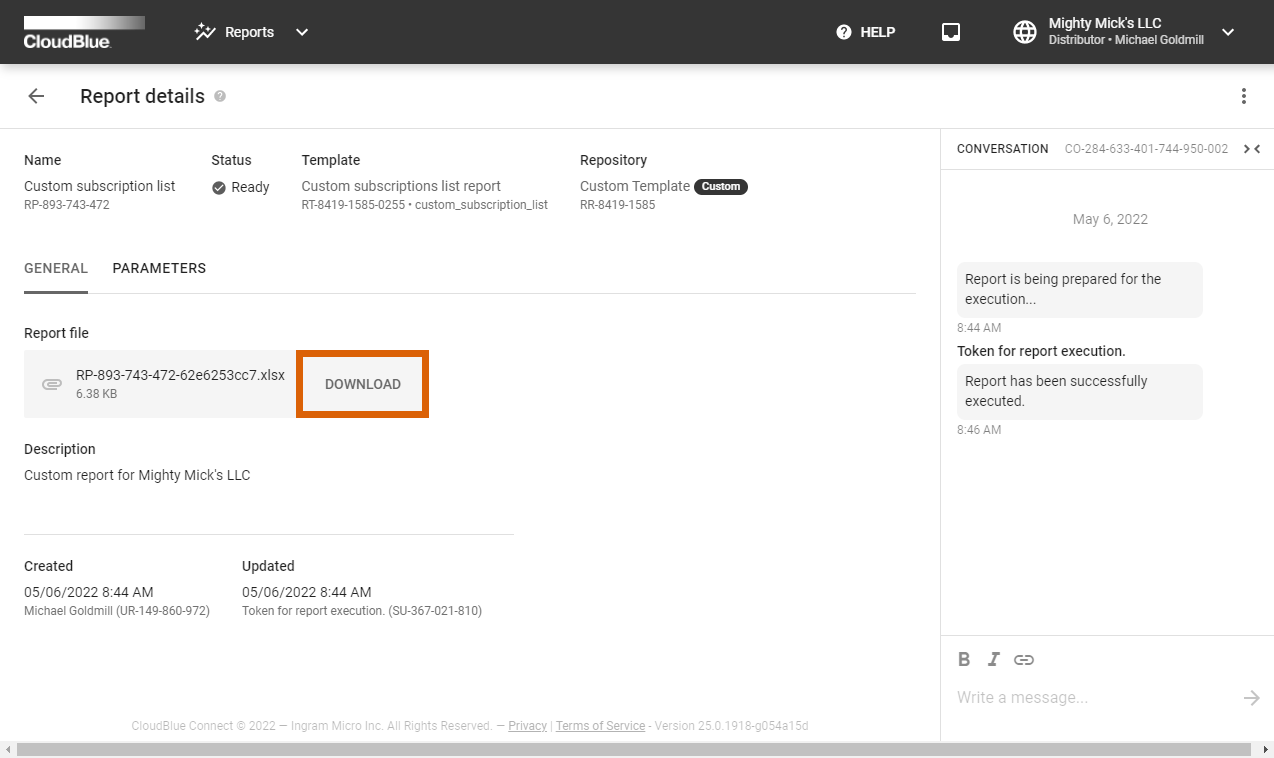
As a result, the system generates a new custom report object and assigns the Pending status to this object. Once the status of your report object will be switched to Ready, the system allows downloading the report file by clicking on your file from the Reports data grid and by using the Download button from the Report details screen.
Note that the system also allows using your custom templates to configure schedules for your reports creation. Refer to Reports Interface documentation for more details.