The CloudBlue Connect® platform allows defining product categories, attributes, groups, classes, and variations for specifying product information that your commerce system works with. Specifically, the Product Information Management module provides comprehensive functionality to create templates for collecting technical details and other important aspects of a product.
Once all templates are established, the system streamlines and facilitates product information specifications during the Product Definition flow. Therefore, Vendors can select a category and specify attributes for each product with just a few clicks.
The following provides a use case scenario and step-by-step instructions on how to define attributes, classes, groups and other templates for customer management software.
The PIM module operations do not require any prerequisites or established contractual relationship with a specific Vendor. However, the system includes a specific workflow for defining such templates. Start off by creating groups for your future attributes as follows:

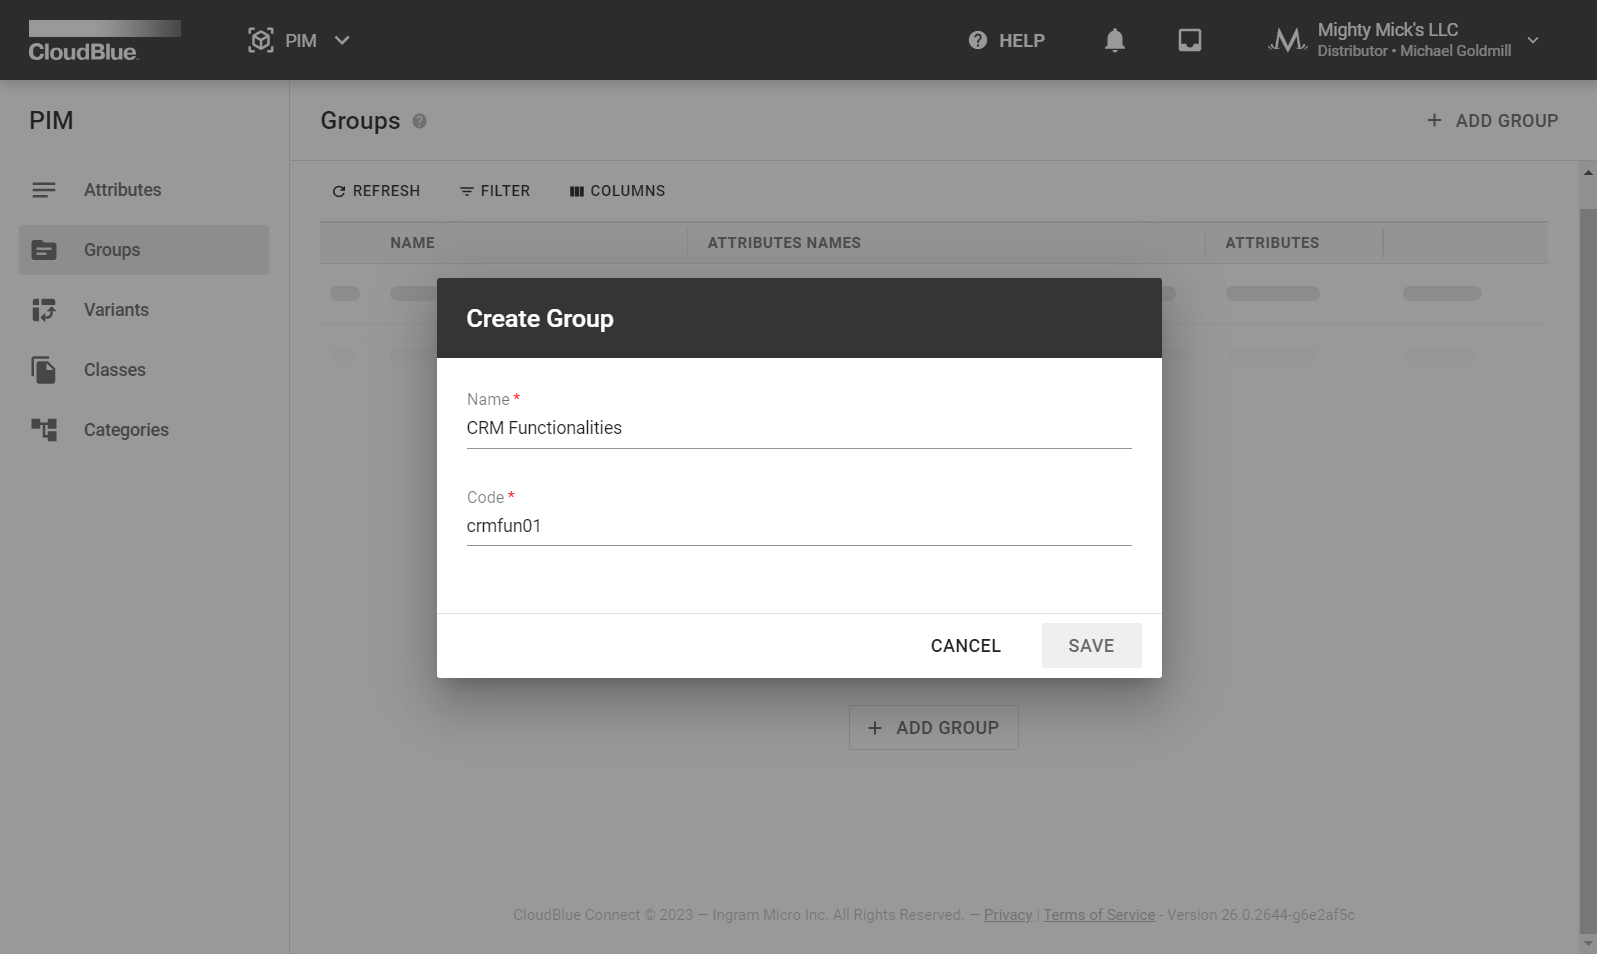
This scenario showcases a created group that is called CRM Functionalities. This group will be used for creating attributes of cloud-based customer management software.
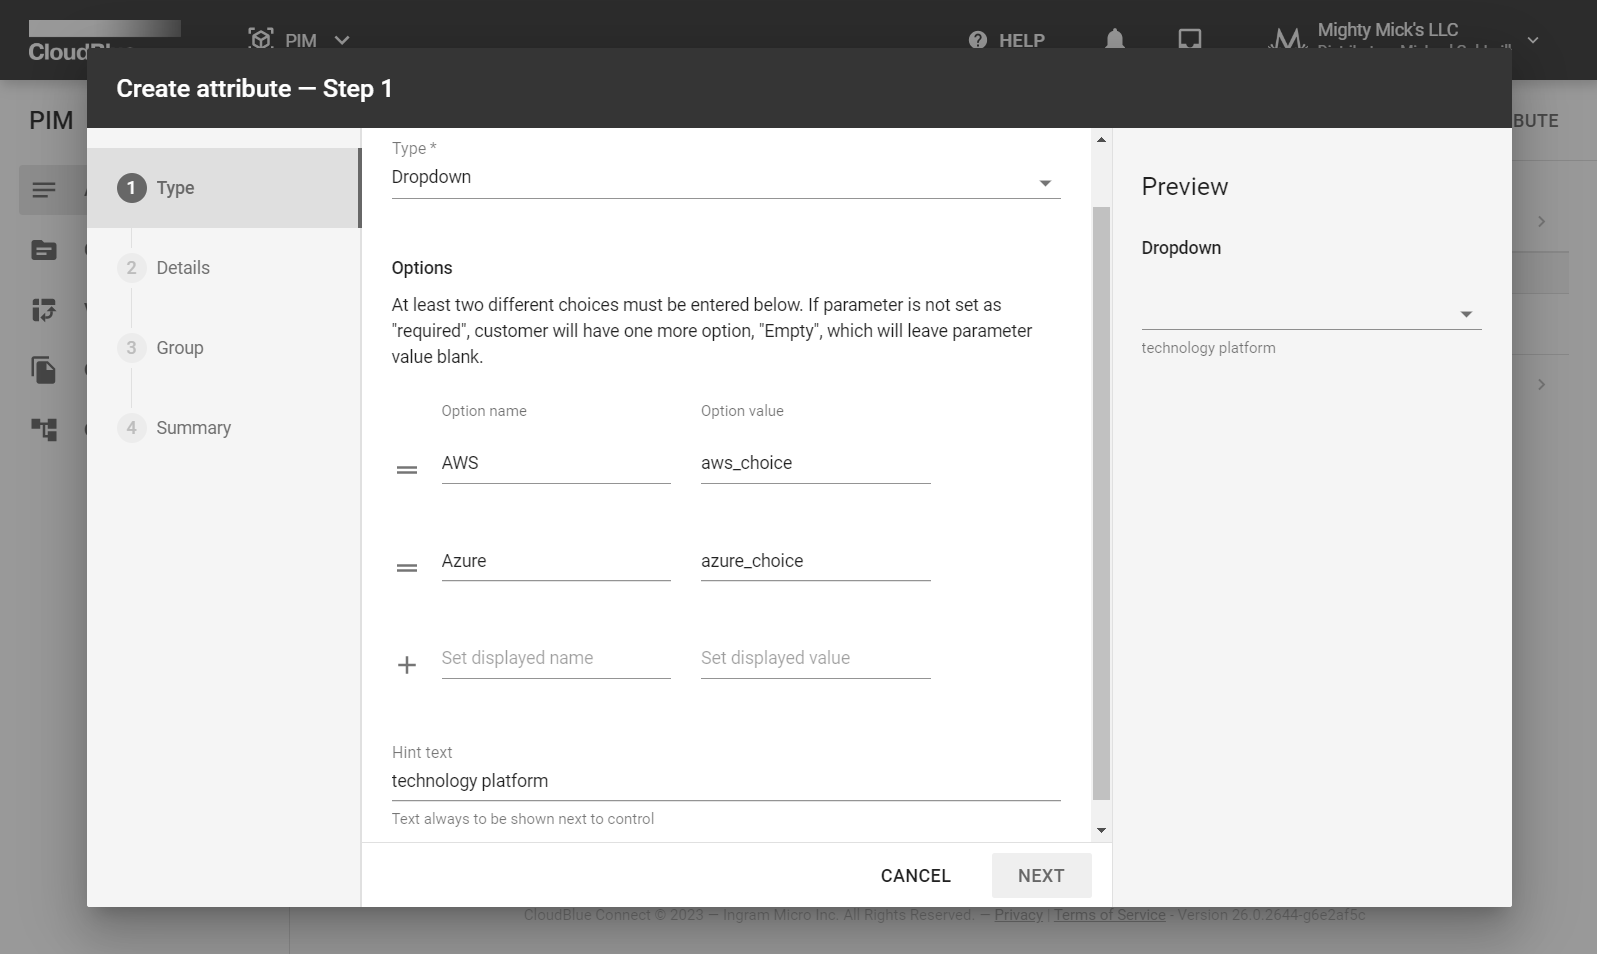
Once your group is defined, the system allows creating attributes that can be associated with your provided group. Attributes allow Vendors to specify technical characteristics that are required for your commerce or other external systems. The following demonstrates how to define attributes for your created group:

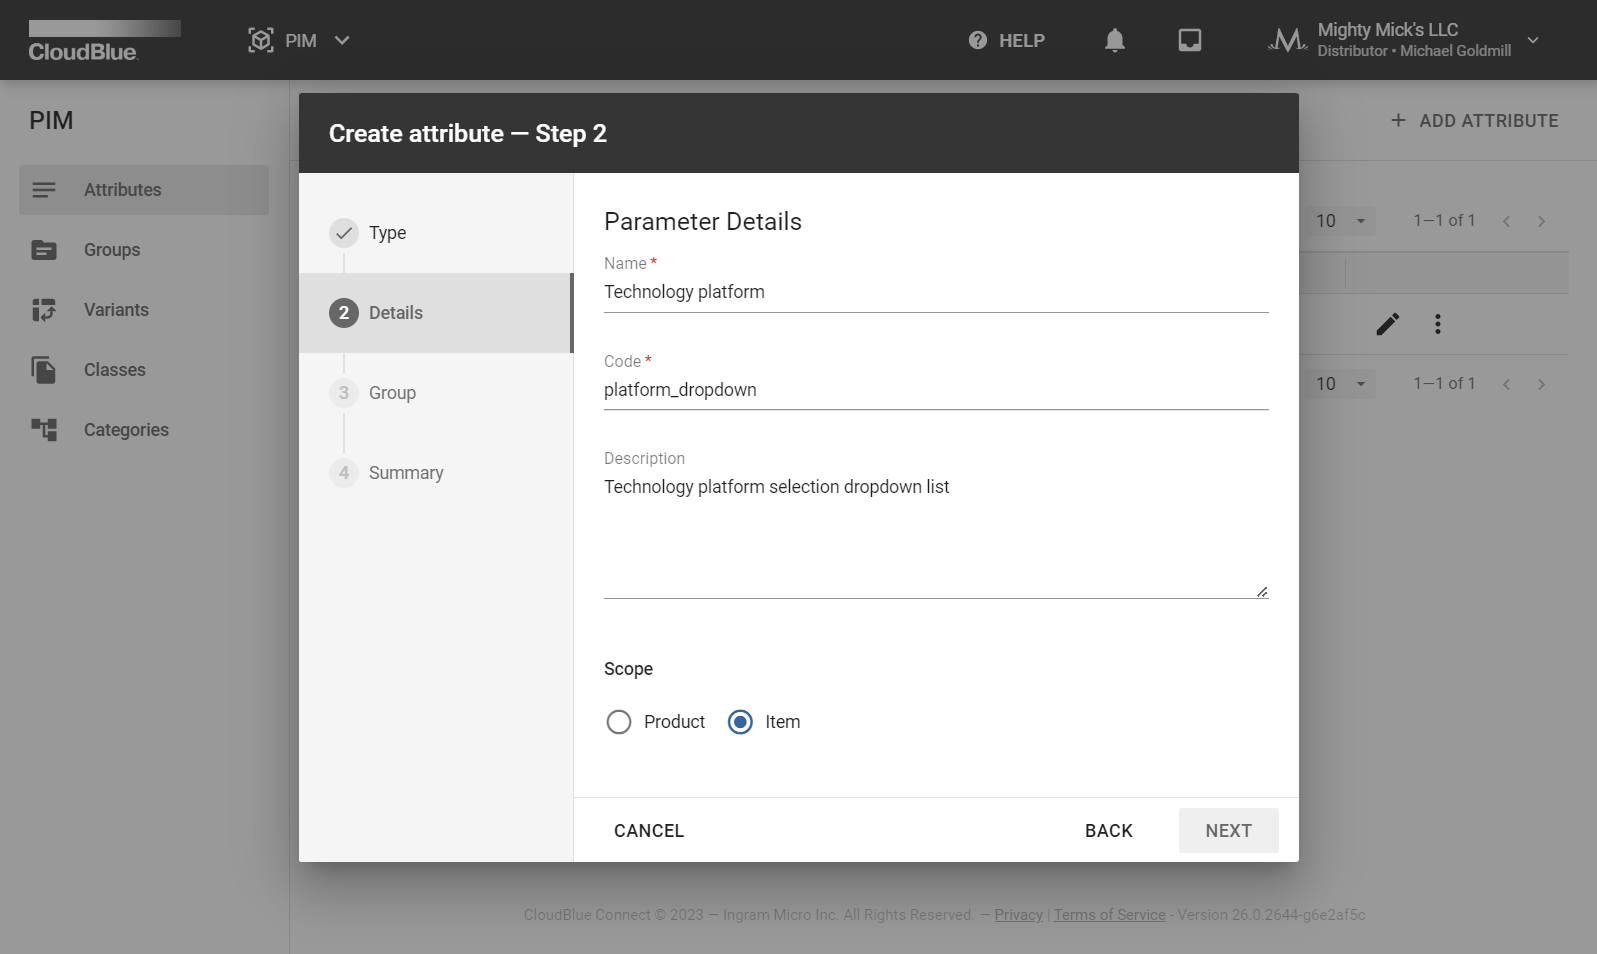
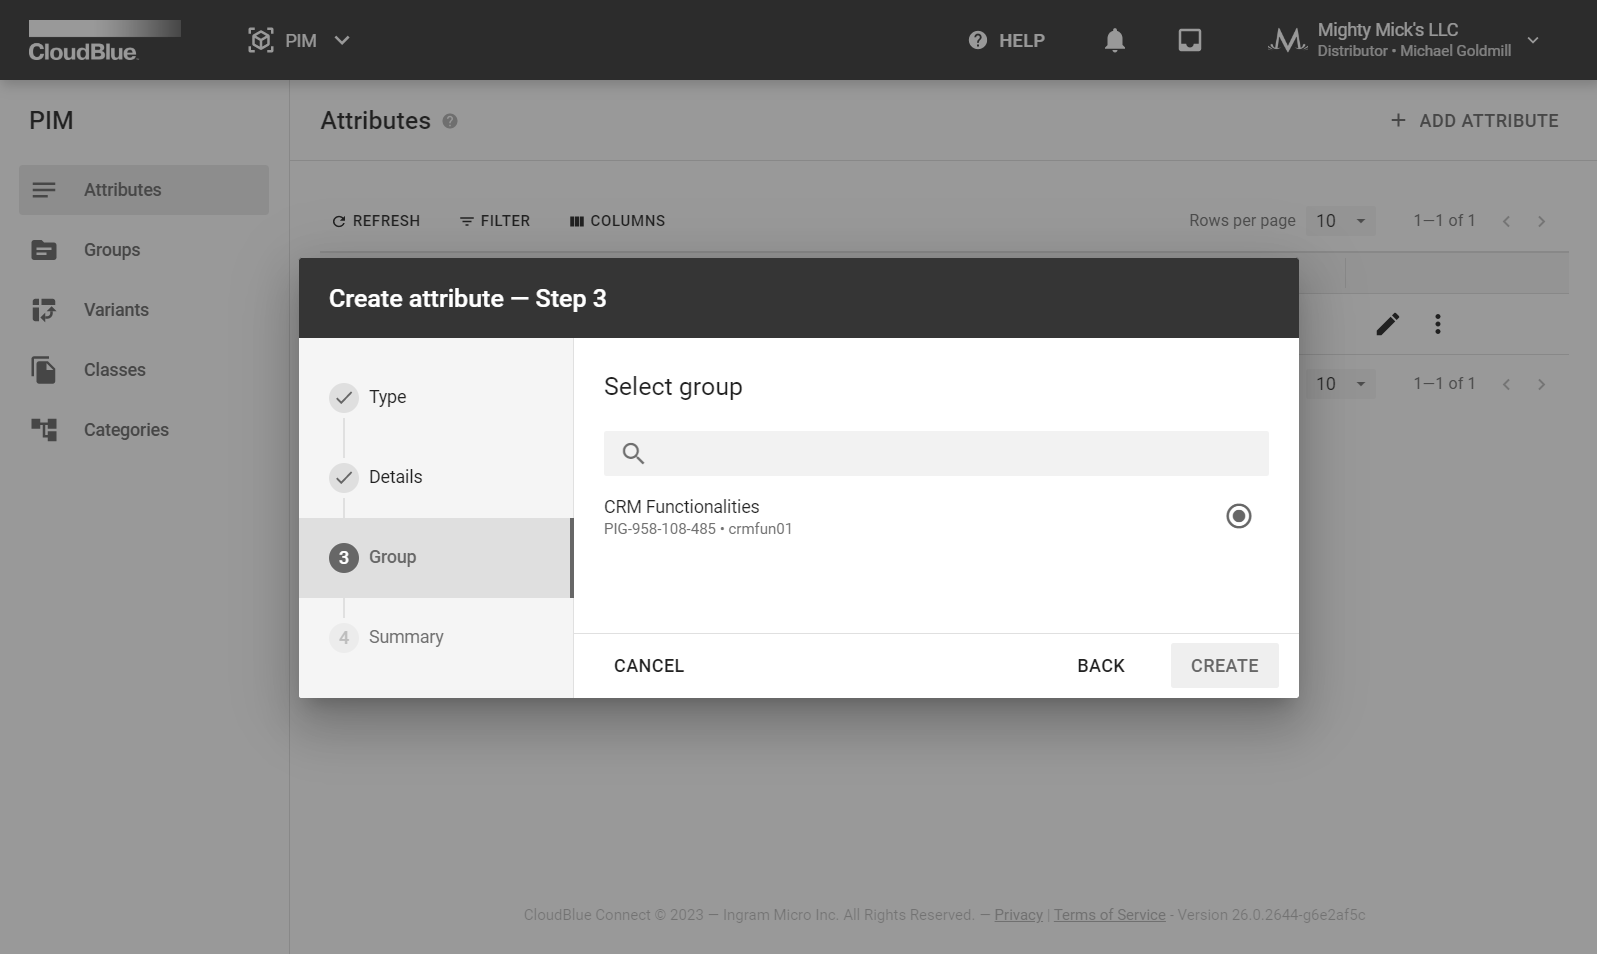
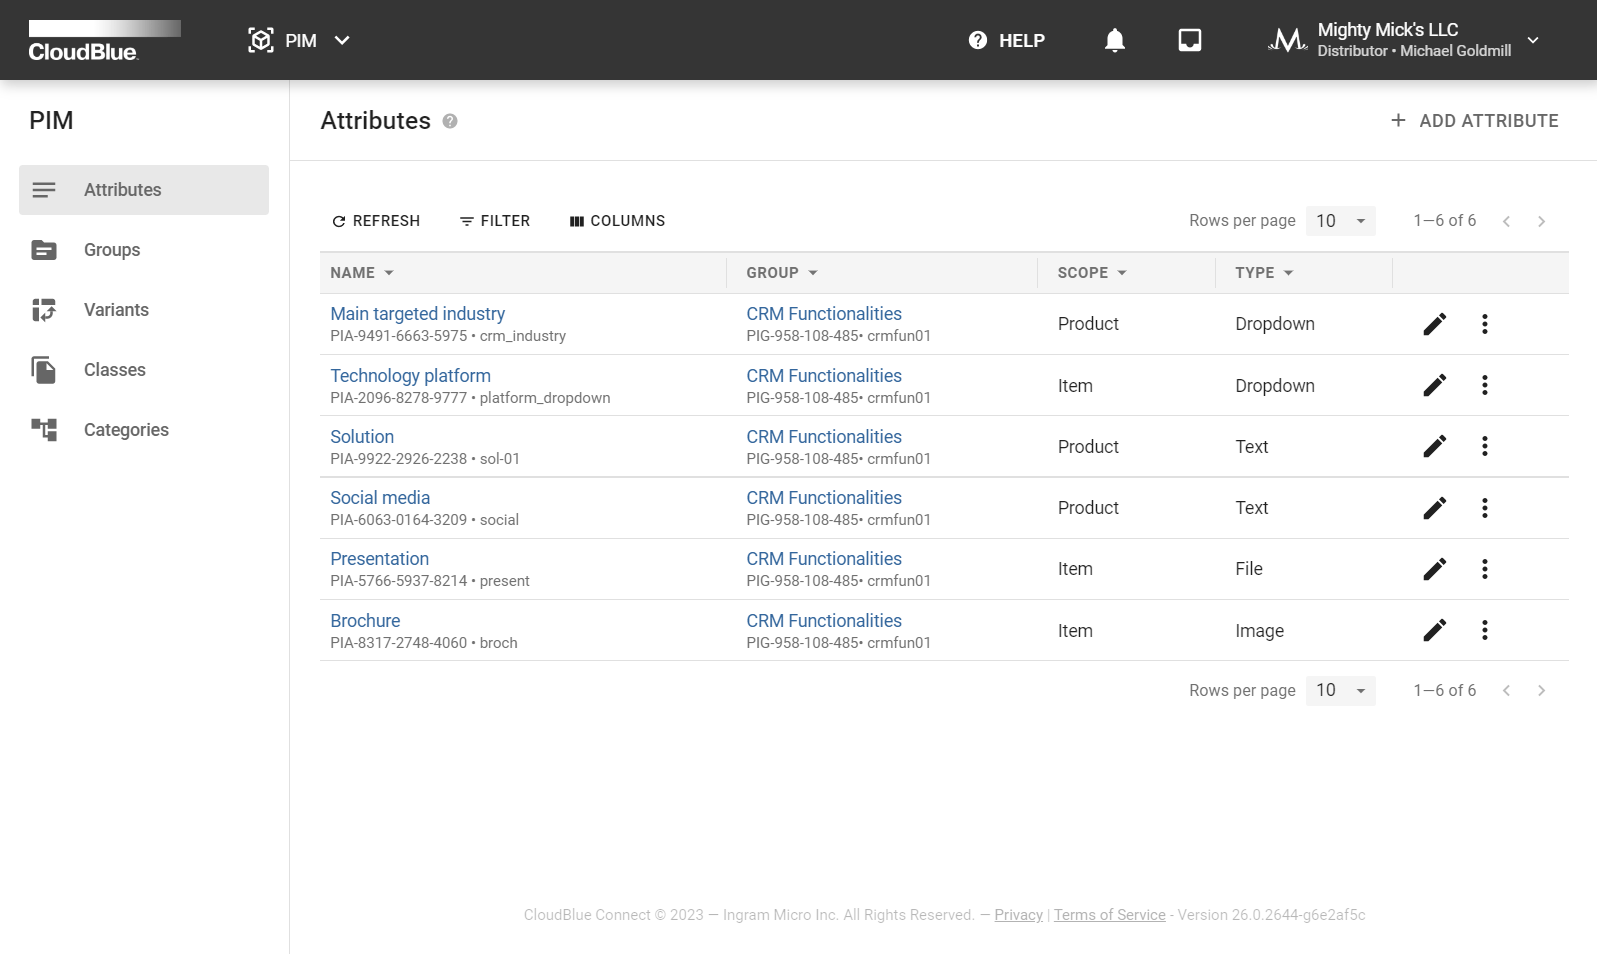
Thus, your attribute will be successfully created. Note that the system allows creating as many attributes as it is required for your commerce system or products. The provided demo scenario includes multiple item-scope and product-scope attributes that represent various features and functionalities of CRM solutions.
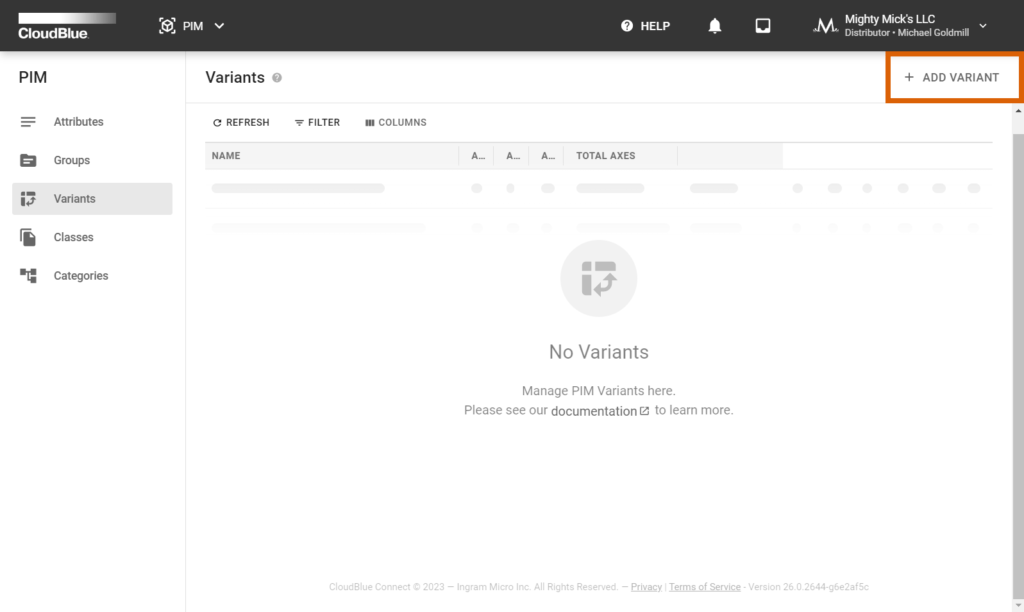
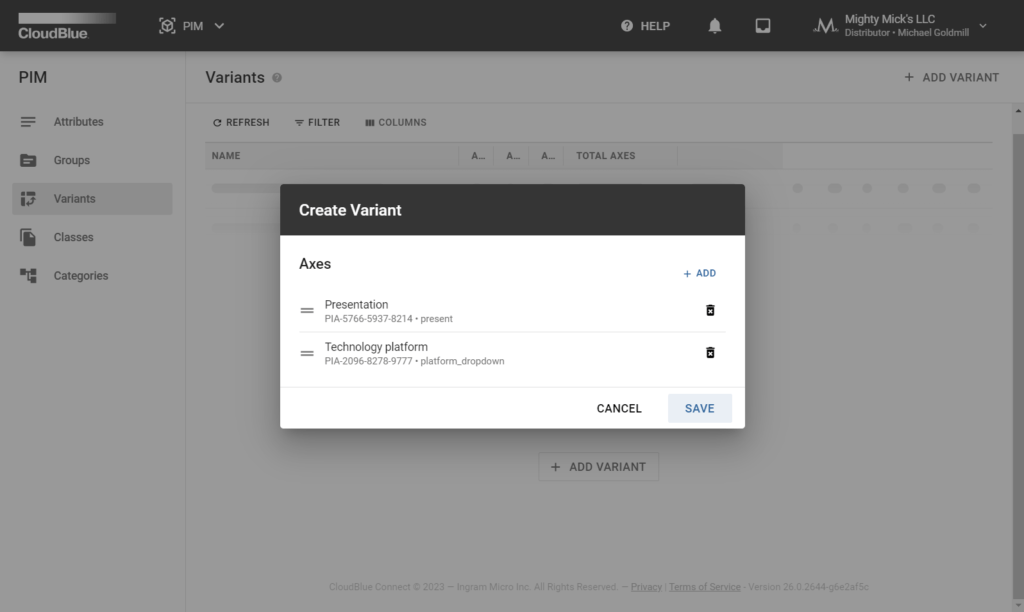
In case multiple item-scope attributes are created, the system allows creating variants with different combinations of such attributes. Note that variant creation is an optional procedure, but it allows establishing structured representation of all available items and finding required items within commerce systems much quicker.
Follow the steps below to define your variants:
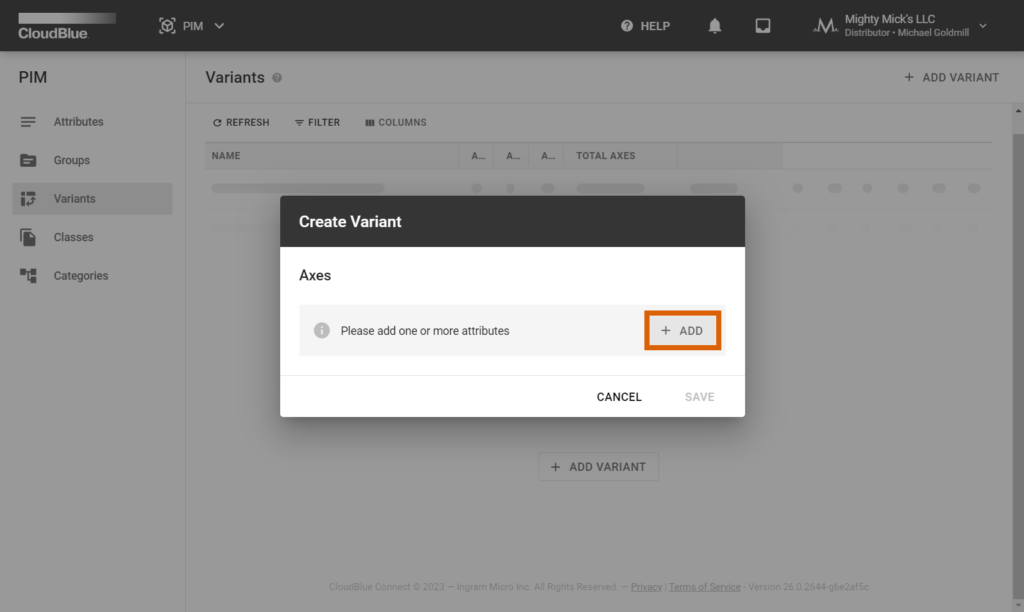
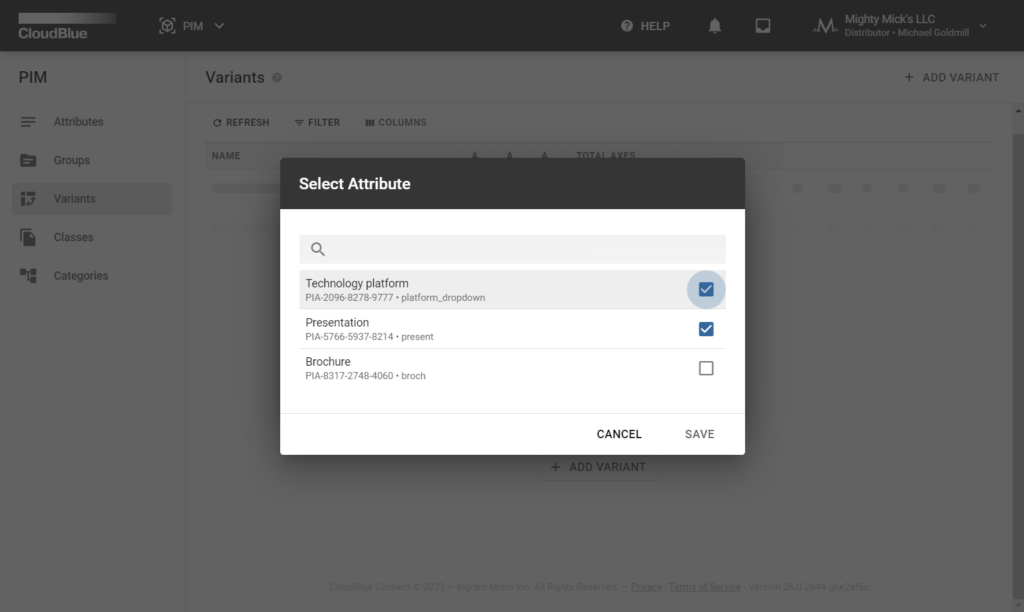
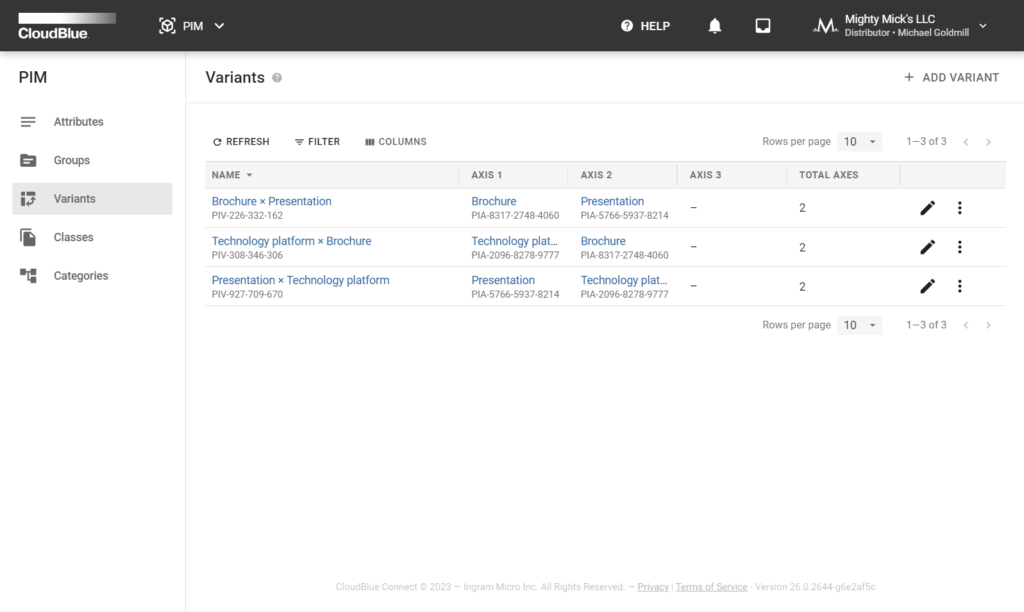
The demo example incorporates multiple variants for CRM functionalities attributes. Each variant will be used for various classes and categories that will be created later in this tutorial.
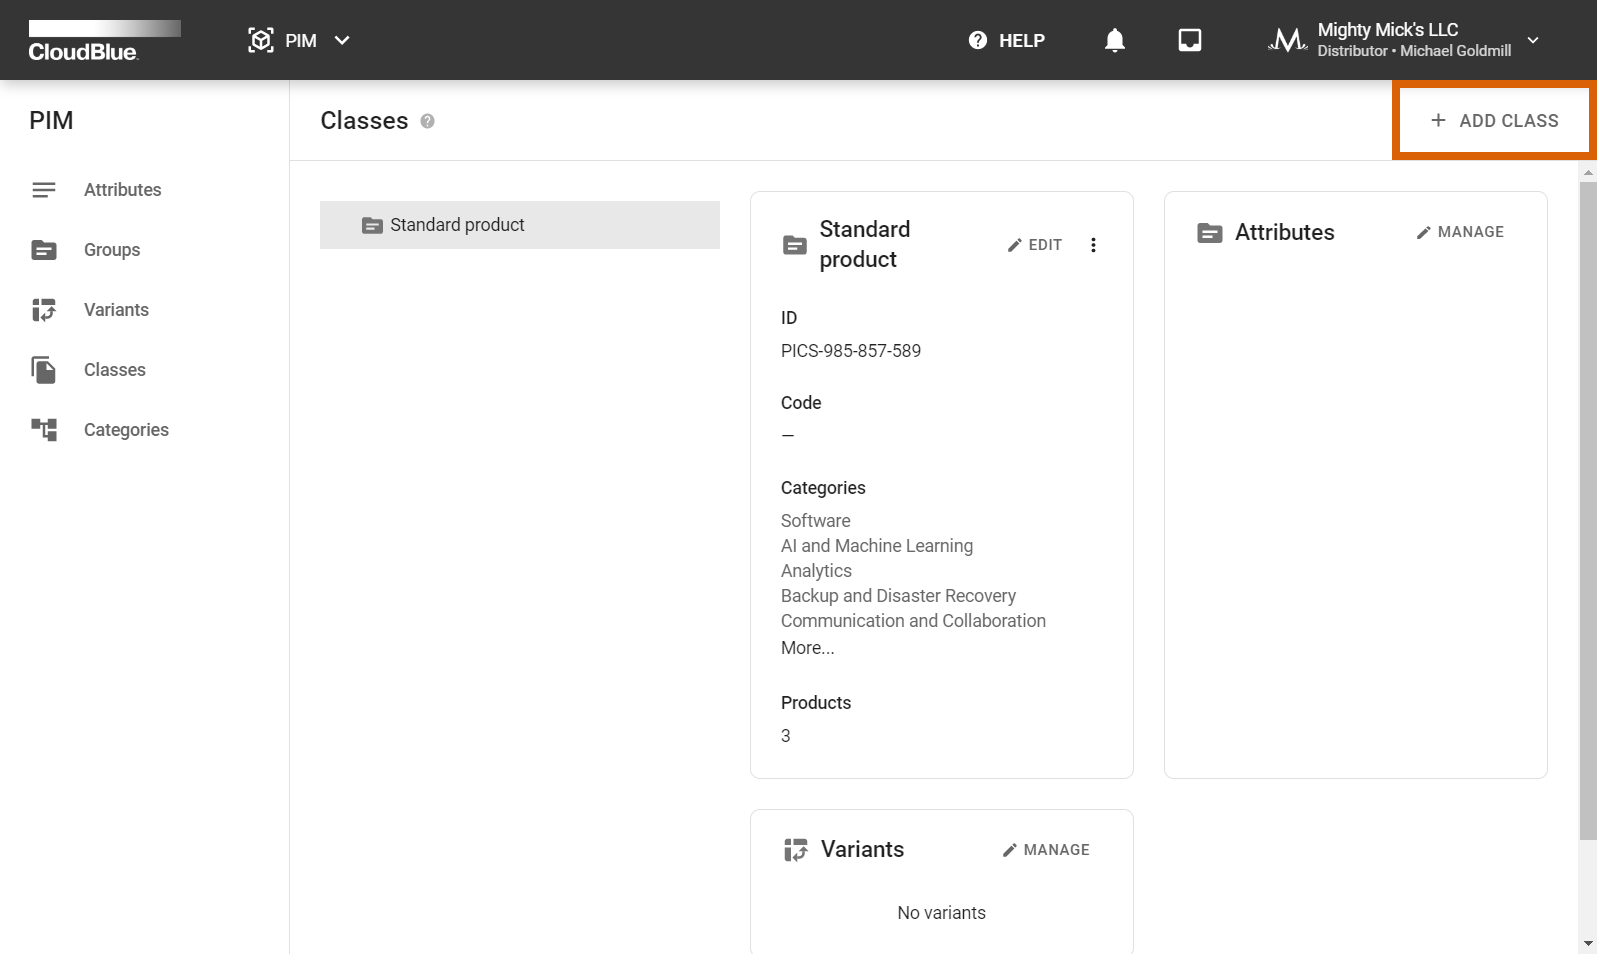
Classes allow organizing provided product information and establishing inheritance for your specified attributes and variants. Thus, hierarchy helps defining parent classes and consequently establish default attributes for child classes. This allows providing more structured and organized technical information for specific products. The following steps showcase how to create and configure a class:

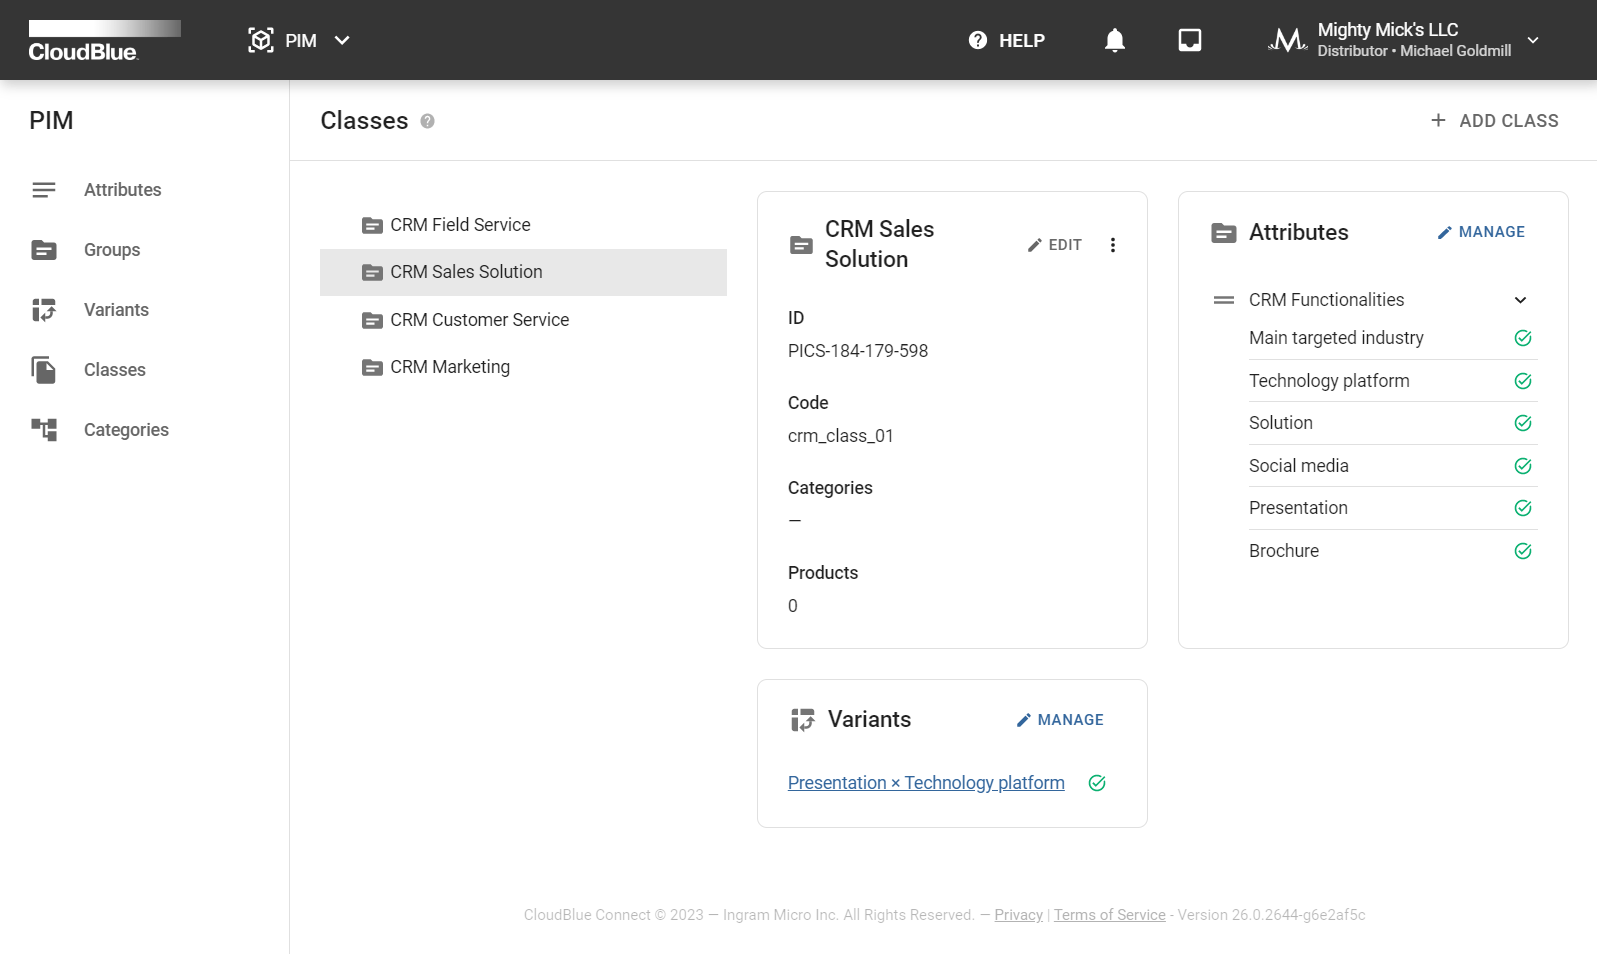
Therefore, your created classes and their hierarchy will be displayed within the Classes tab. Repeat these steps to define as many classes and sub-classes as needed. The demo example features multiple CRM classes with different sets of attributes and variants.
Categories are marketing entities that are used to determine and organize products that offer same functionality. Consequently, categories improve product visibility and help customers quickly find required products. Categories are interconnected with classes and also feature hierarchy. Follow the steps below to define your categories:
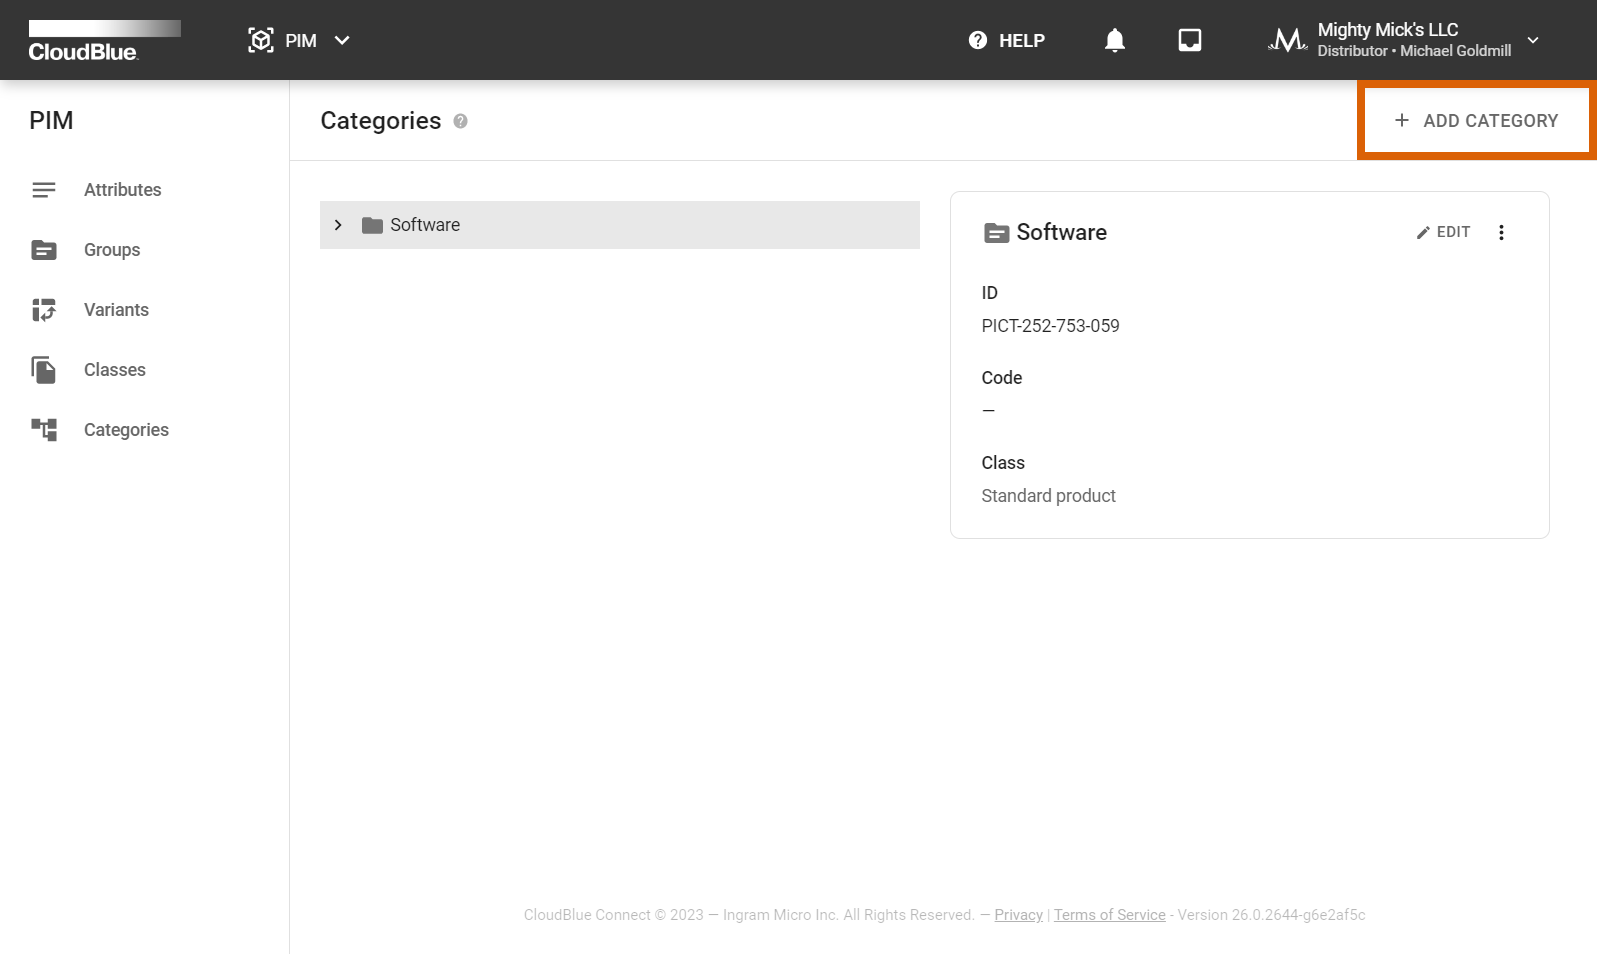


As a result, all required templates within the PIM module will be successfully defined. The provided example showcases a category and multiple sub-categories for CRM software solutions. Vendors will be able to navigate through the selection of provided CRM categories and specify required attribute values.