Distributors and Vendors sign their program contracts to set business partnerships through the CloudBlue Connect® platform. Signed program contracts enable Distributors to cooperate with Vendors and consequently activate Distribution Contracts. Furthermore, note that signing program contracts allows Vendors to activate the Vendor Portal on the Connect platform.
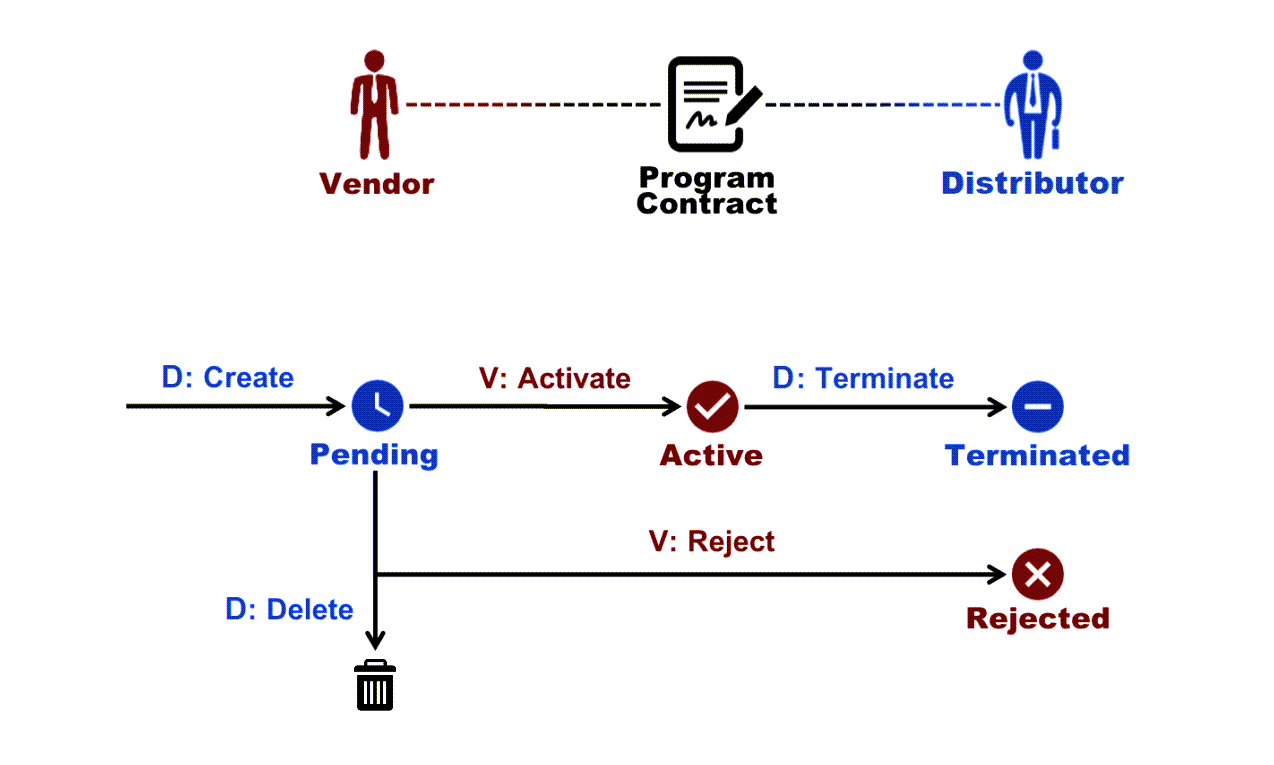
A program contract between a Distributor and a Vendor changes its state as follows:
Distributors can create program contracts, invite Vendors and manage their contracts via the Contracts tab from the Partners module.
The following instructions showcase how to create a program contract, access invitation link and manage created contracts on the Connect platform.
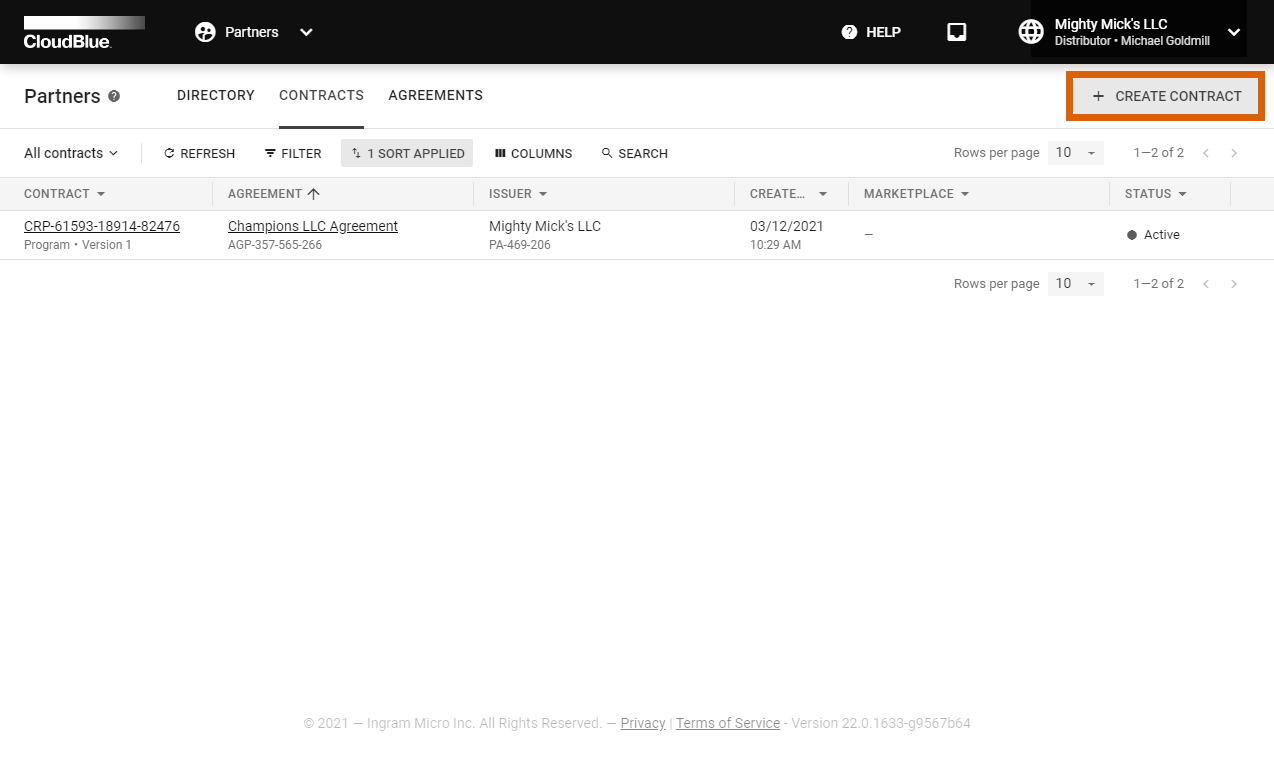
Once a program agreement is generated, Distributors can create a program contract by accessing the Partners module and navigating to the Contracts tab.
Click the Create Contract button to launch a contract creation wizard.
Follow the wizard steps to successfully create a new program contract.
Select the Program contract type.
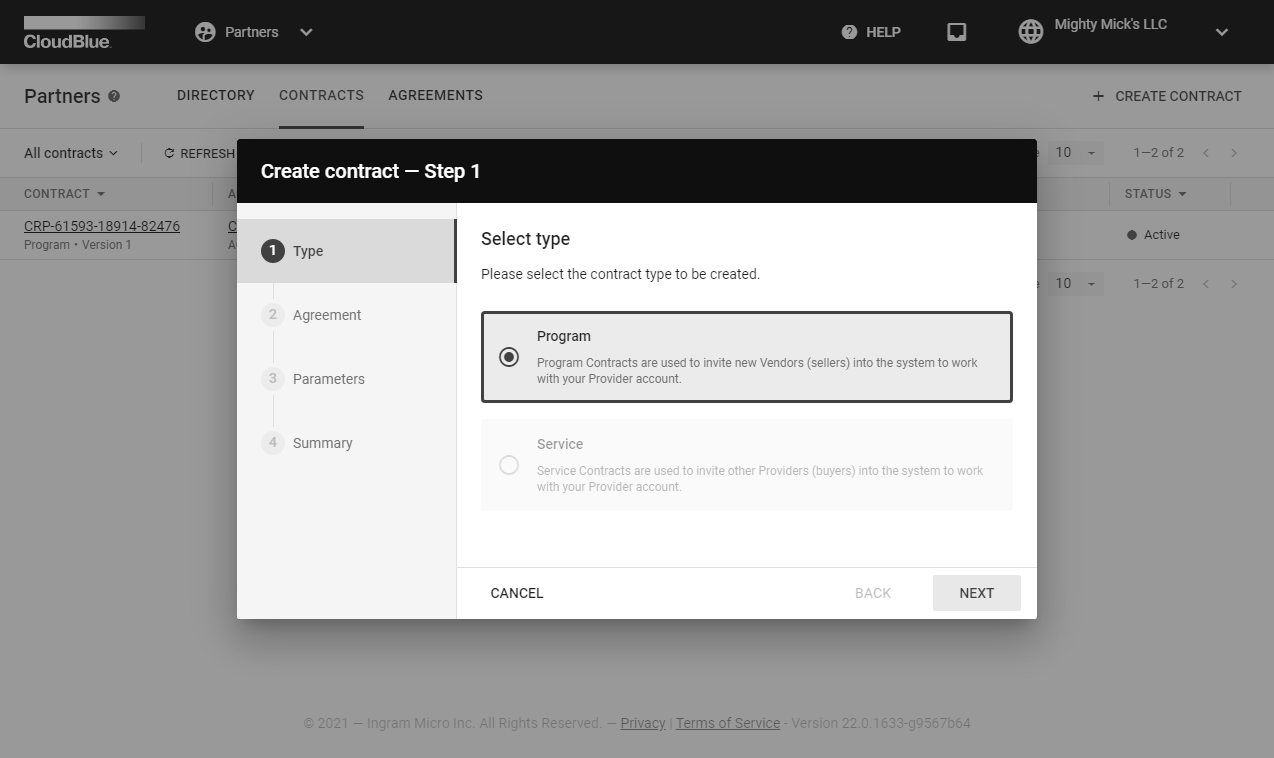
Click Next to continue.
Choose a program agreement from the list.
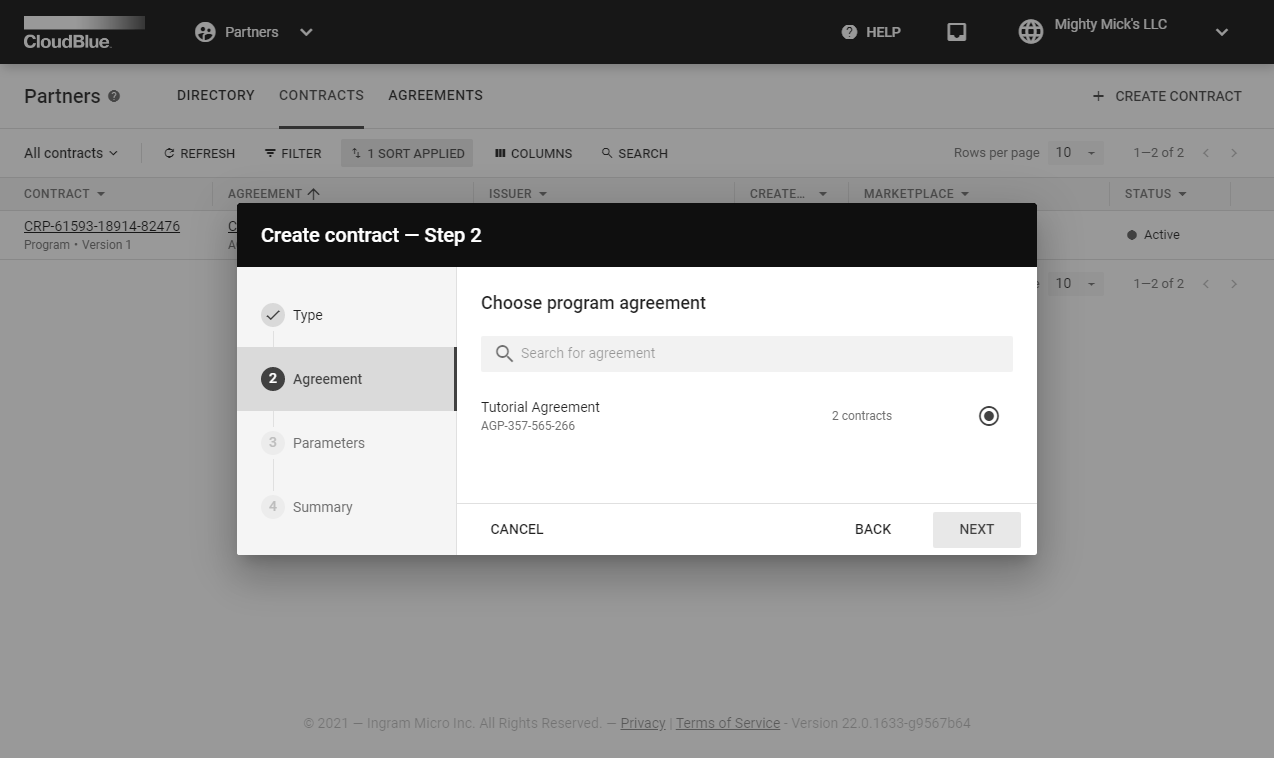
Click the Next button to continue.
Specify the following contract parameters:
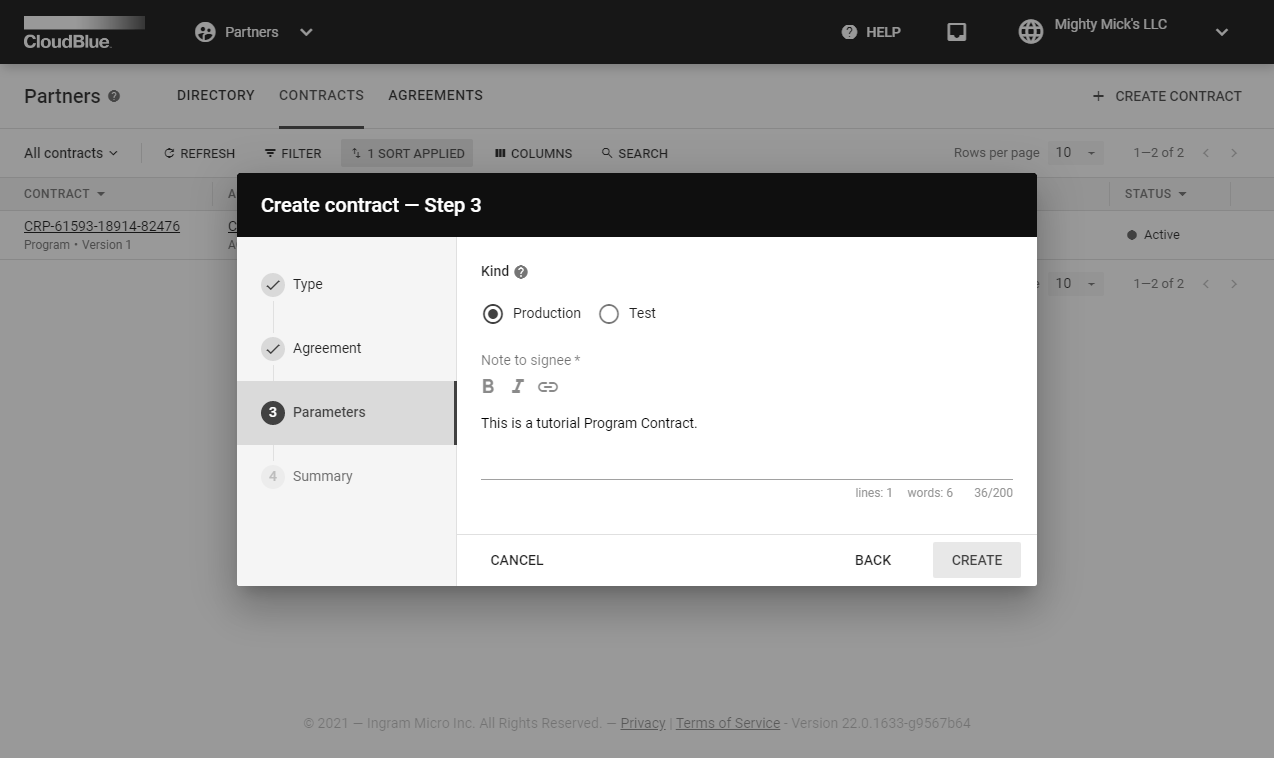
Click Create to finalize your program contract creation.
Once a program contract is successfully configured, the system displays a summary.

Access the Program contract details screen by clicking the Go to Details button. Otherwise, click Close to close the wizard.
Click on your contract ID to access the Program contract details screen.
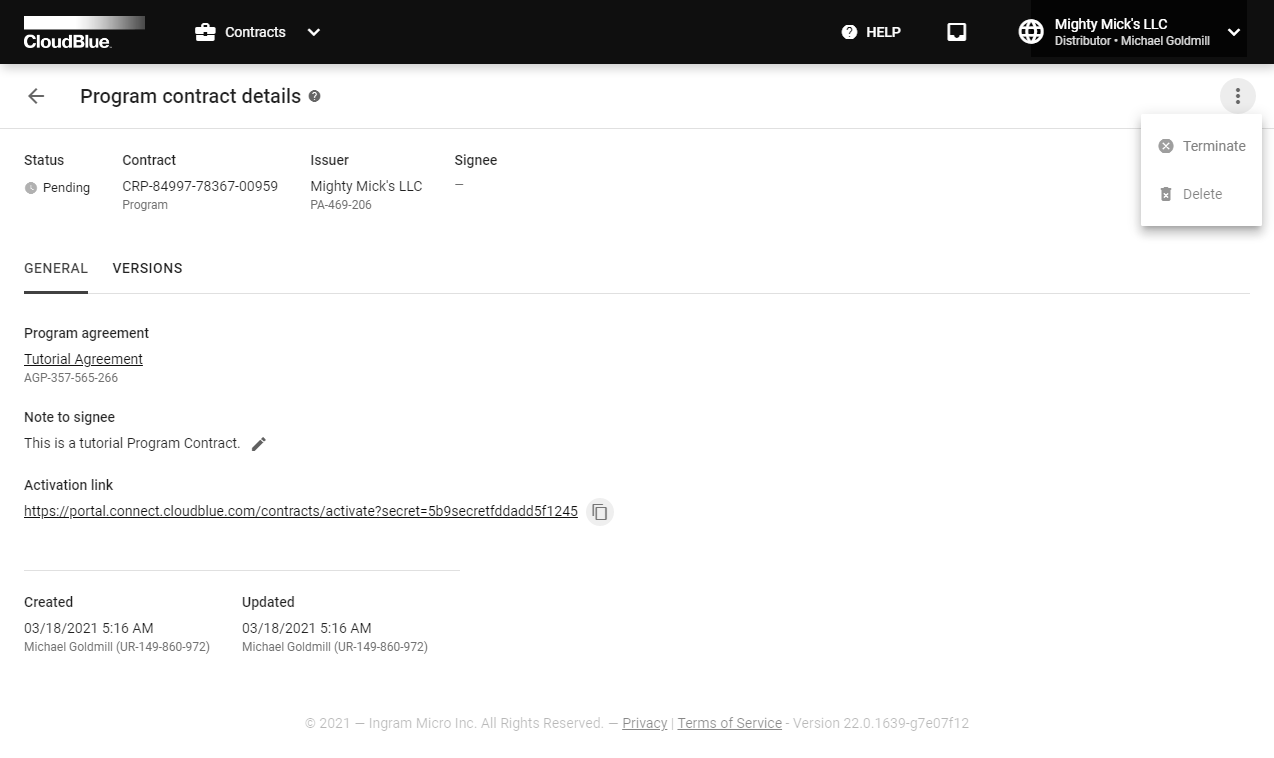
Use this screen to access the Activation link and view your contract data, such as contract Signee, update/creation date, Issuer, associated Program agreement, and contract Status.
Edit your Note to signee by clicking on the corresponding icon next to your message.
Depending on the contract type and its state, Distributors can perform the following operations:
A Vendor can have several program contracts signed with different Distributors. Note that the first signed program contract enables the vendor to activate the Vendor Portal.
Once a Vendor receives an invitation link from a Distributor, this Vendor can sign associated program contract and activate the Vendor portal.
The following steps showcase how to sign up a program contract and activate the Vendor portal.
Paste your received activation link to access the Contract activation screen.
Review the provided agreement, enter your email and check I have read and accepted the agreement checkbox.
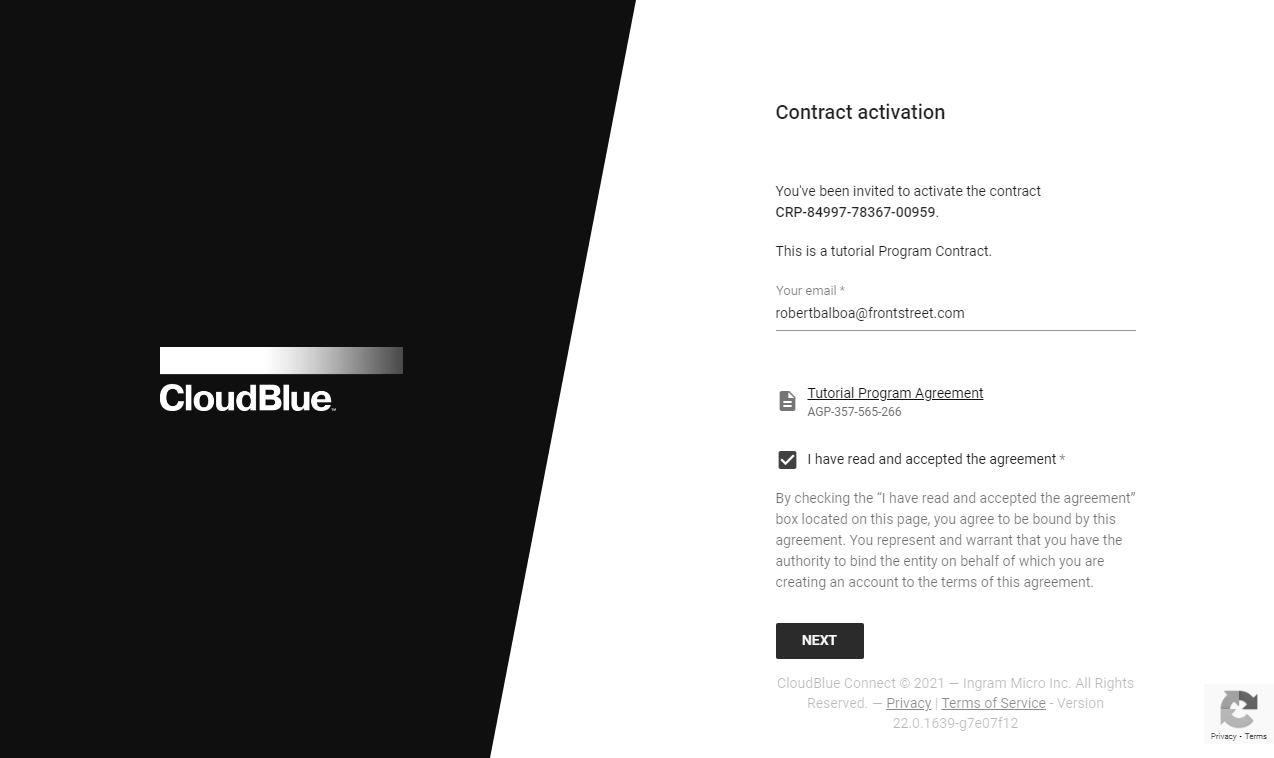
Thereafter, click the Next button to continue.
Enter your full name and specify your password in the following form.
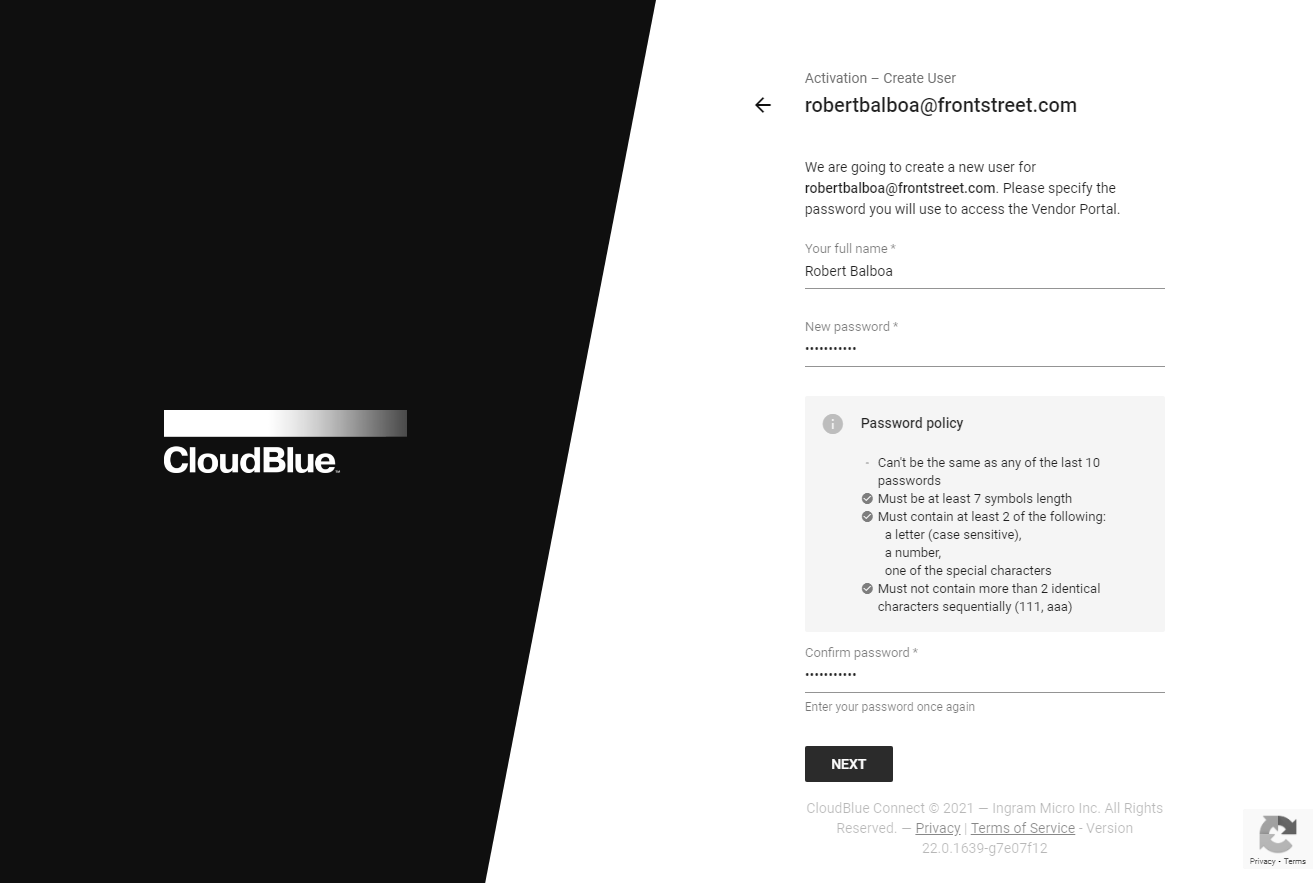
Click Next to continue.
Enter your company name in the following form. It should represent a legal entity name. Include the entity type, such as Inc., LLC, GmbH, etc.
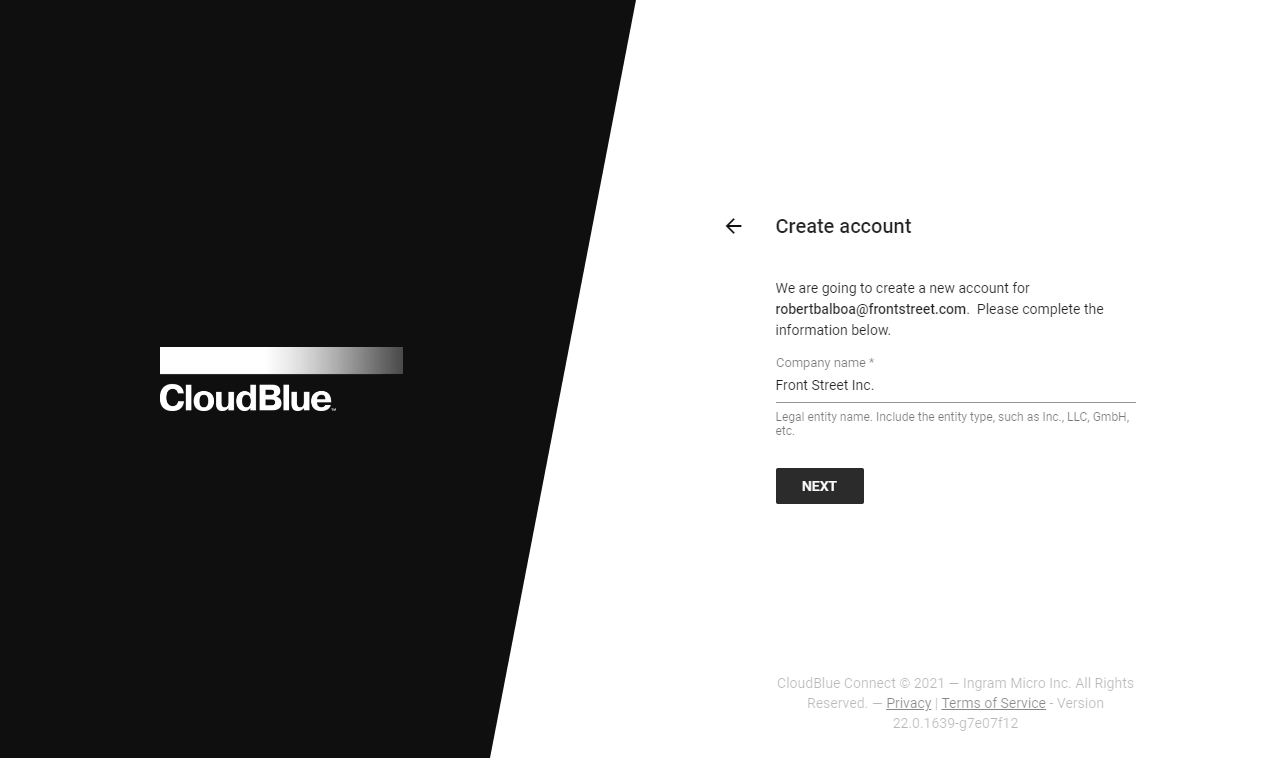
Click Next to continue.
Sign up the program contract and activate the Vendor portal by clicking the Activate button.
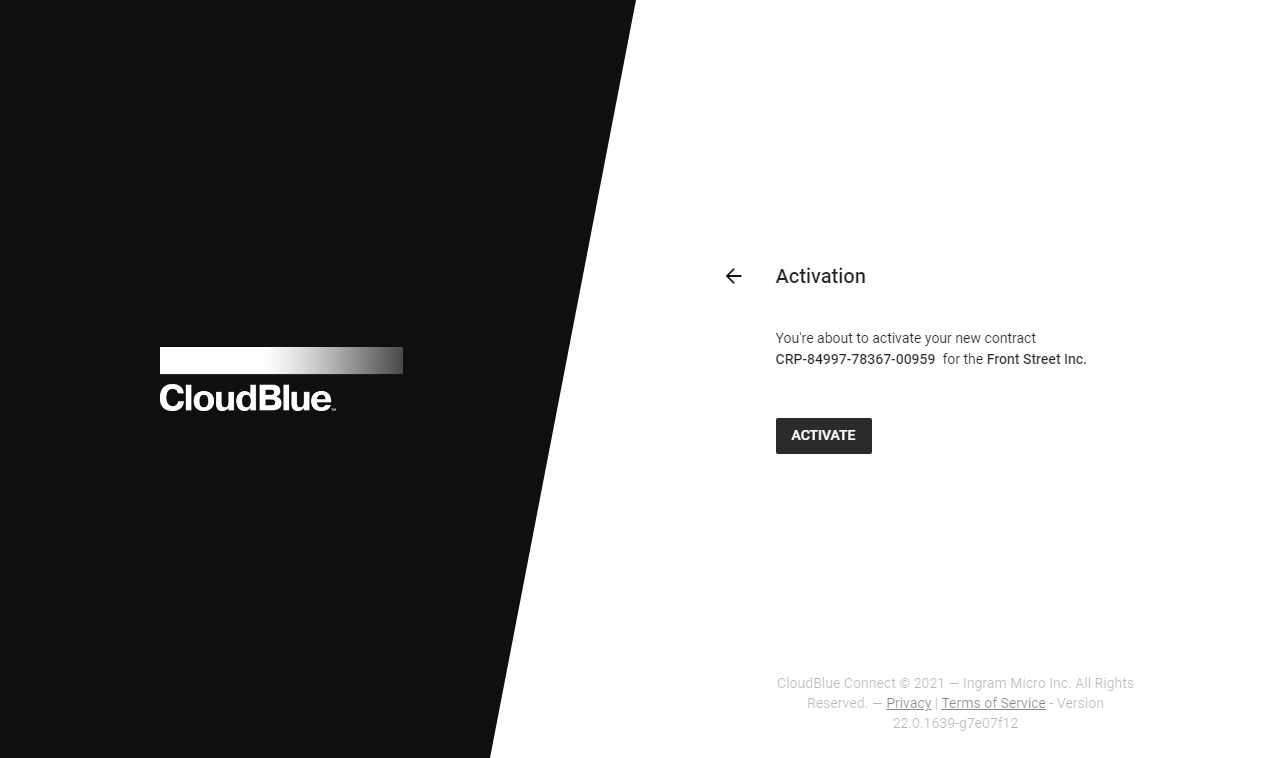
Therefore, Vendors can proceed to the Vendor portal and perform further operations on the platform.
In case a Distributor updates a program agreement associated with a program contract, a Vendor can accept this new version as described in Accepting Agreement Updates.
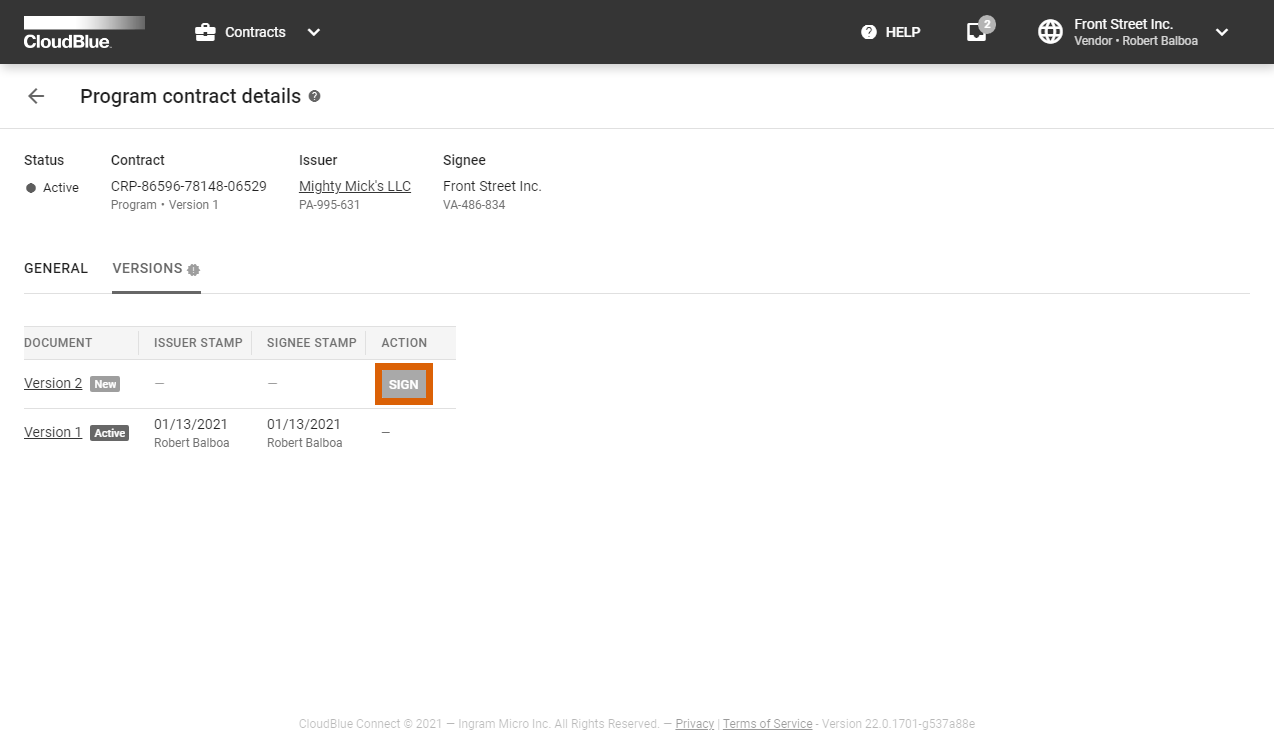
Once an updated program agreement will be activated, the program contract will be bound to this new version. The Versions tab from Program contract details screen provides the signed agreement and indicates its version. This tab also allows to sign the document by clicking the Sign button.