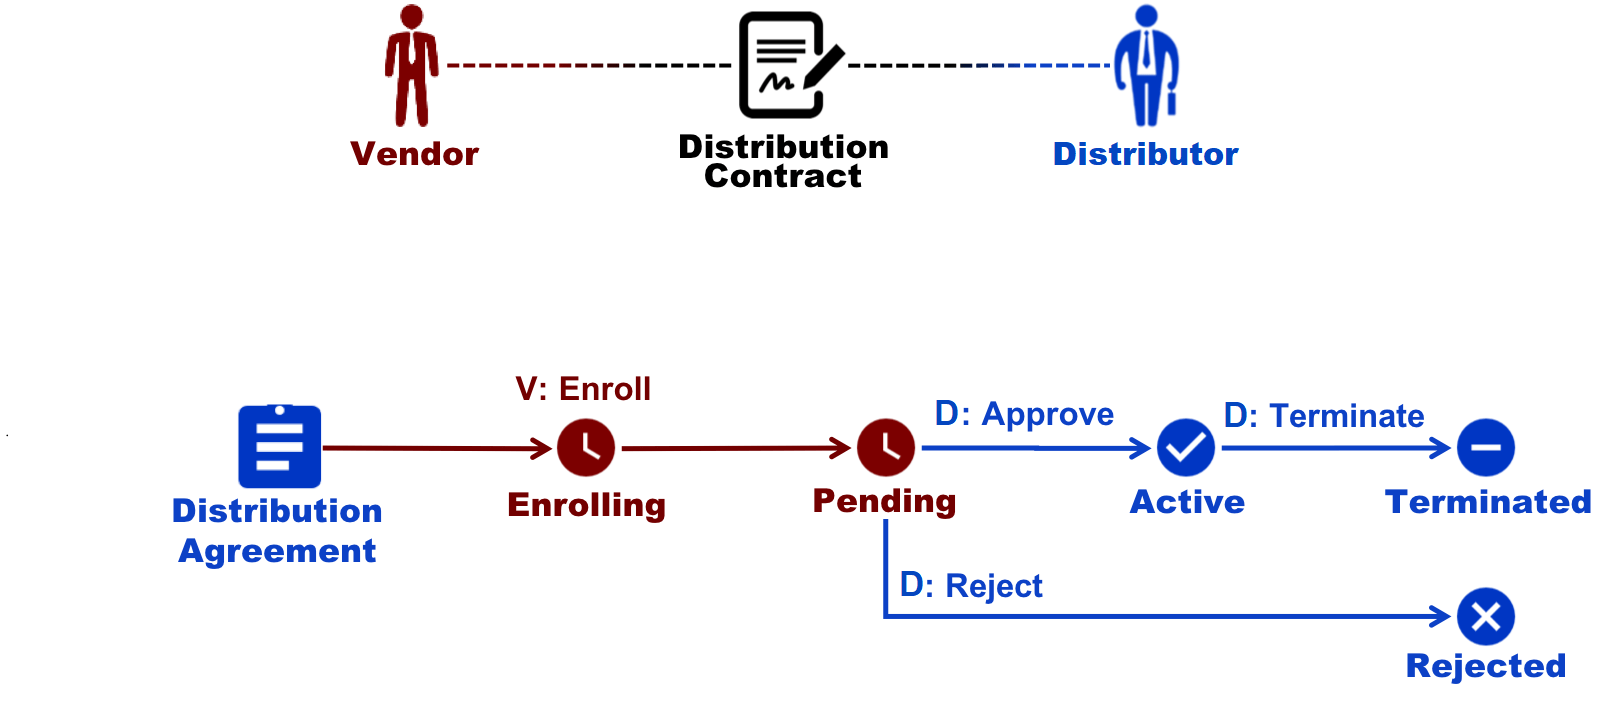
Vendors and Distributors require a distribution contract to outline terms and conditions for product distribution. Namely, signed distribution contracts allows provisioning Vendor products via Distributor marketplaces. Distribution contracts are associated with Distribution Agreements that should be also created and activated on the Connect platform.
A distribution contract between a Distributor and Vendor changes its state as follows:
If the Auto Accept option is disabled, Vendors need to manually enroll their distribution agreement and a new distribution contract. In this case, an associated program contract should be signed by Vendors and a distribution agreement should be created by Distributors. Follow the steps below to create and enroll your distribution contract.
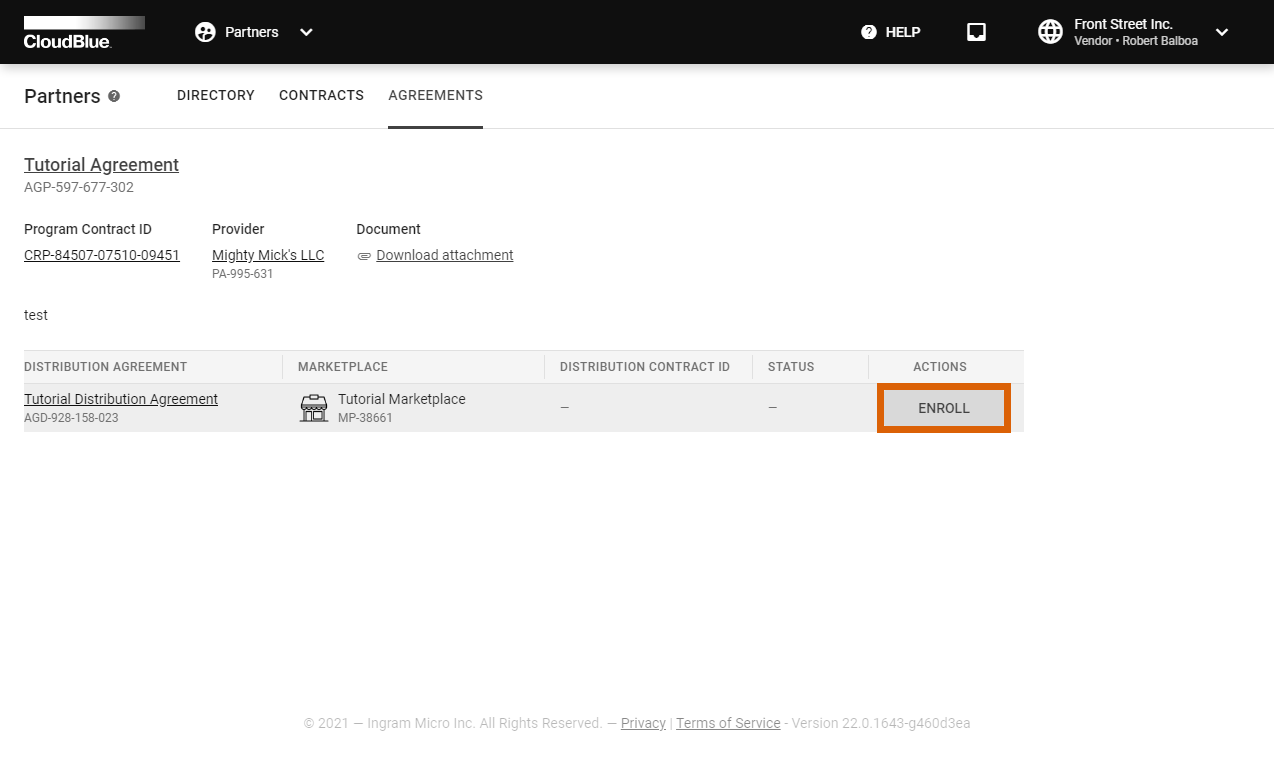
1. Proceed to the Partners module and navigate to the Agreements tab.
2. Click the Enroll action button from your distribution agreement.
3. Review your agreement and check the I have read and accepted the agreement checkbox.
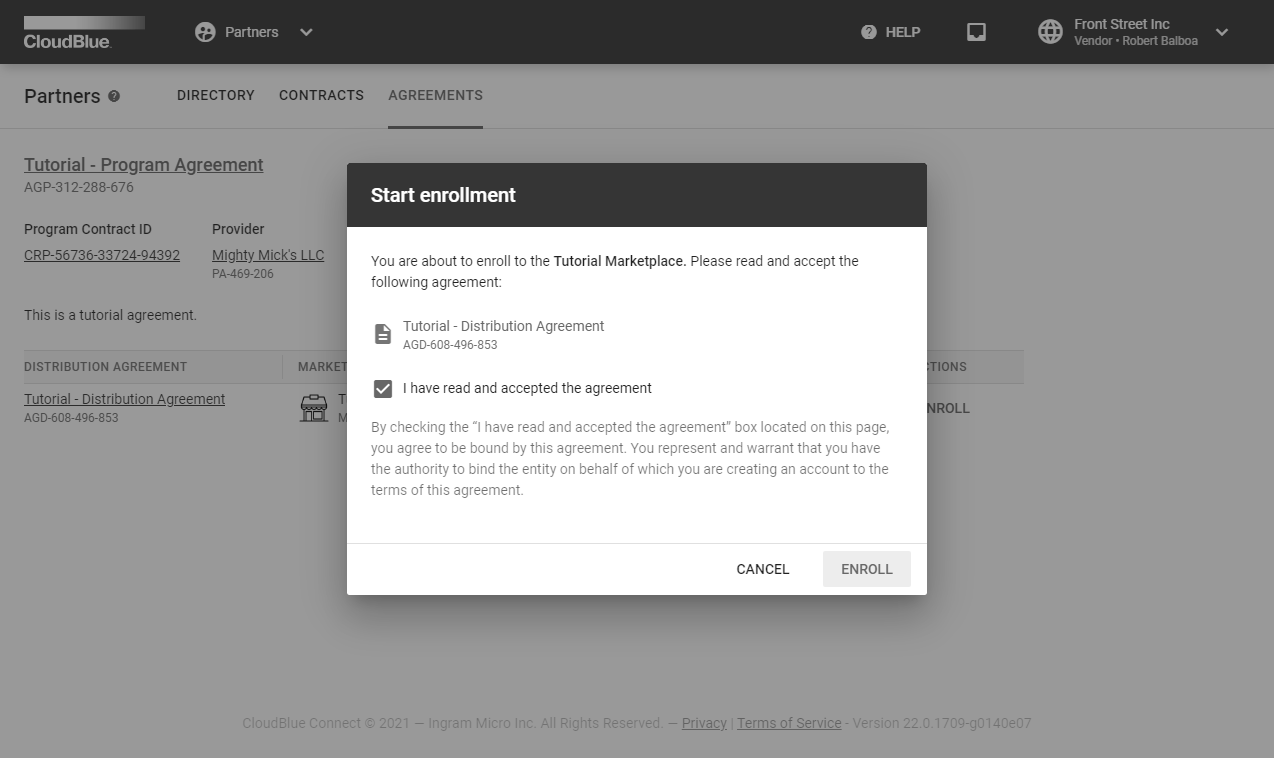
4. Click Enroll to enroll your distribution agreement and consequently enroll your distribution contract.
As a result, the system creates a distribution contract and transfers it along with your distribution agreement to the Pending state. Thereafter, Distributors can approve or reject this pending distribution contract. Once your distribution contract will be approved, your distribution agreement will be also activated.
In case a distribution contract is created manually and its status is Pending, Distributors can approve or reject this contract. The following steps showcase how to activate a pending distribution contract.
Navigate to the Partners module and go to the Contracts tab.
Select a pending distribution contract from the list and click on its Contract ID.

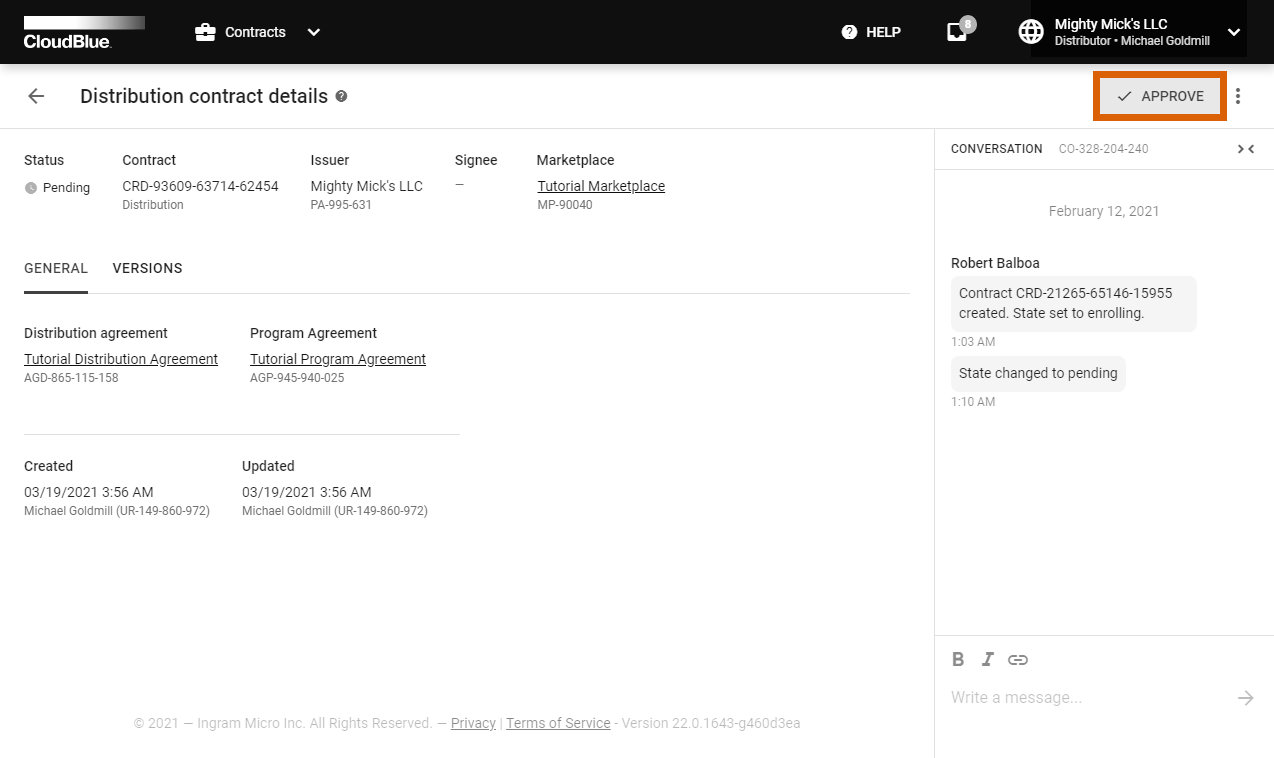
Thus, you will access the Distribution Contract Details screen.
Click the Approve button to activate your pending distribution contract.
Click OK in the pop-up window to confirm your decision.
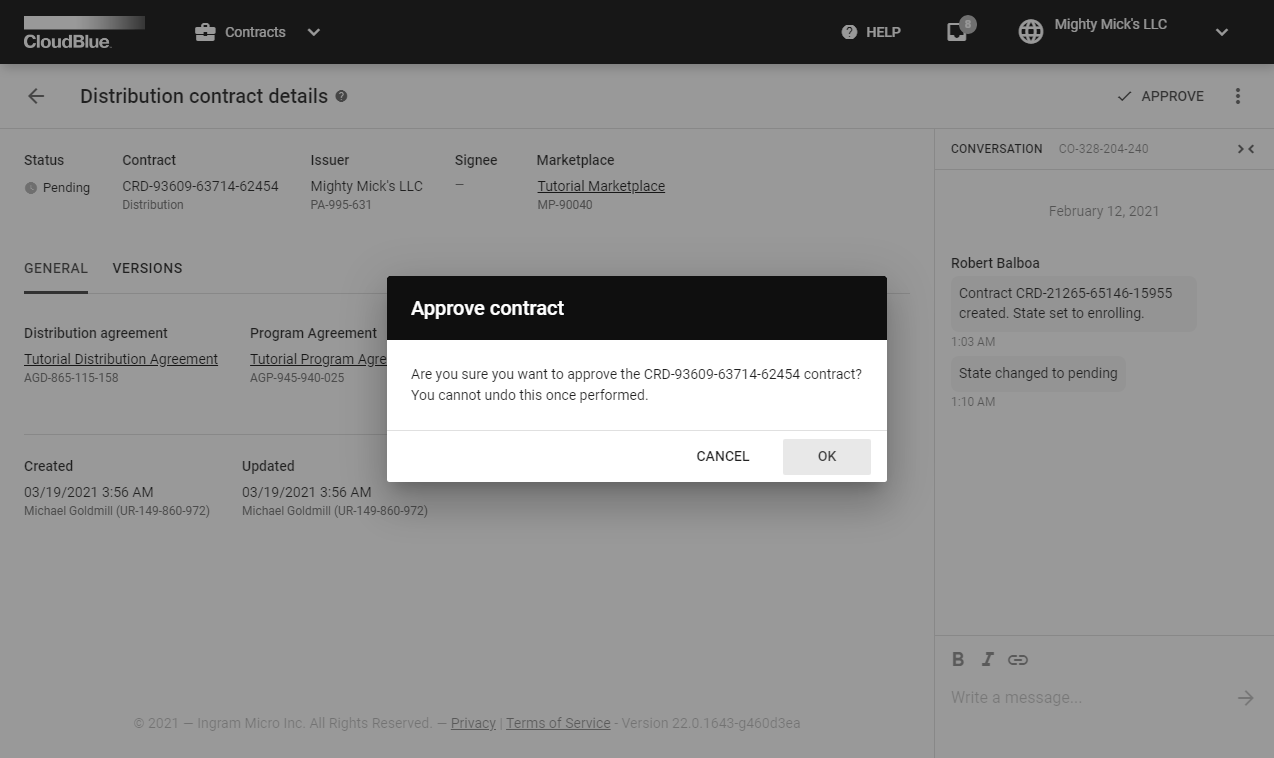
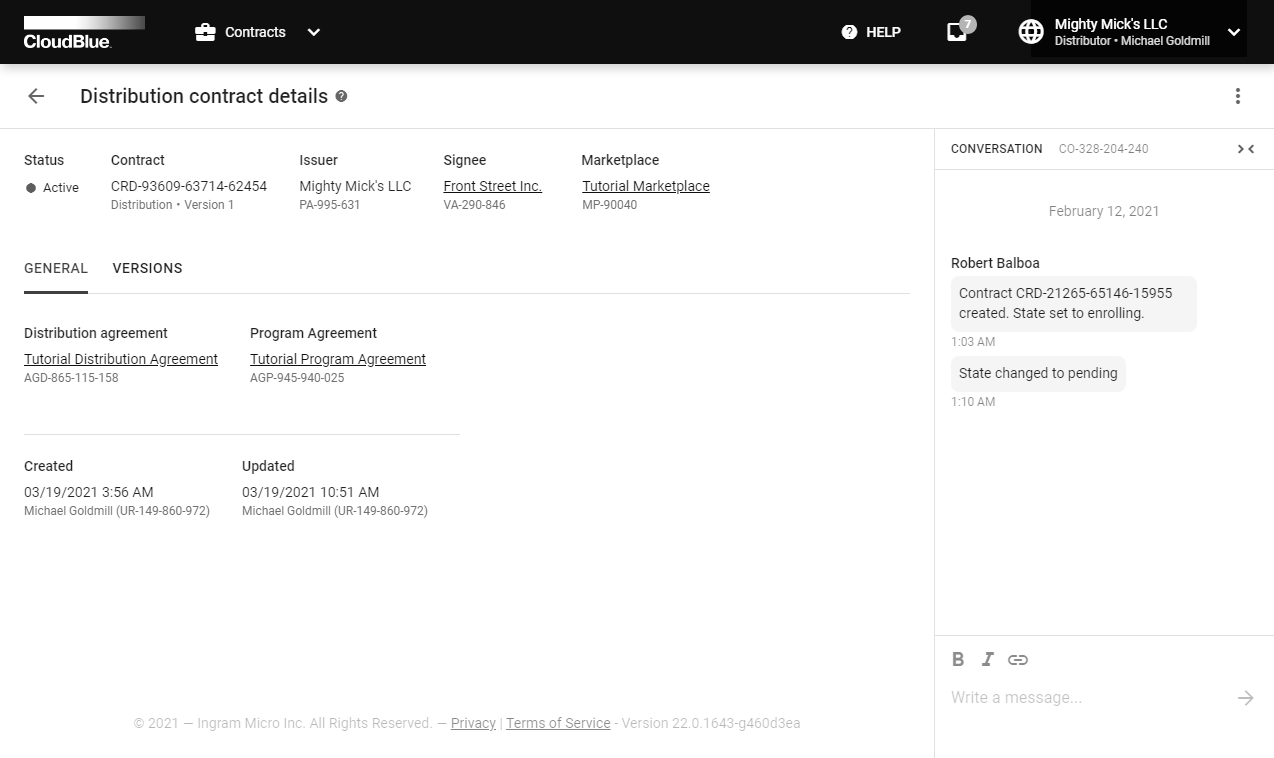
As a result, your distribution contract will be approved and the system will assign the Active status to it.
Distributors can attach a custom form to a created distribution agreement. Once a specific custom form is attached, Vendors should provide additional information before enrolling a distribution contract and before submitting a listing request.
Click the Edit button next to Attached Forms and select your Product form, Agreement form, or Item form.
Refer to the Forms module documentation for more information about custom forms.
In case a custom form is attached and a Vendor enroll a distribution contract after filling out this form, Distributors can refine specified data via the distribution contract details screen. Therefore, your Vendor will be asked to specify additional information again.
Access the contract details screen of your pending distribution contract. Click the Refine Data button
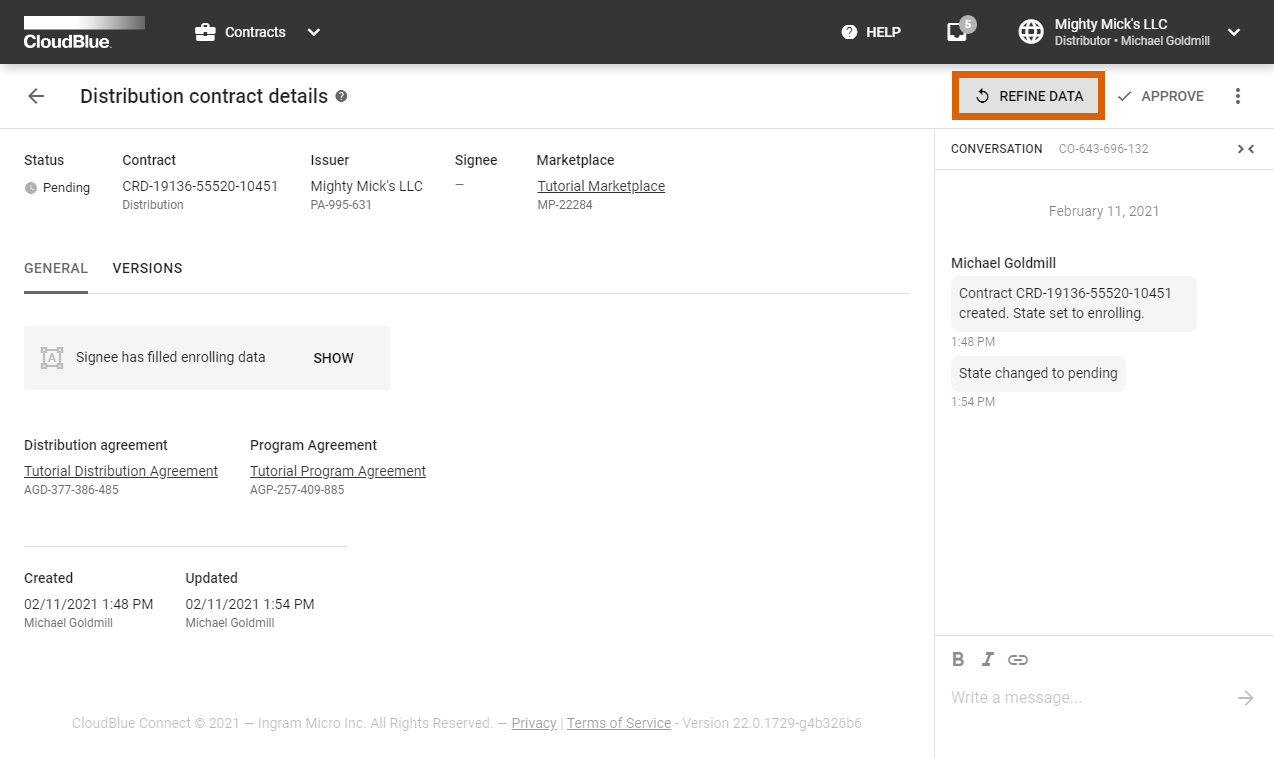

Thus, the system will transfer your distribution contract to the Enrolling state. Furthermore, the system will asks your Vendor to revamp your specified custom form.
Click on a distribution contract ID to access the Distribution contract details screen.

Use the Distribution contract details screen to view your contract data, such as contract Signee, update/creation date, Issuer, associated Distribution/Program Agreements, specified Marketplace, and contract Status.
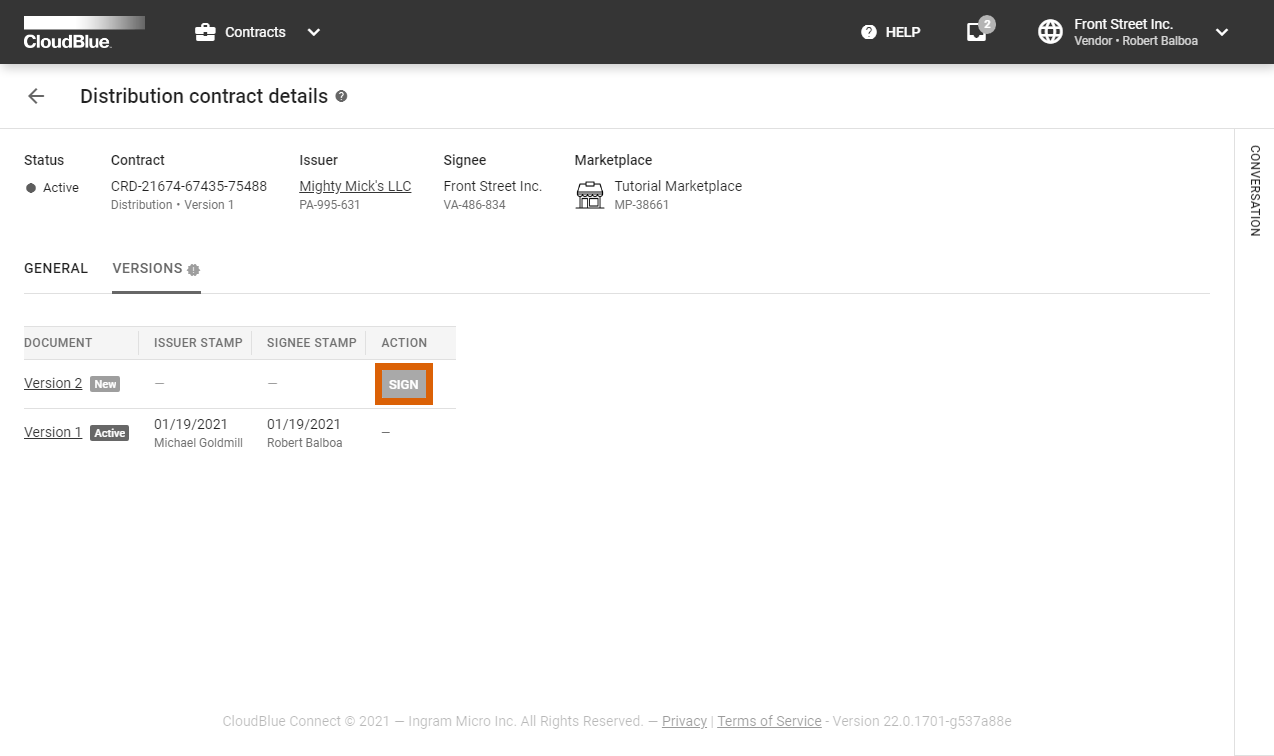
The Versions tab allows accessing agreement document. Furthermore, this tab indicates document versions and contains issuer/signee stamps. In case a new version of document is available, Vendors can sign the document by clicking the Sign button next to an updated distribution agreement.
The Distribution contracts details screen also features the Conversation log. This log contains automatically generated messages and enables Partners to interchange messages.
