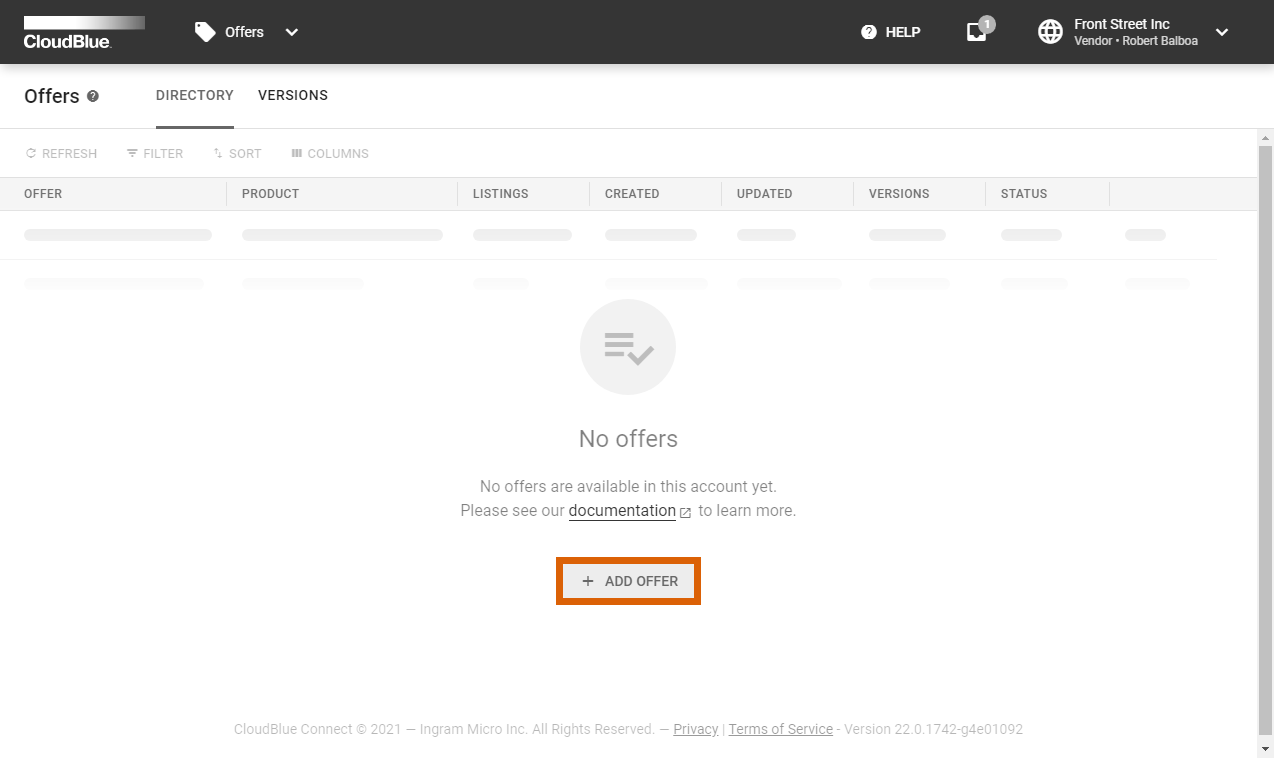
Navigate to the Offers module on the Vendor Portal. Created offers are displayed under the Directory section.
Click the Add Offer button to launch an offer creation wizard.
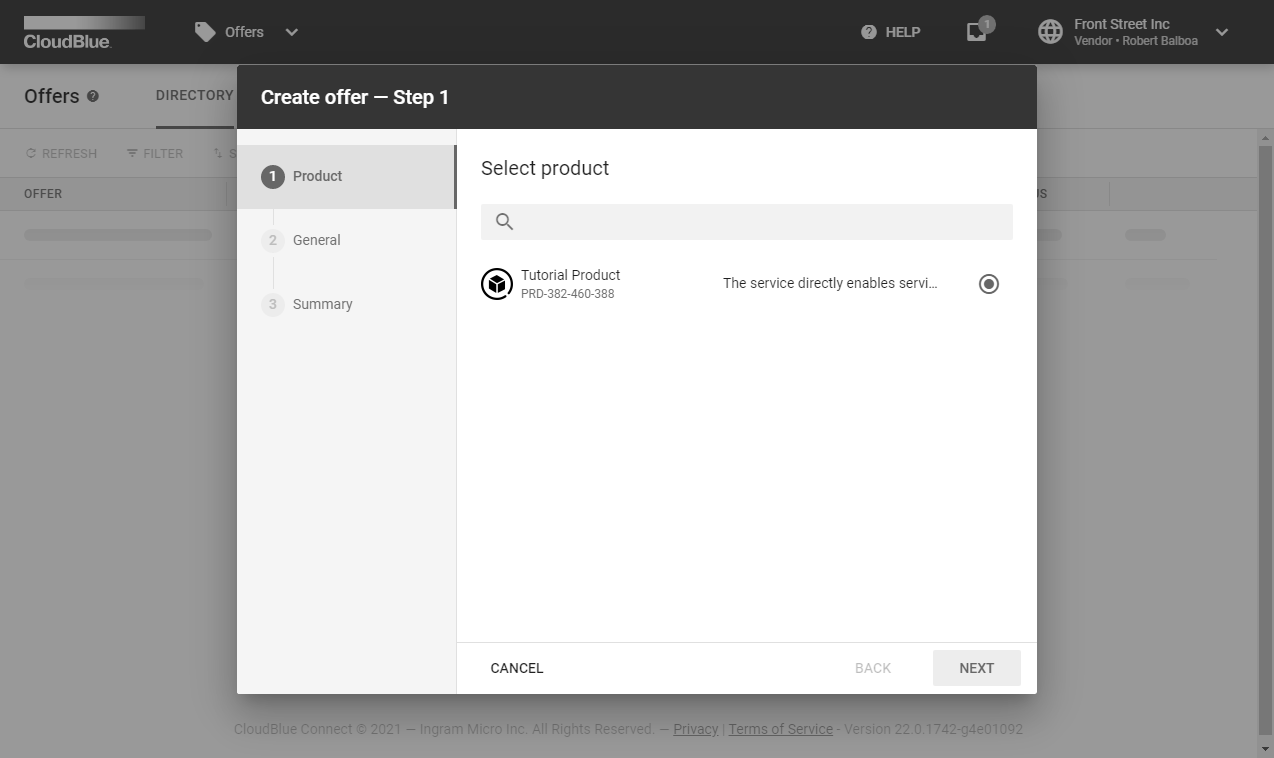


Follow the wizard steps to successfully configure a new offer:
As a result, the system provides your created offer object summary. Click the Go to Details button to access the offer details screen. Otherwise, click Close to return to the Directory tab.
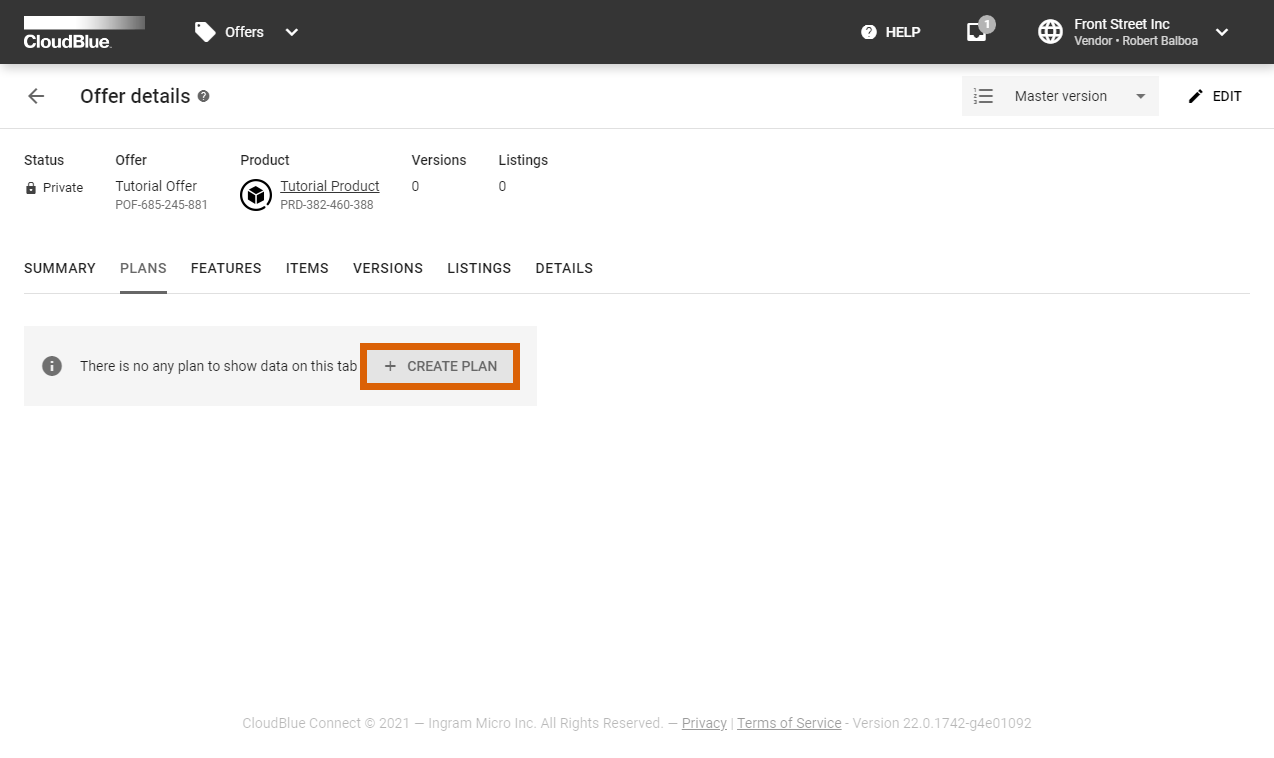
Proceed to the Plans tab from the offer details screen. This tab allows accessing your created plans.
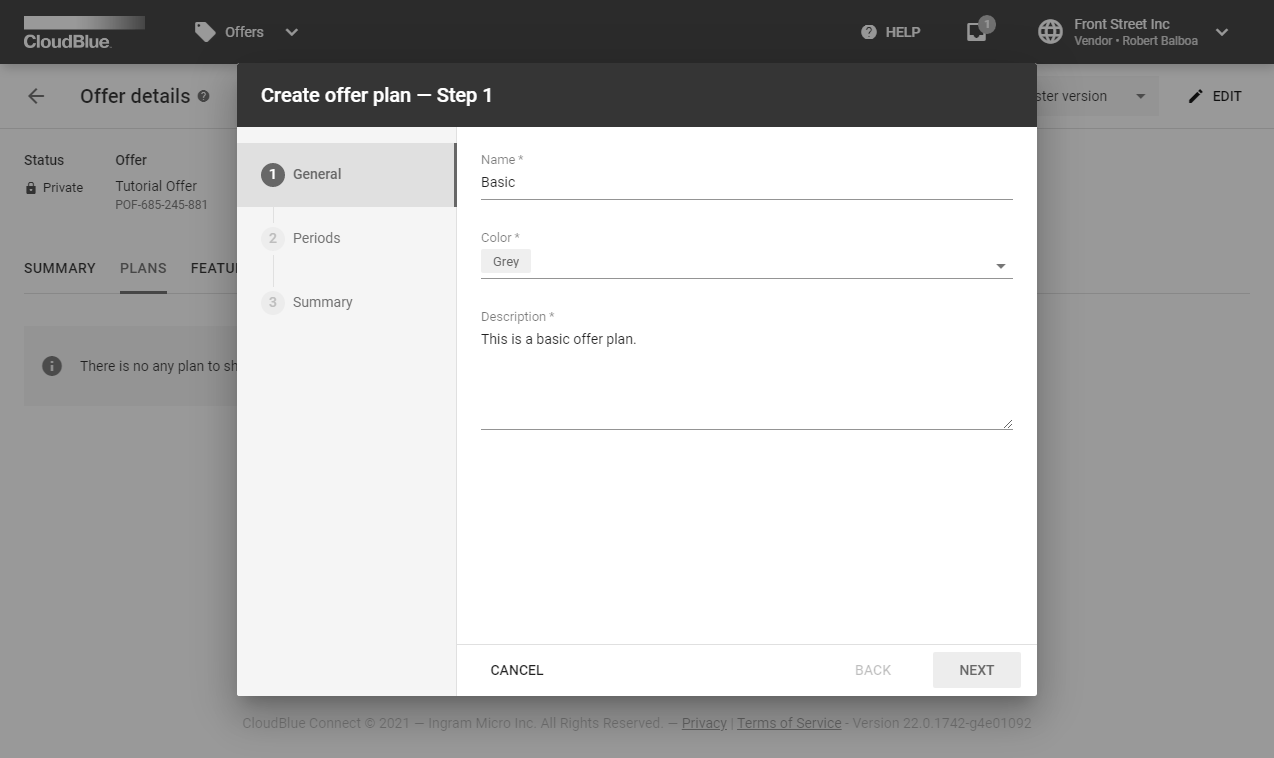
Click the Create Plan button to launch a plan creation wizard.
Follow the steps below to successfully configure a new plan.
Fill out the following general properties form:
Click Next to continue.
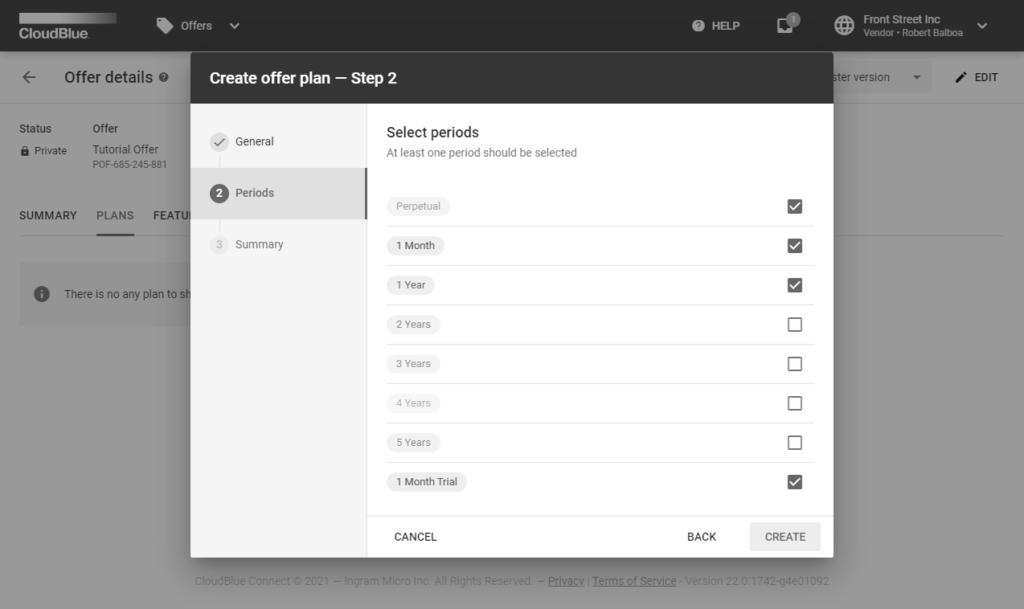
At least one of the following periods should be selected: Perpetual, 1 Month, 1 year – 5 years, or 1 Month Trial.
Click the Create button to continue.
The wizard will provide plan creation summary.
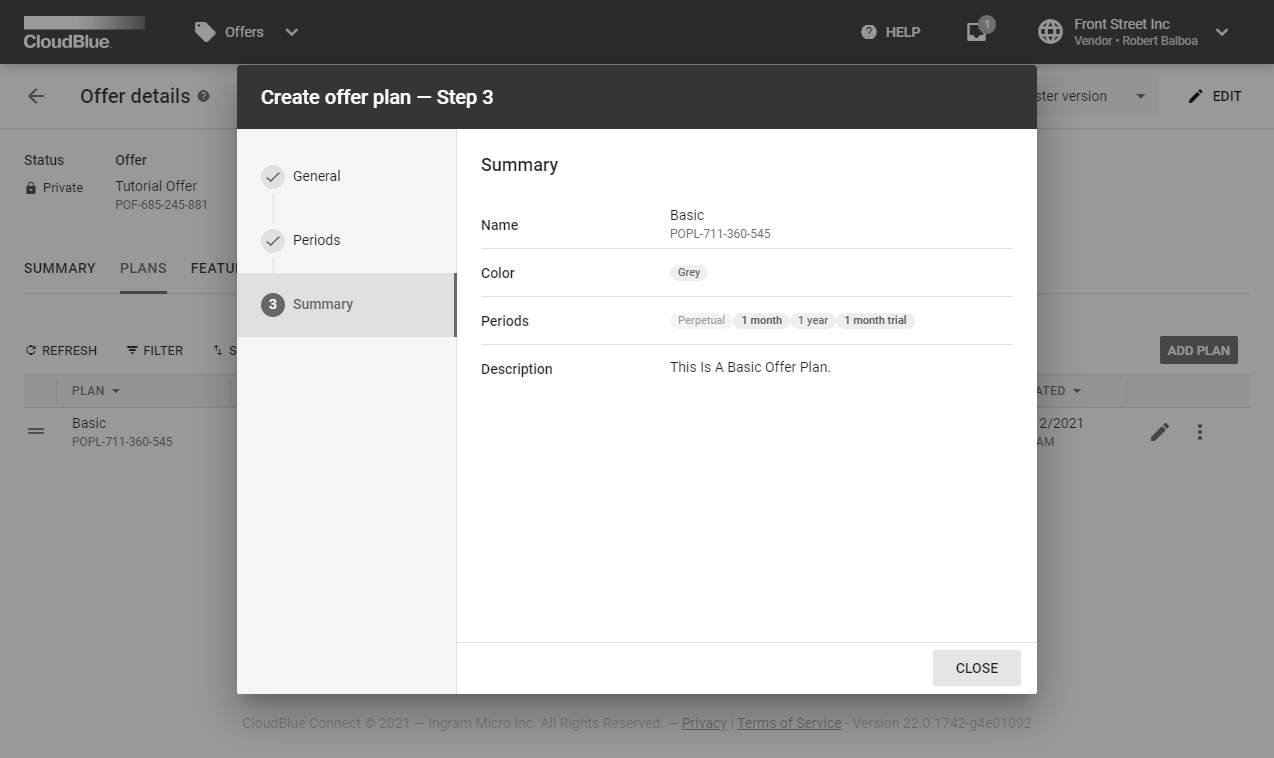
Click the Go to Details button to access the plan details. Otherwise, click Close to close the wizard.
Navigate to the Features tab from the offer details screen. Your created groups and features will be displayed within the Features tab.
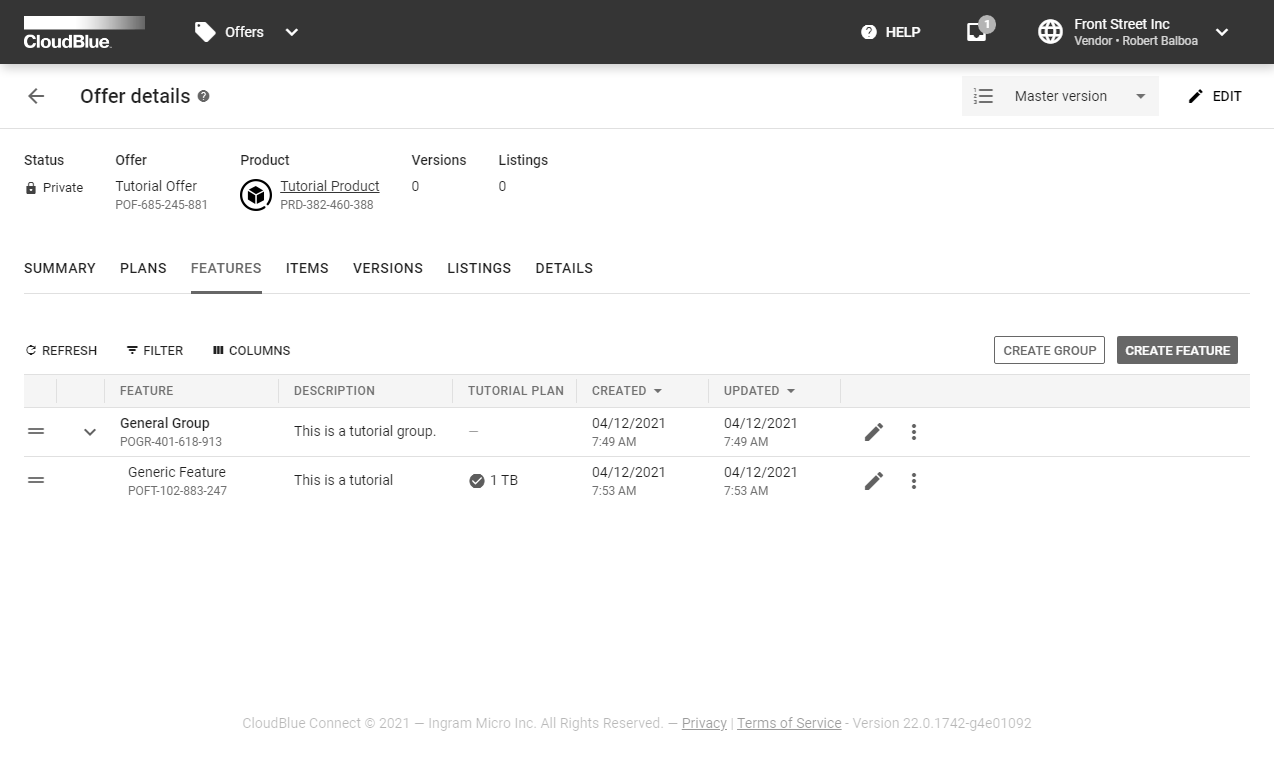
The following steps showcase how to create a group and a feature on the Connect platform.
Click the Create Group button to specify a new group for your features.

Provide a name and a description for your group.
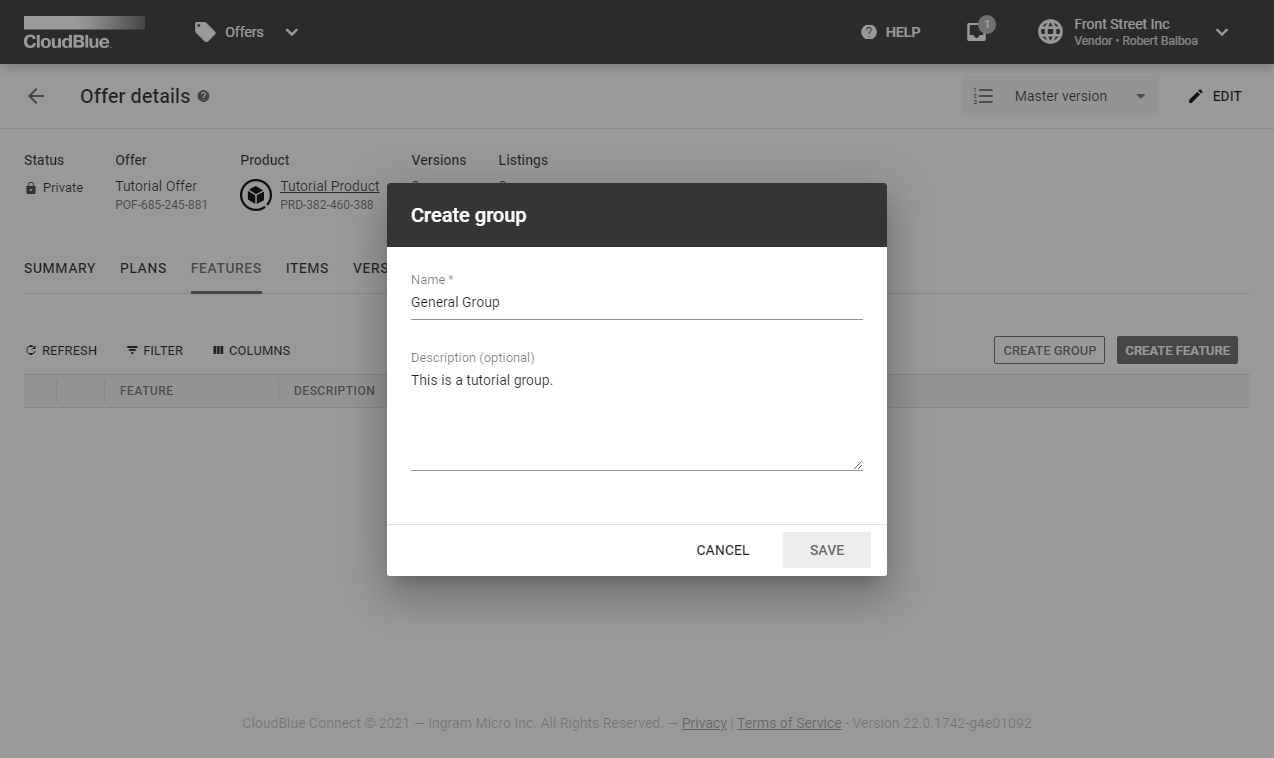
Click Save to successfully configure your feature group.
Click the Create Feature button to specify a new feature.

Fill out the following form:
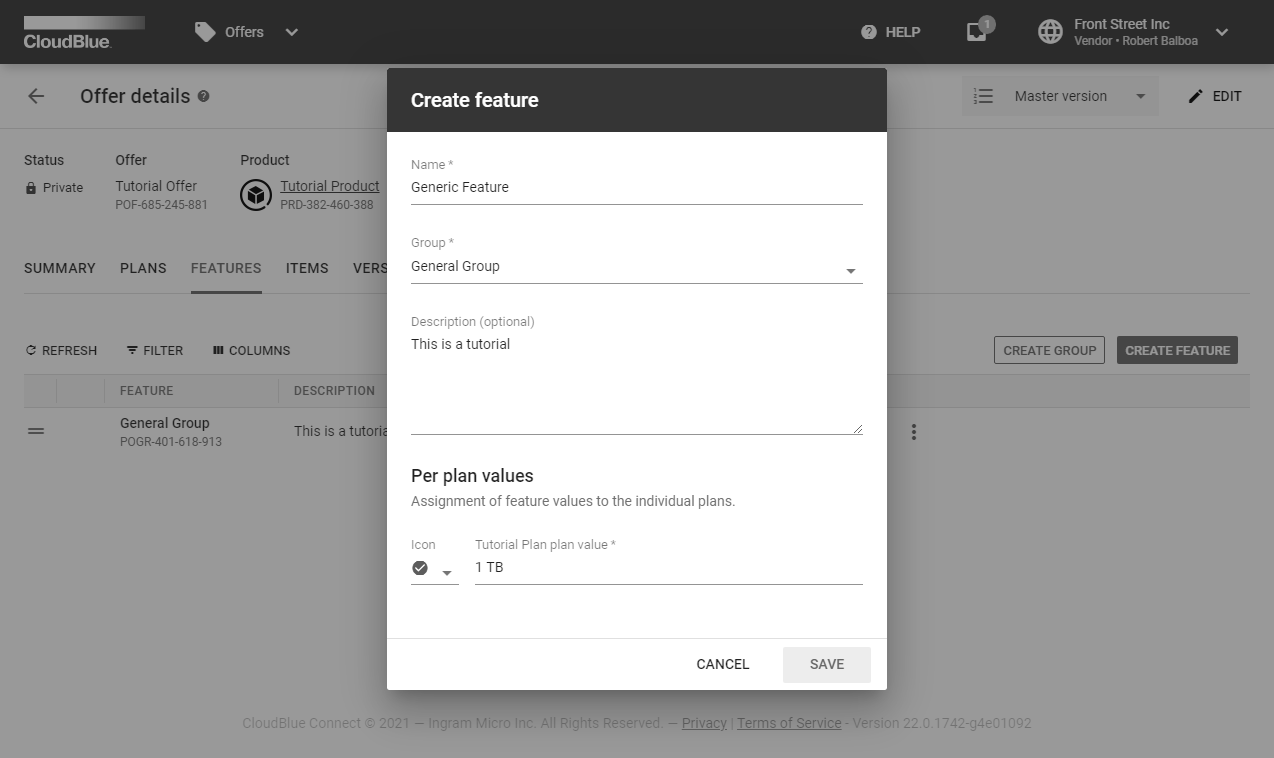
Click the Save button to finalize your feature creation.
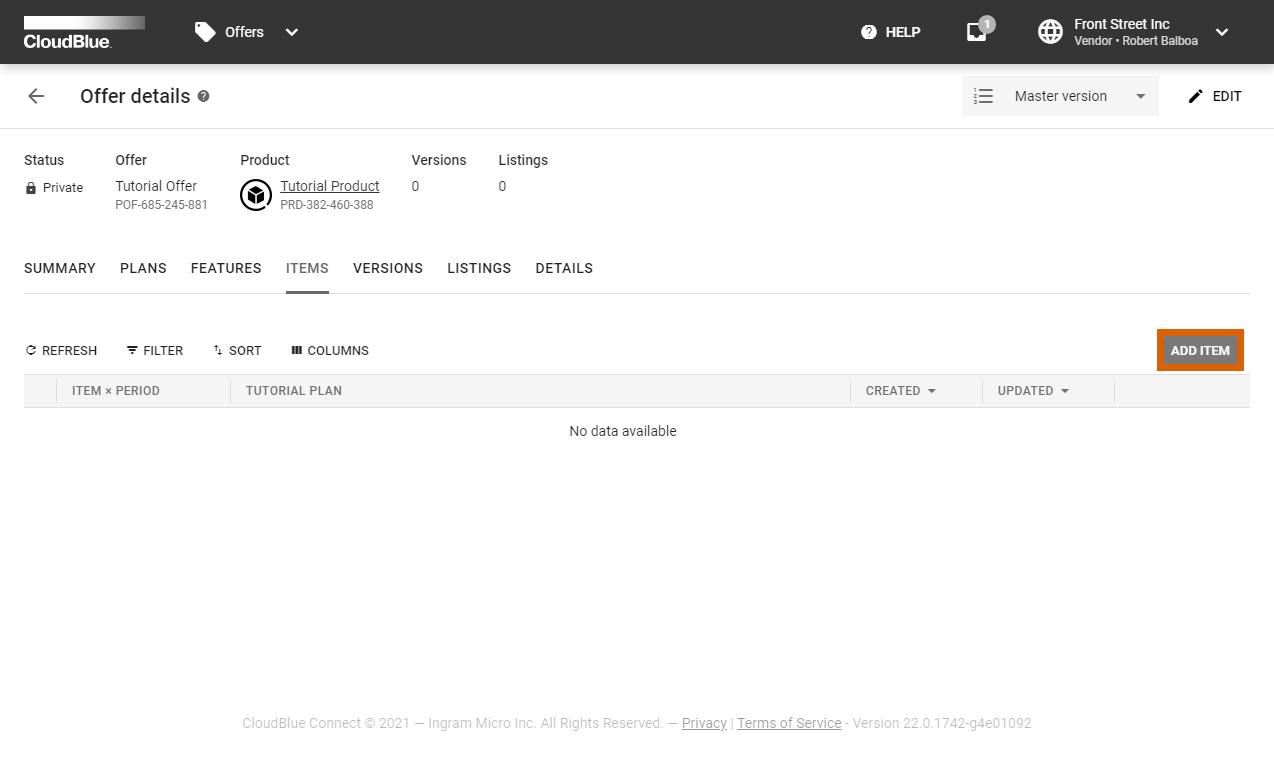
Proceed to the Items tab from the offer details screen. This tab displays your defined items for each of your configured plans and selected periods.
Click the Add Item button to launch an item configuration wizard.
Follow the steps of this wizard to configure your items.
Provide a name for your item configuration. Optionally, enter a description for this configuration.

Click Create to continue.
Add your defined items to each of your selected periods by clicking the corresponding buttons. In addition, select minimum and maximum item quantity
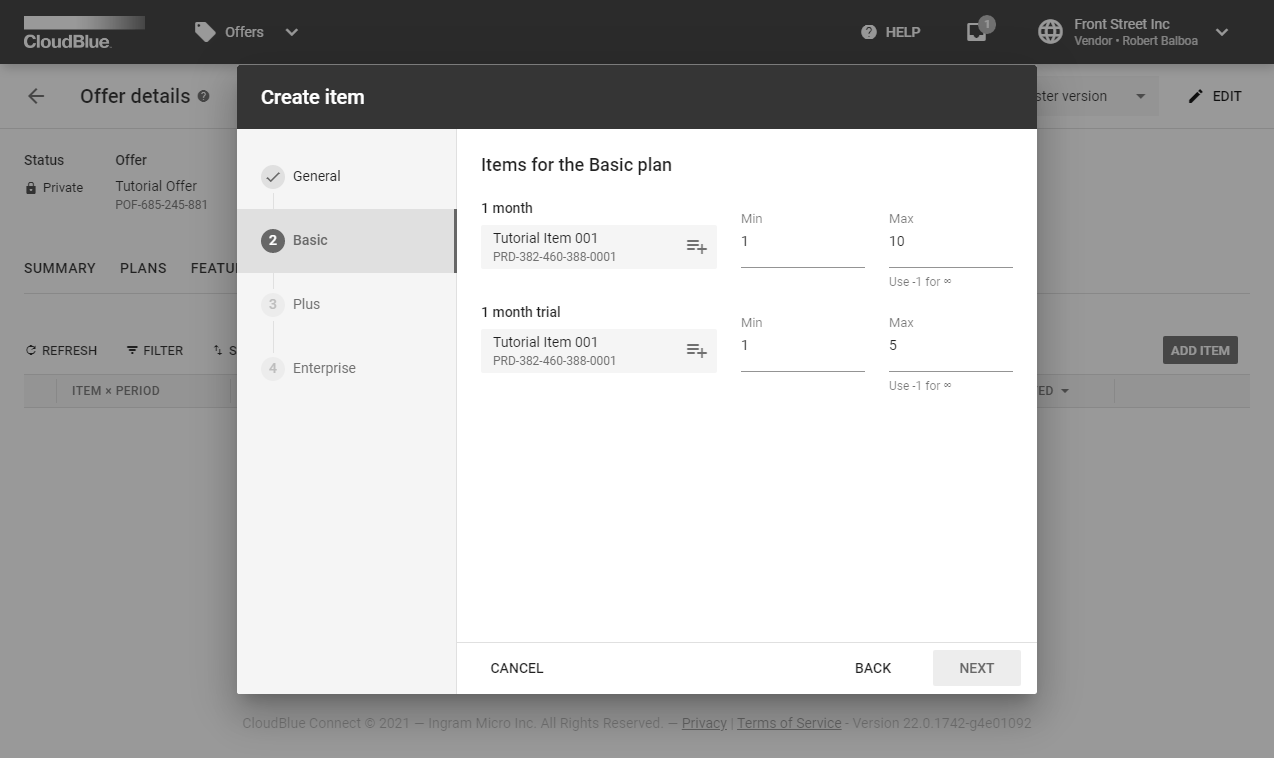
Keep adding items for each of your plans and selected periods. Once all of your plans will be filled with required data, click the Add button to finish.
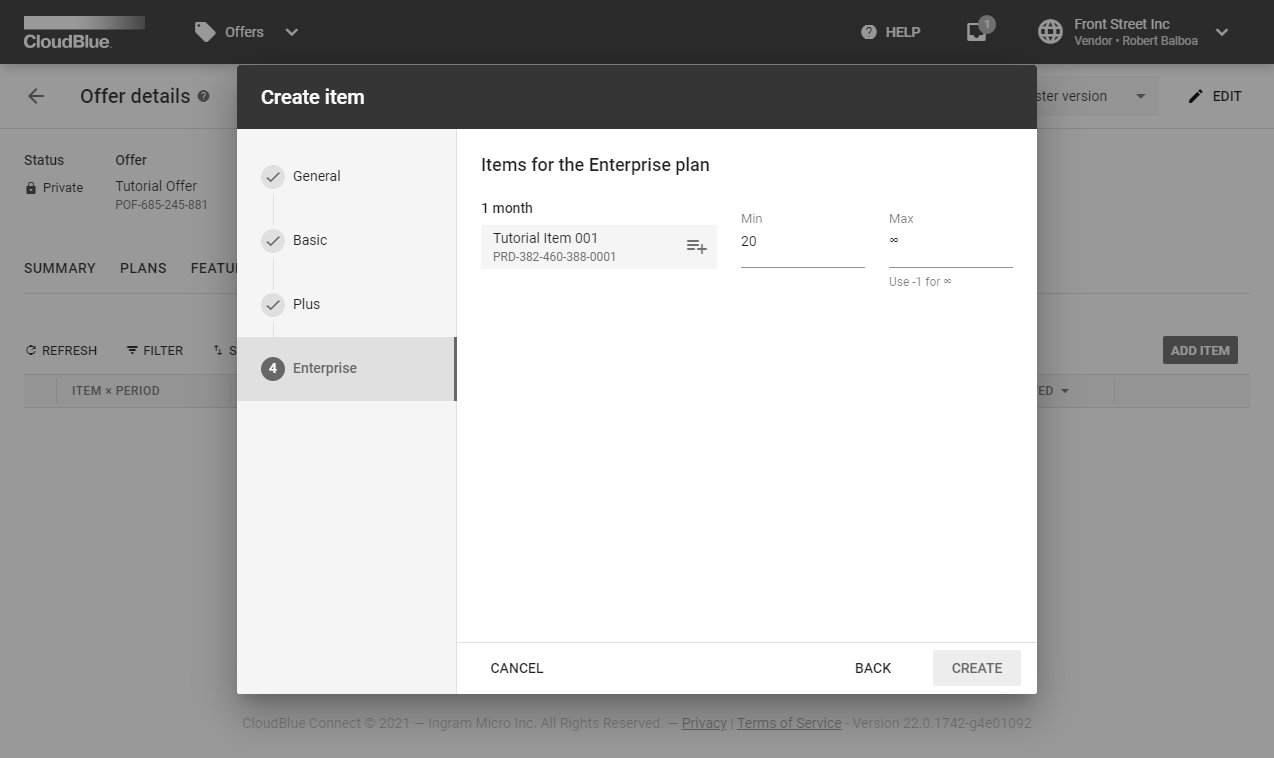
Thus, your item configuration will be successfully completed.
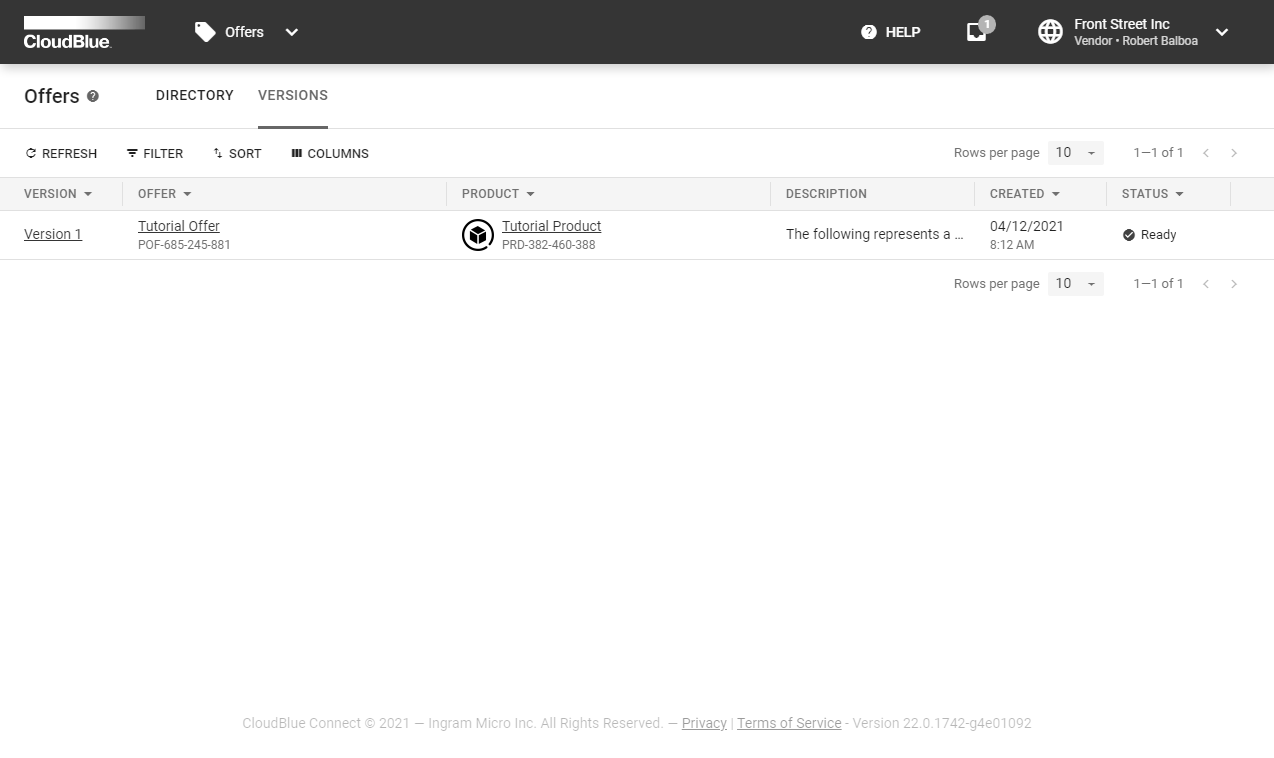
Navigate to the Versions tab from your offer details screen. The Versions tab will display created versions of your configured offers. Follow the steps below to successfully activate your offer version.
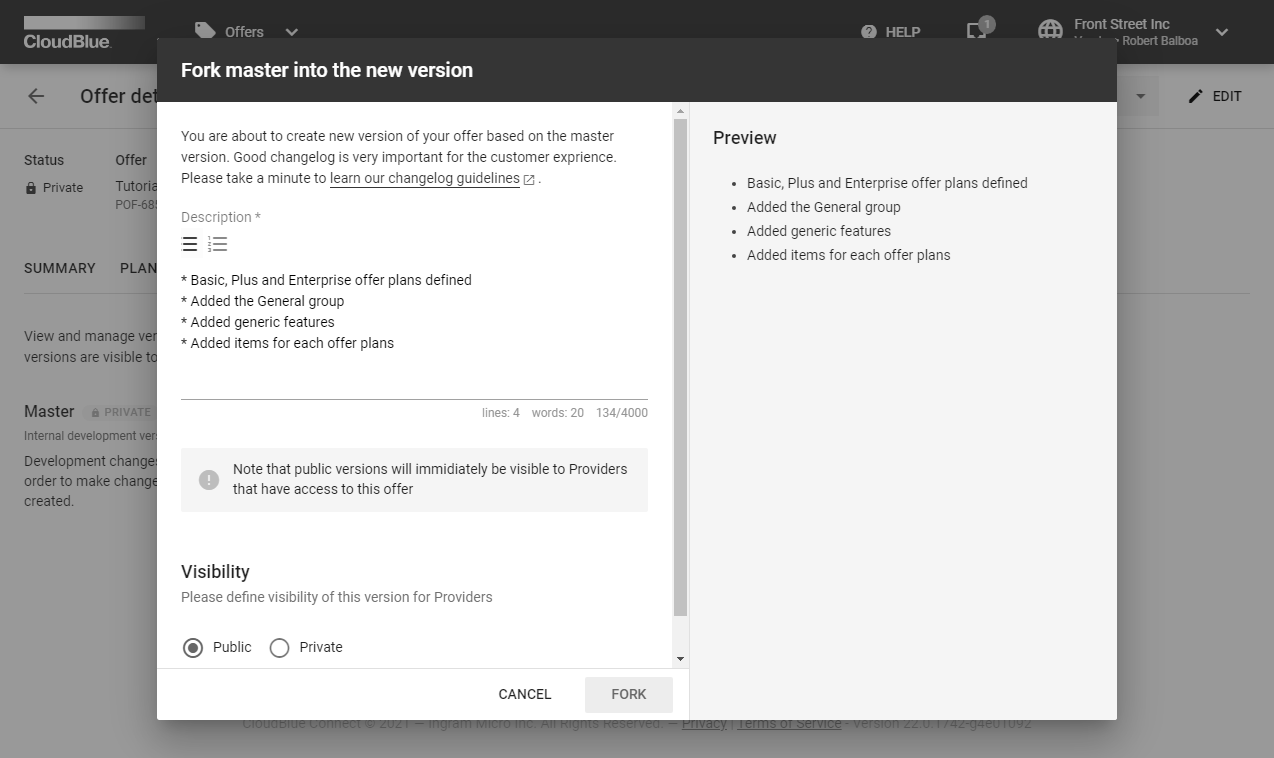
Click the Fork button to create a new version of your offer.

Fill out the following form that is required to save your version.
Description: Provide a description for your offer version. In general, this description contains release notes and update information.
Visibility: Select Public or Private versions. Note that public versions are instantly visible for Distributors that have access to this offer.
Click the Save button to successfully configure a new version of your offer. Once your offer version is activated, it can be listed within a product listing.
Navigate to the Versions section of the Offers module to access and manage a specific version of your offers.
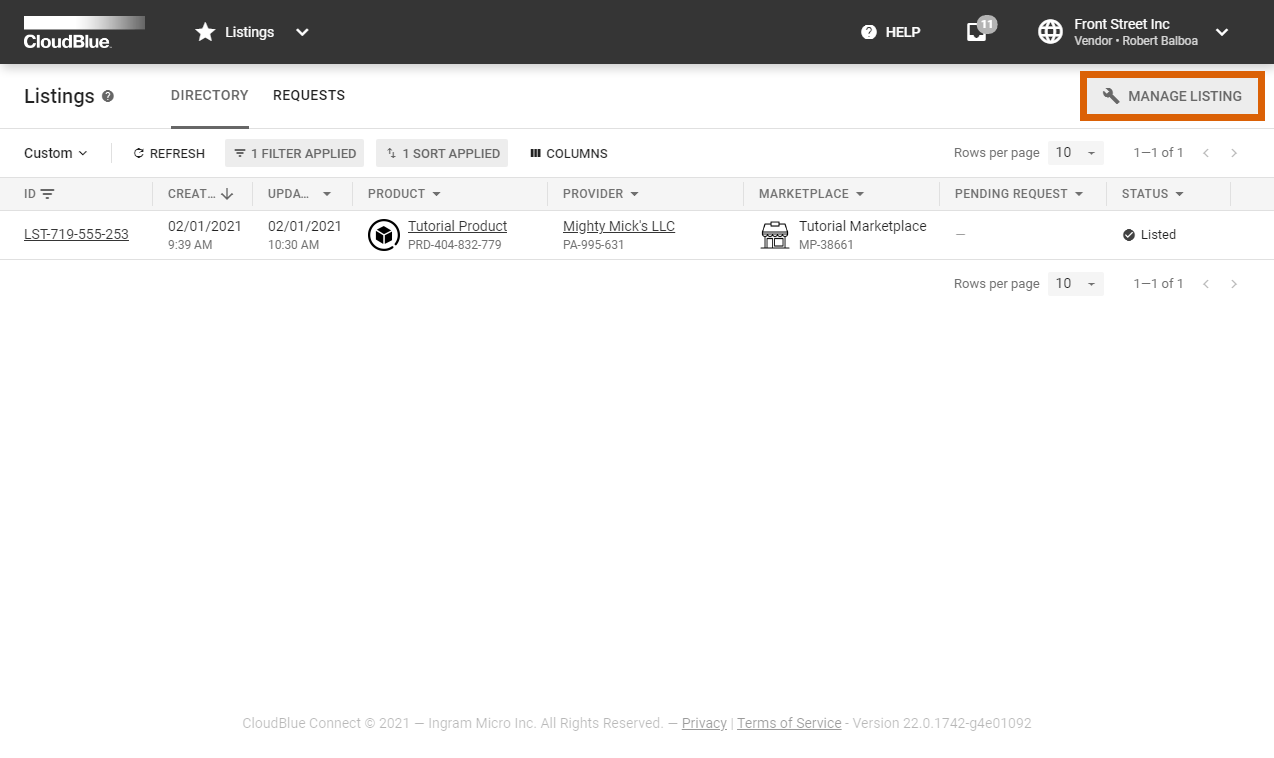
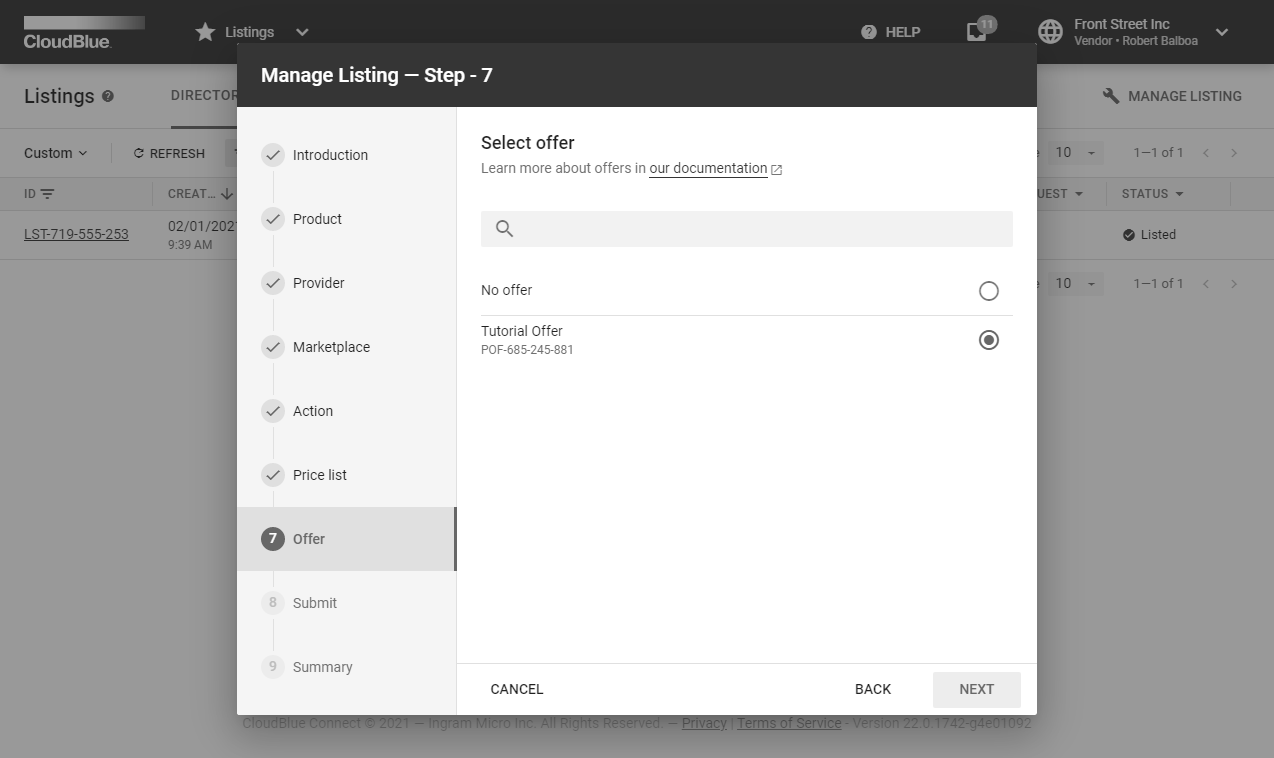
Make your configured offers visible to your Distributor by including this offer to your Listing. The following steps demonstrate how to associate your offers with your listings.
Click the Manage Listing button to launch the listing management wizard.
Create a new listing or edit your existing listing from the listings management wizard.
Select your offer within the Select offer step.
Click the Add button to finish. The wizard will provide your listing summary with your included offer.
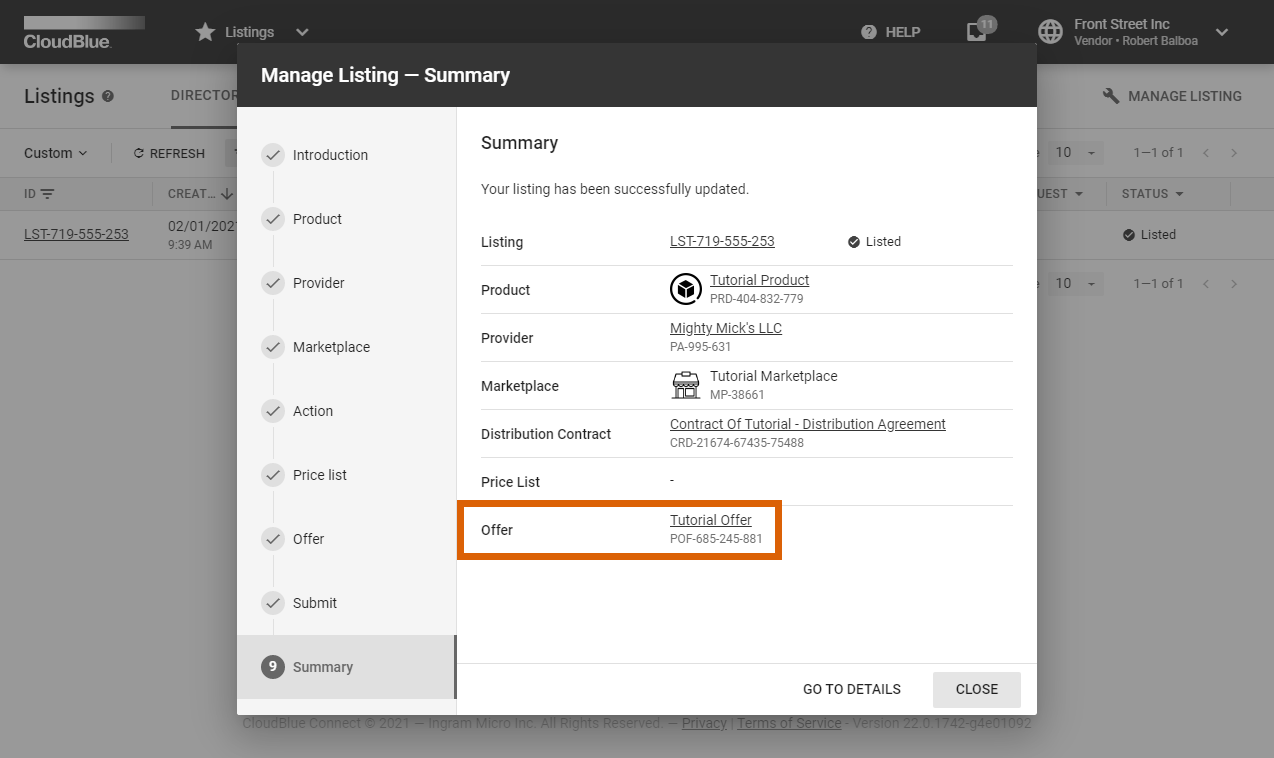
Therefore, your offer will be successfully associated with your configured listing.
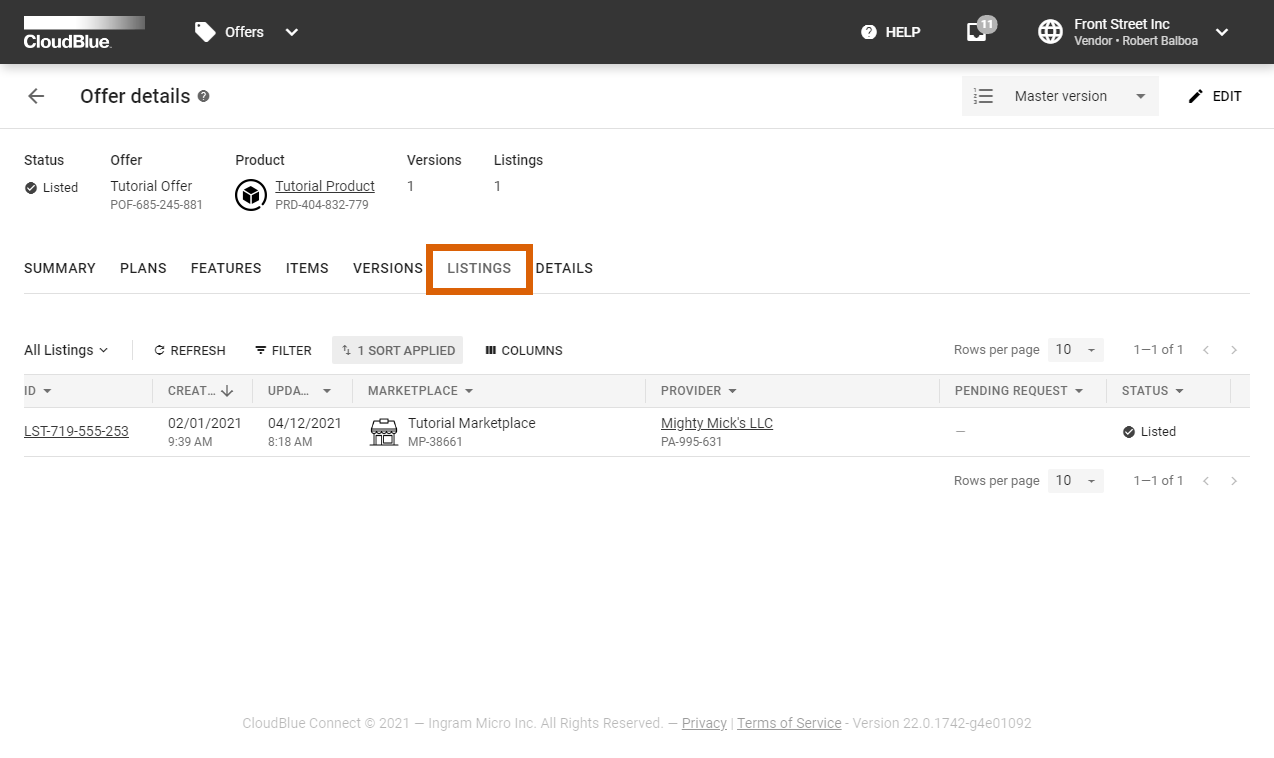
Access the Listings tab from your offer details screen to view the listings that include your offer.