Once your multi-account extension is created and deployed, CloudBlue Connect® allows installing your service within multiple external systems and managing such installations via the Extension Details interface. In addition, the Connect platform enables your organization to invite your business partners to install your deployed service and also publish your extension in the Showroom Catalog. In case your extension is published in the Catalog, the platform helps various organizations quickly and easily find and deploy your business solution.
This article provides instructions on how to publish your service, how invite your partners to install your service, and how to manage your installation objects on Connect.
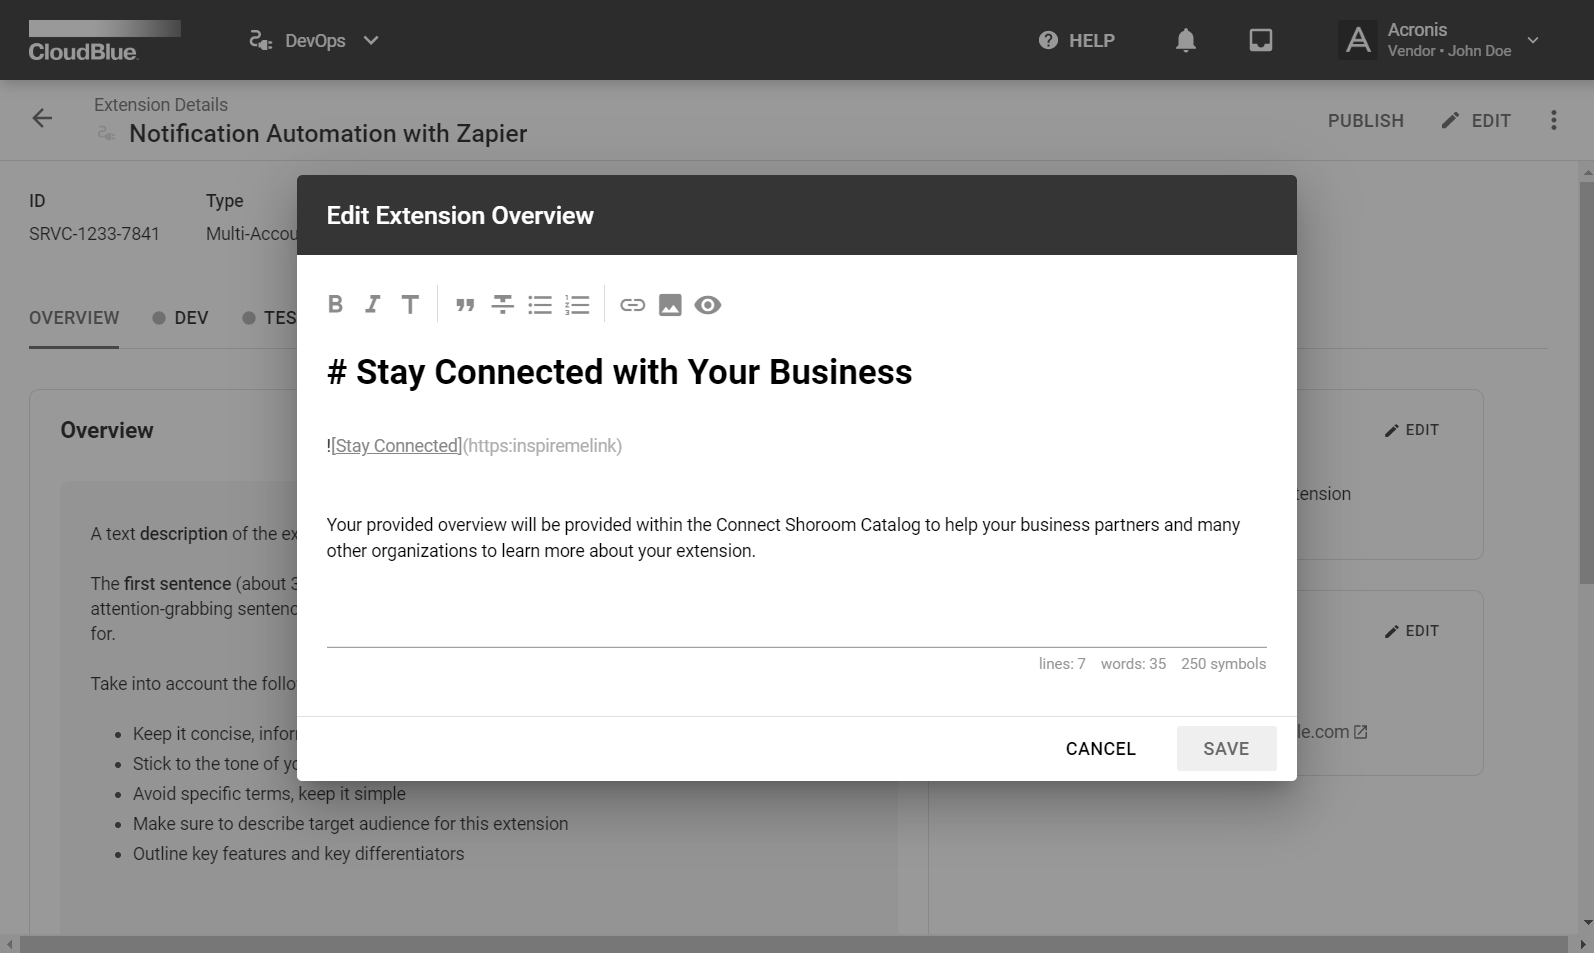
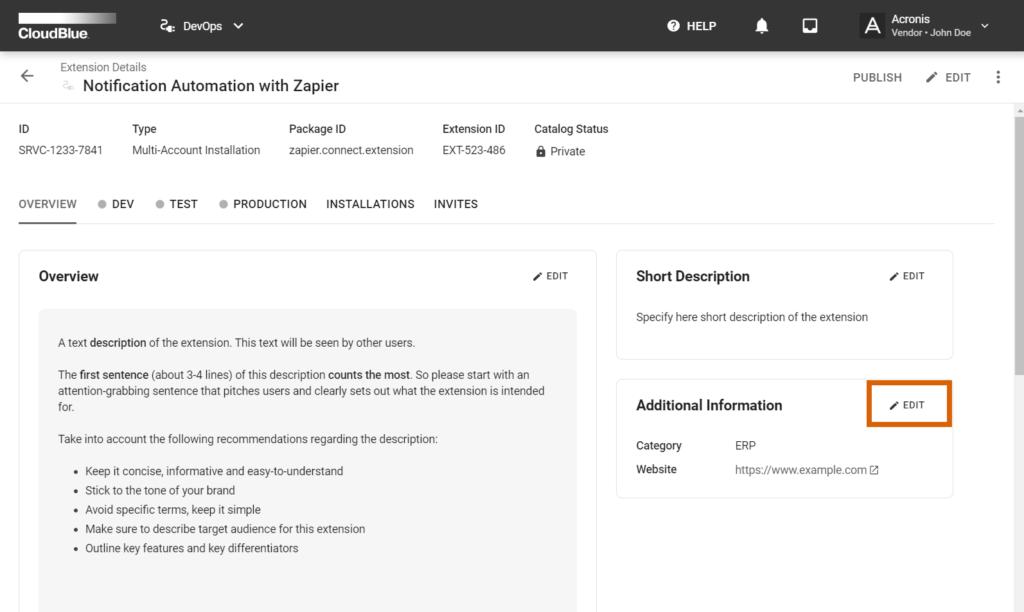
Before publishing your extension, it is required to provide an overview for your business solution. Your added overview will be displayed within the Showroom Catalog to help organizations to learn more about your extension. Extension publication also requires your organization to accept the terms and conditions that are provided by CloudBlue.
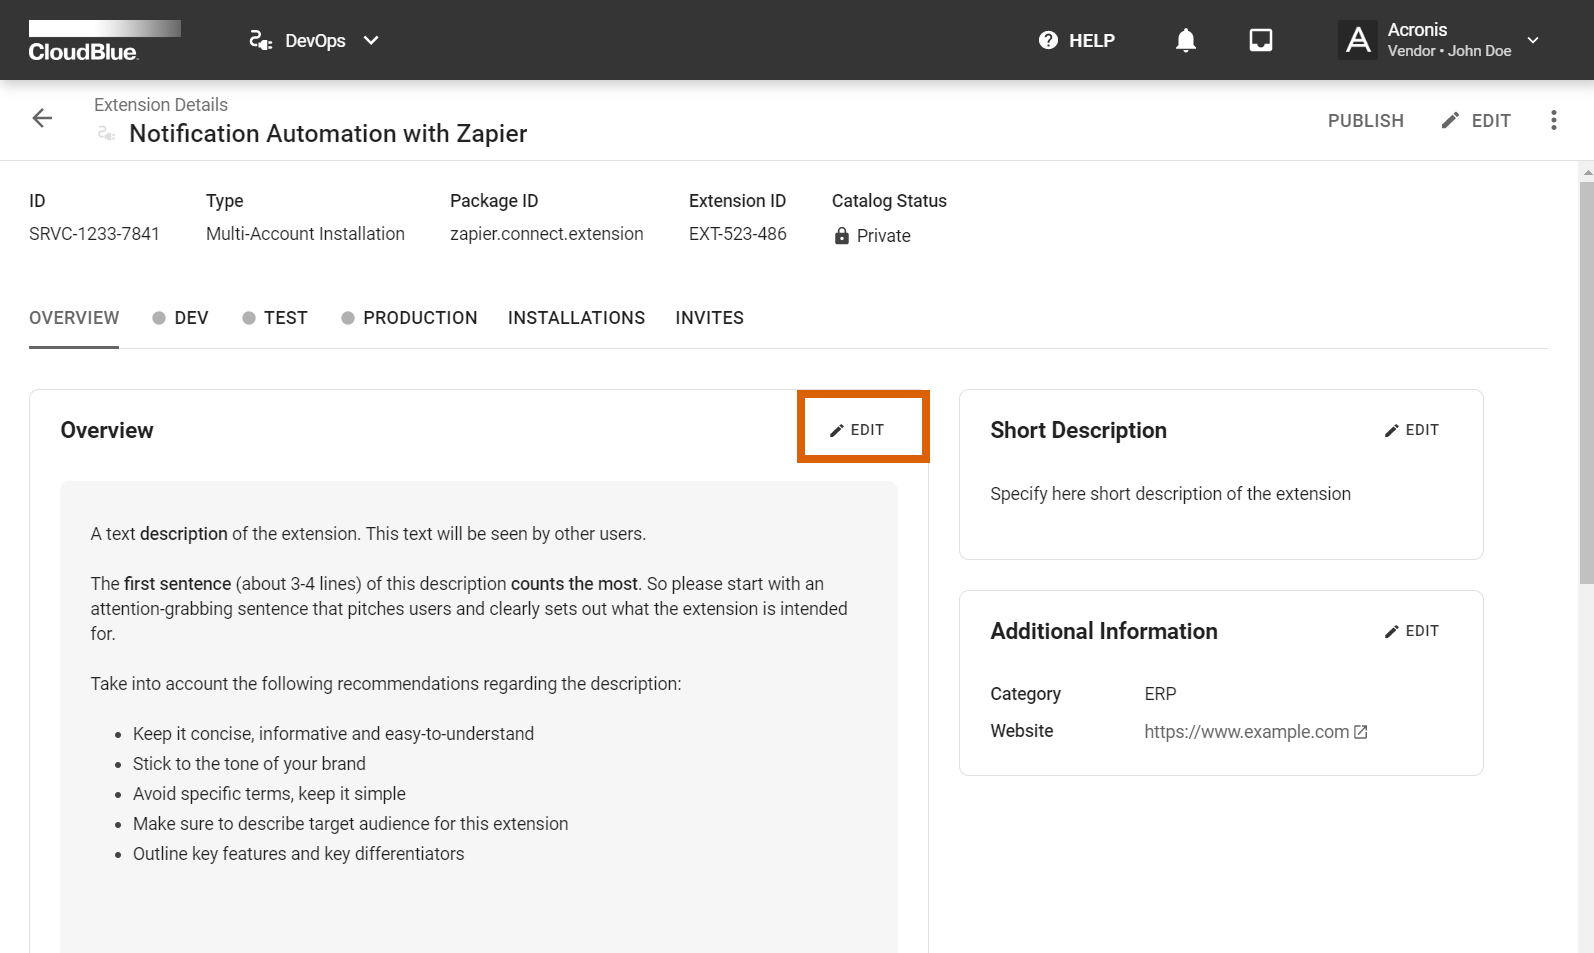
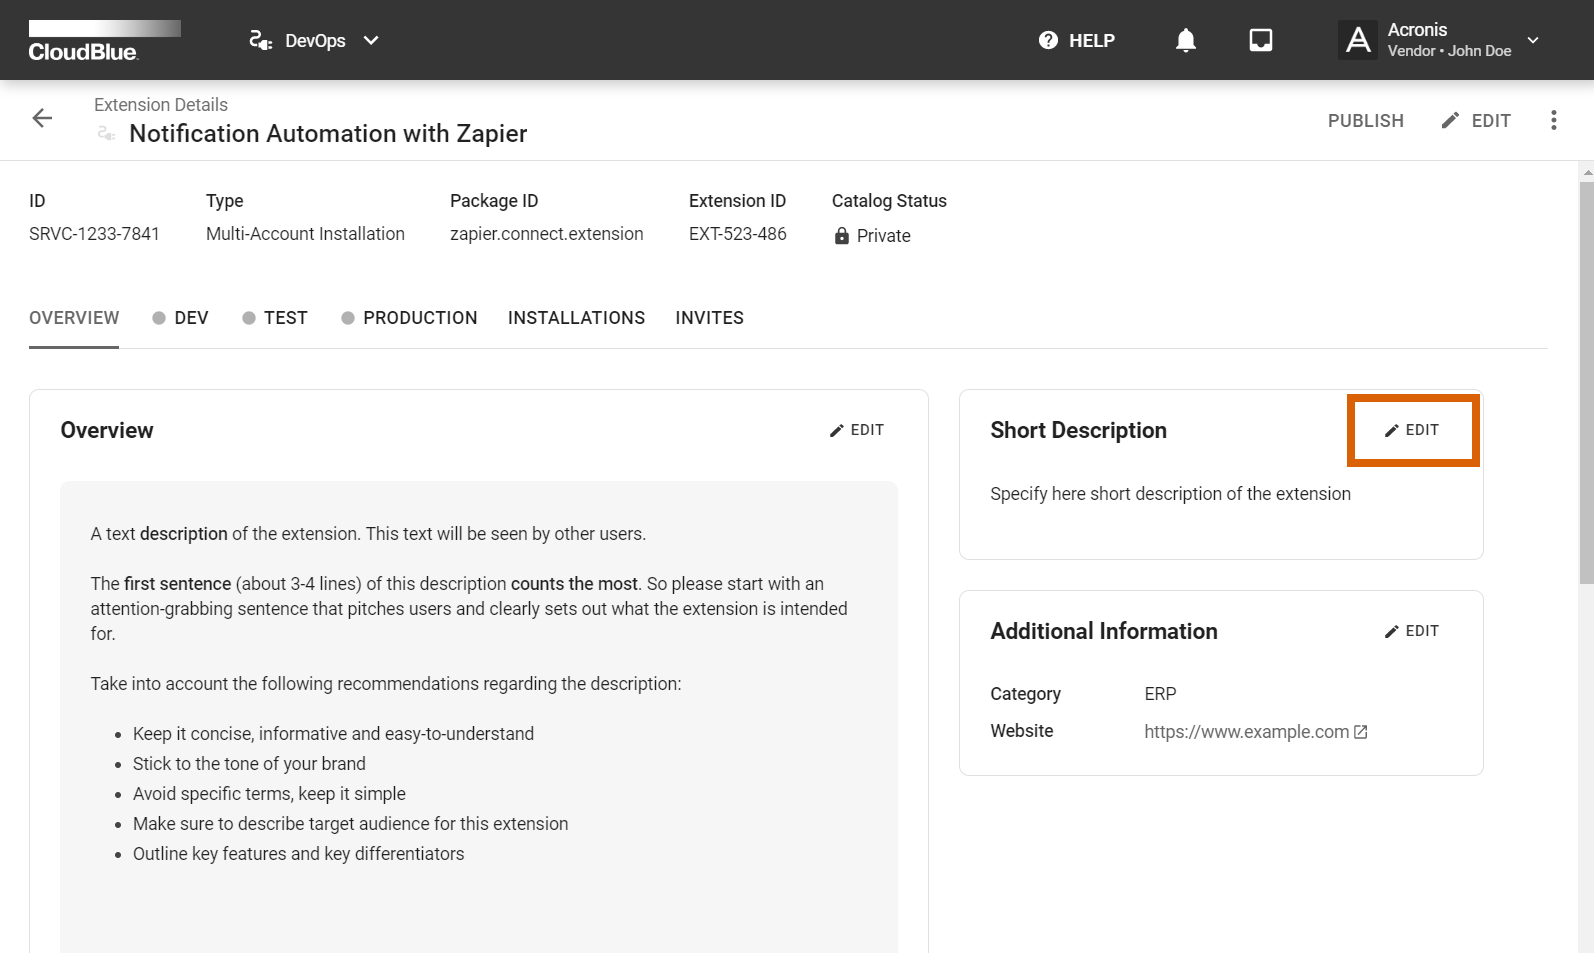
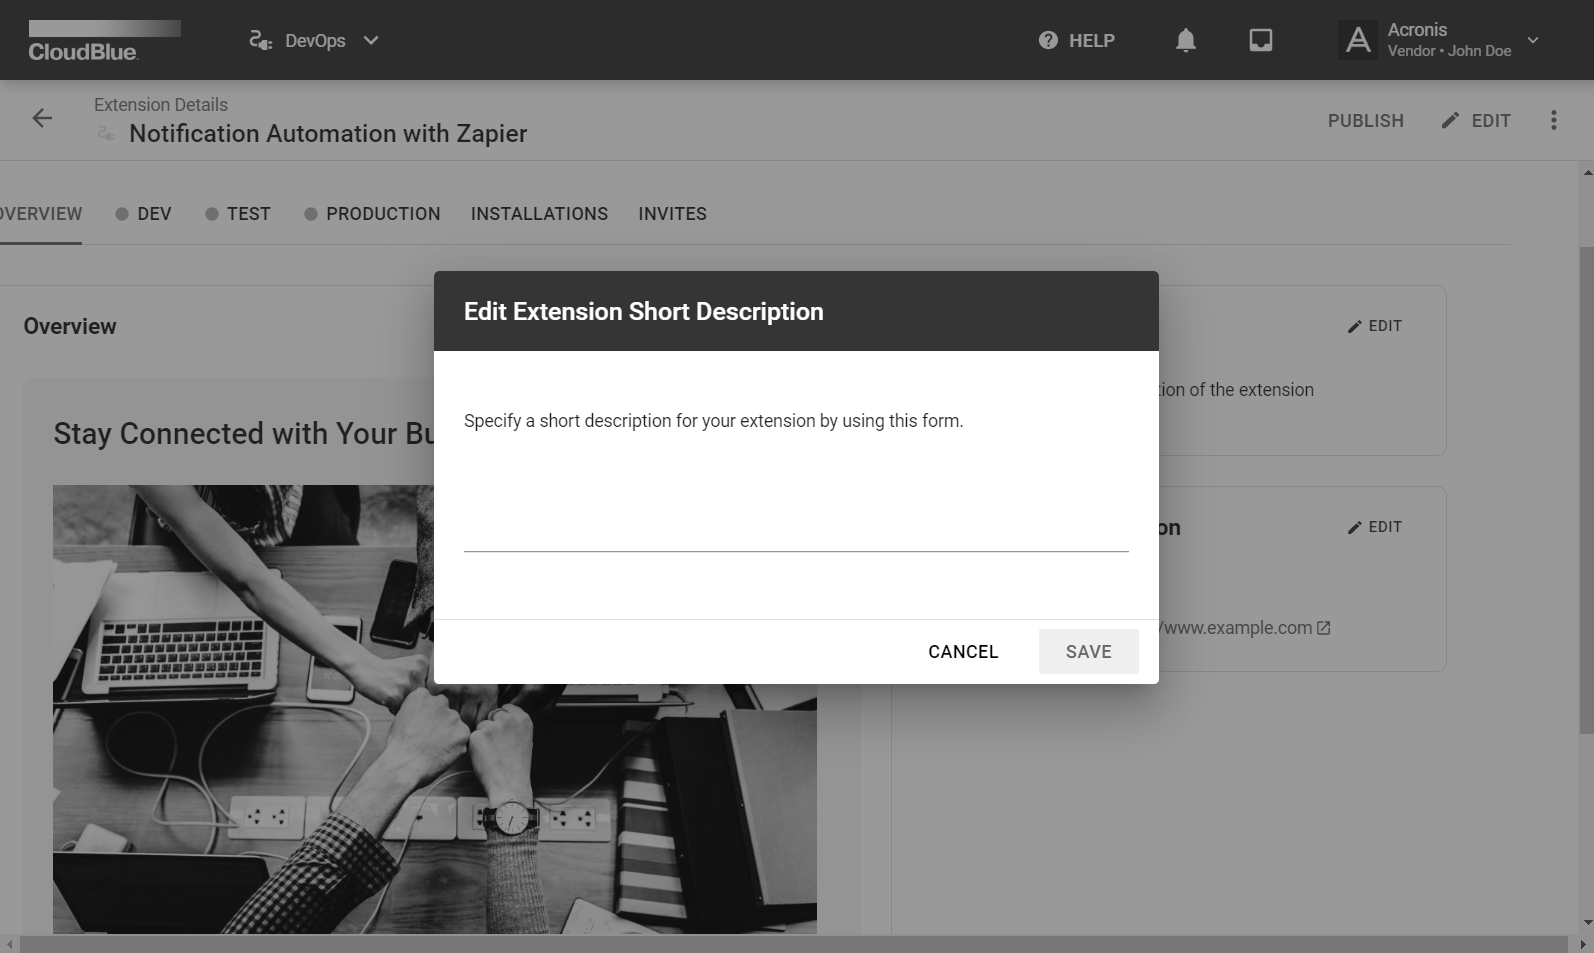
An extension overview contains a description with introduction and detailed information, short description of your extension, and any other additional information (e.g., category, website, and so on). Navigate to the Extension Details screen of your service and access the Overview tab. Thereafter, provide required information on your extension by using the following interface:

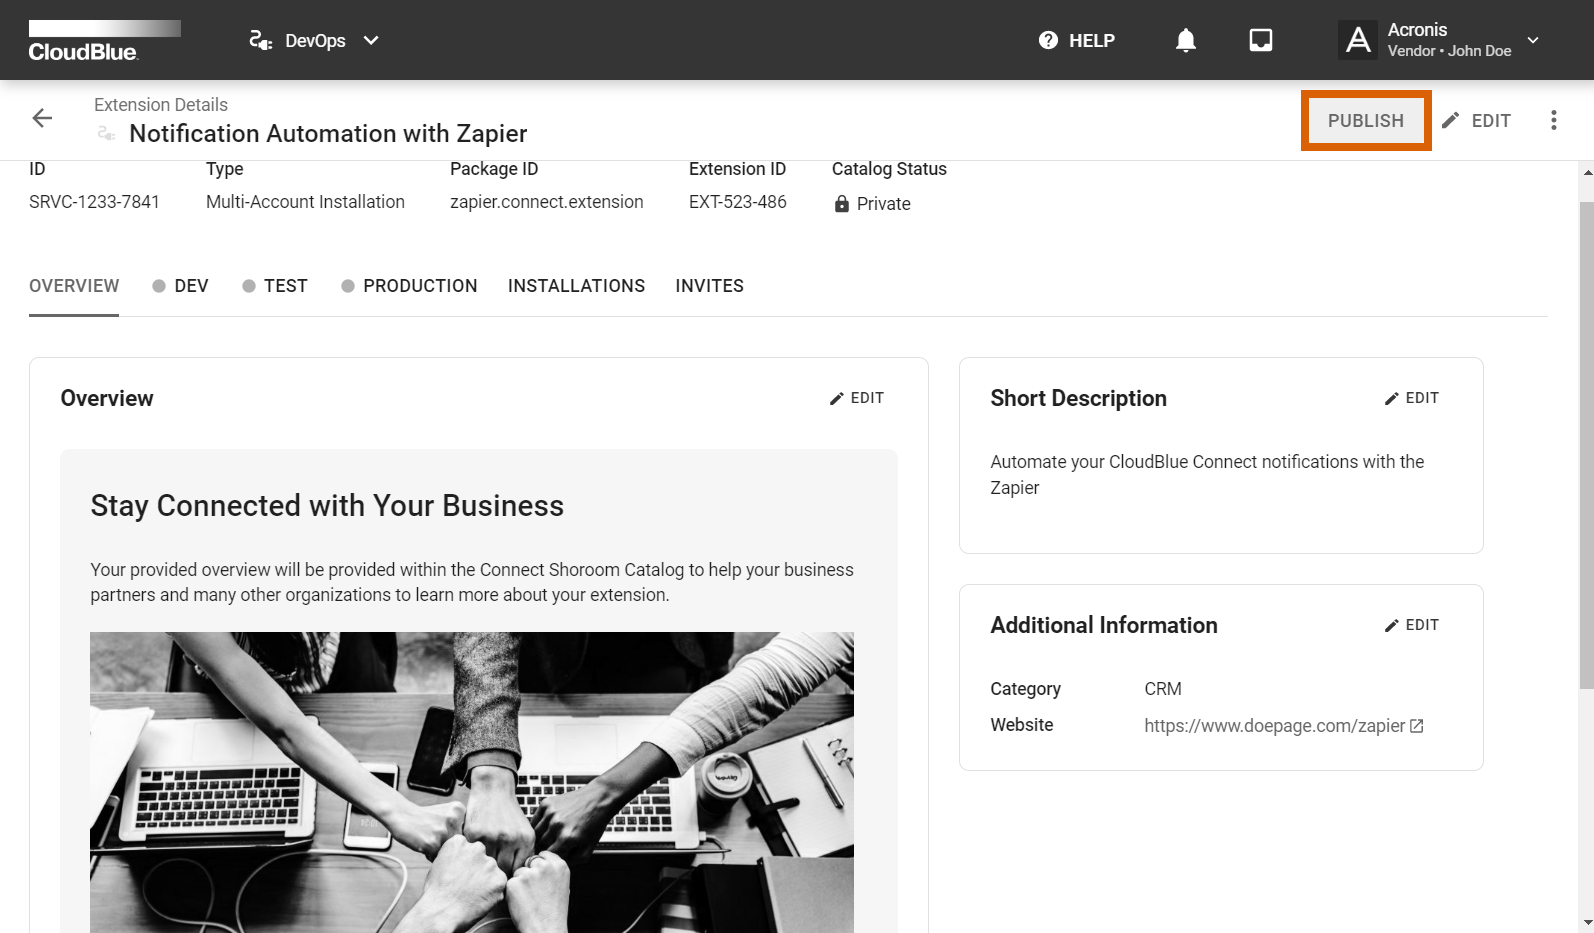
In case your extension overview, description, and additional details are specified successfully, your extension can be published in the Showroom Catalog. Publish your extension by accessing the Extension Details screen and following the steps below:
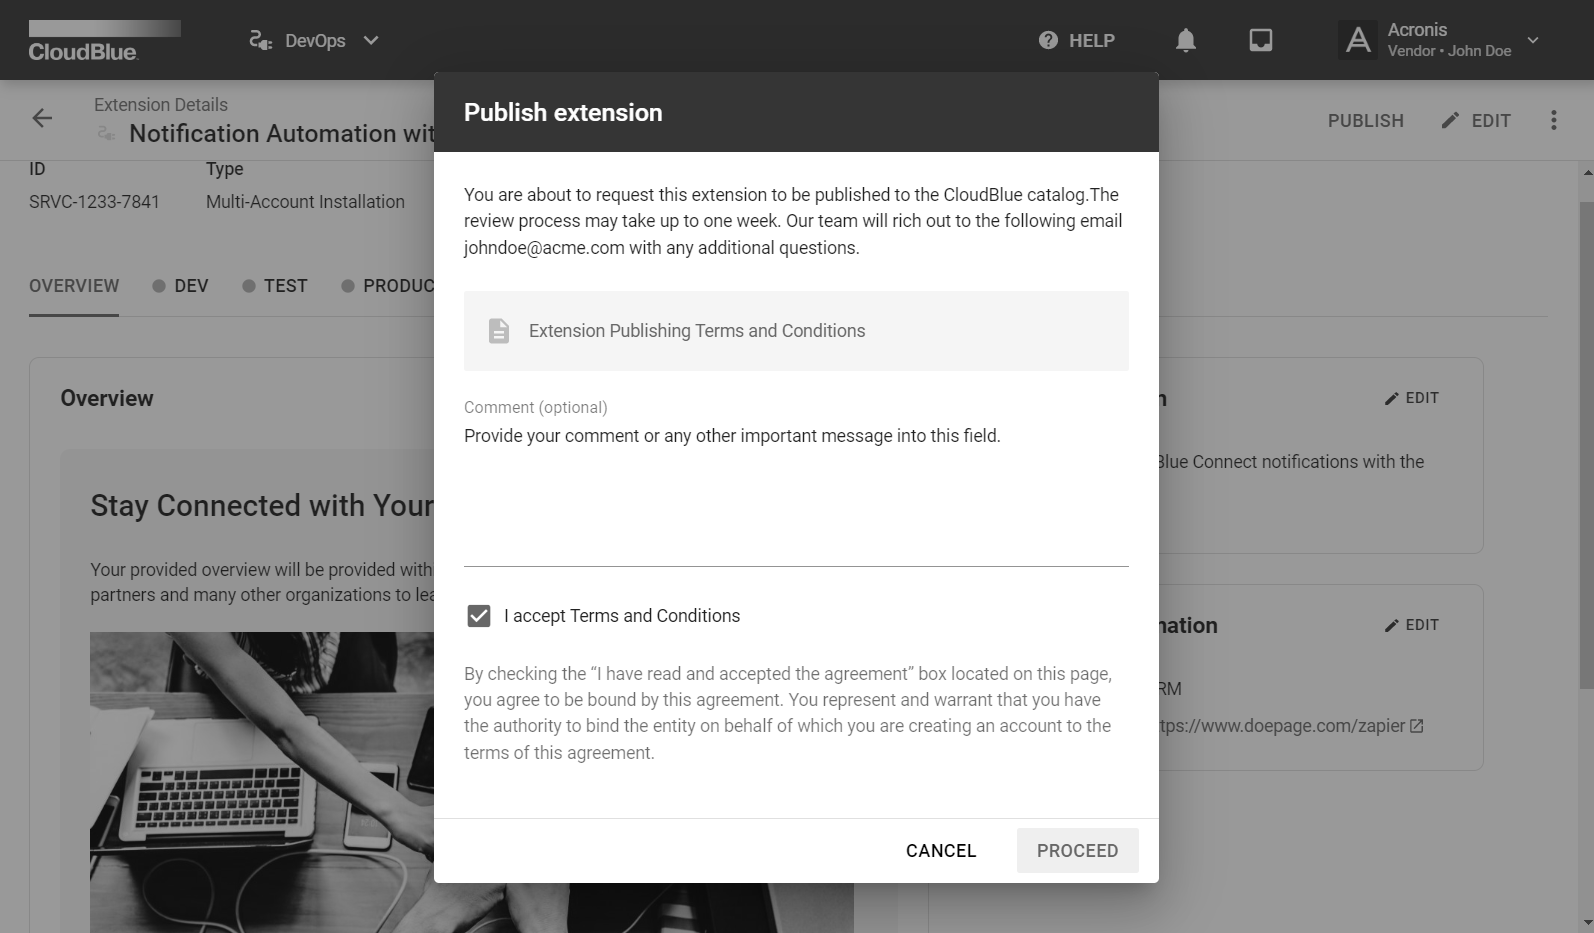
Therefore, the Connect team will start processing your publication request. Note that the publication request processing may take up to a week. The Connect team will also reach out to your email address with any additional questions.
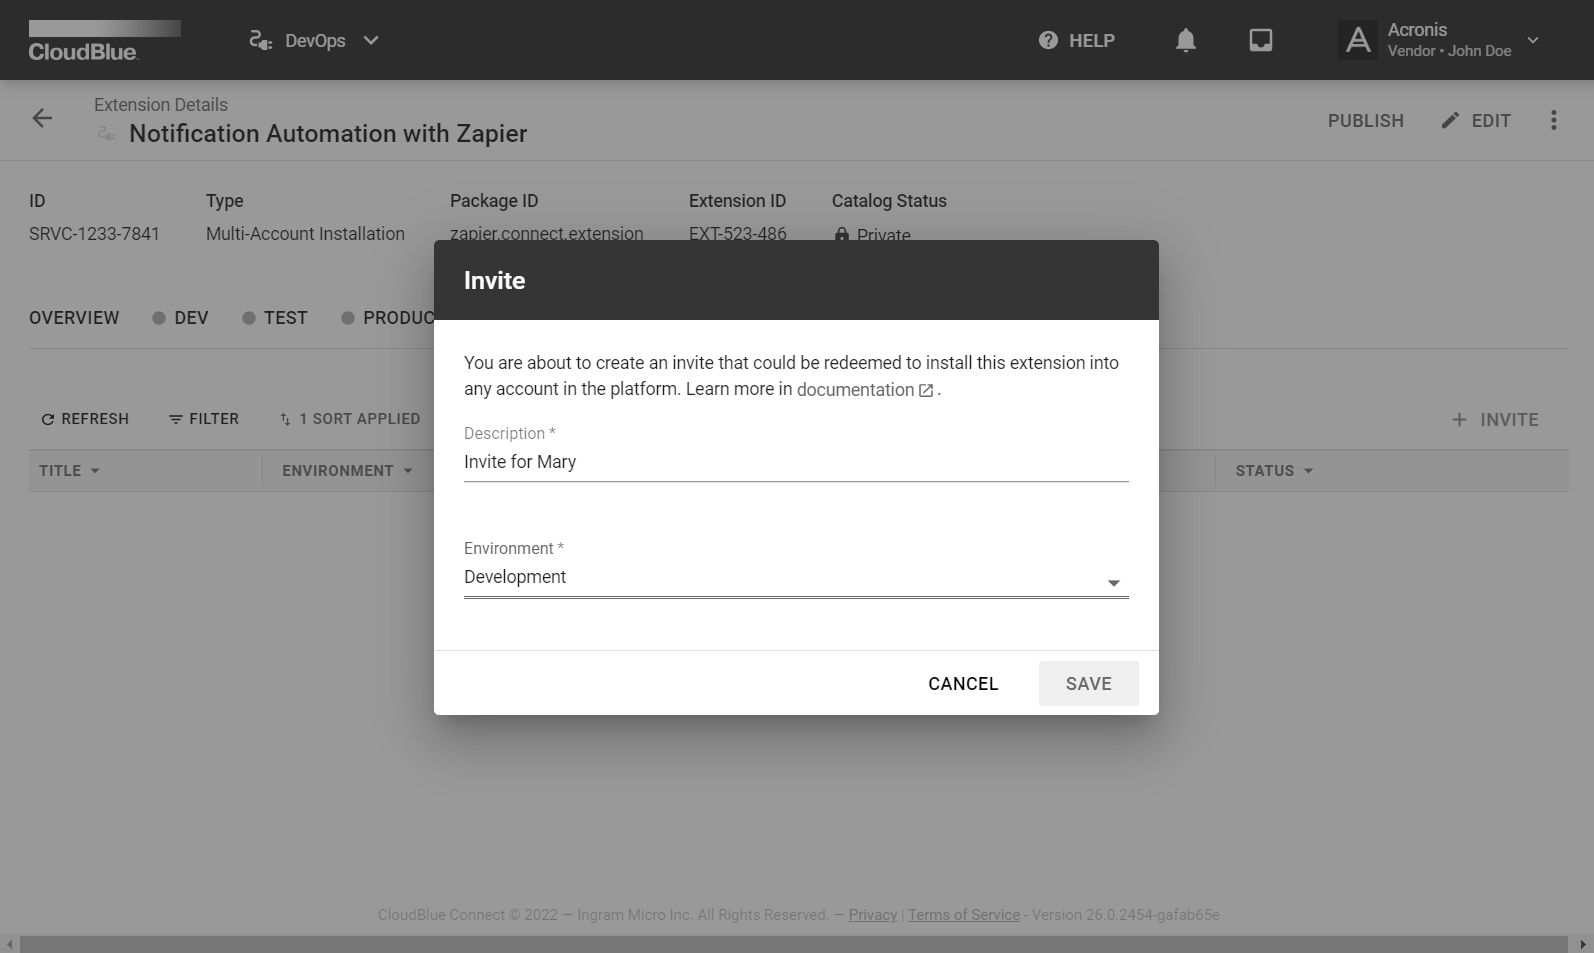
CloudBlue Connect® allows inviting your business partners and other organizations that are registered on the Connect platform to install your deployed and published extension. Therefore, users can immediately start using your extension by redeeming your generated code.
The system also allows inviting organizations to different environments and revoking invitations if necessary. Follow the steps below to create a new invitation code:
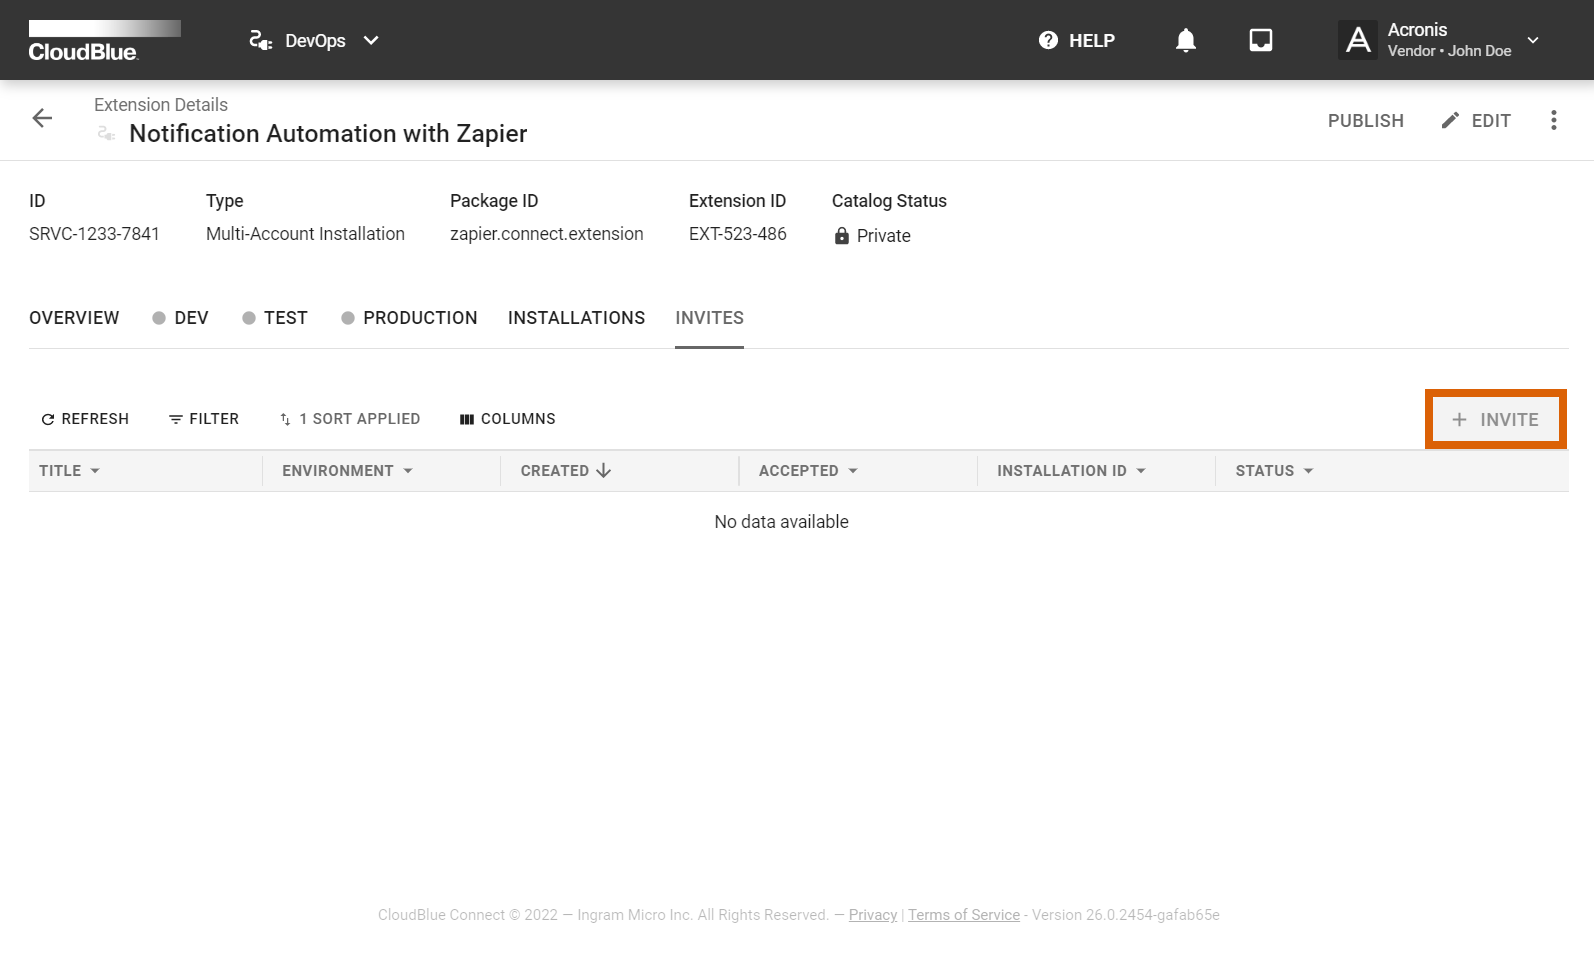
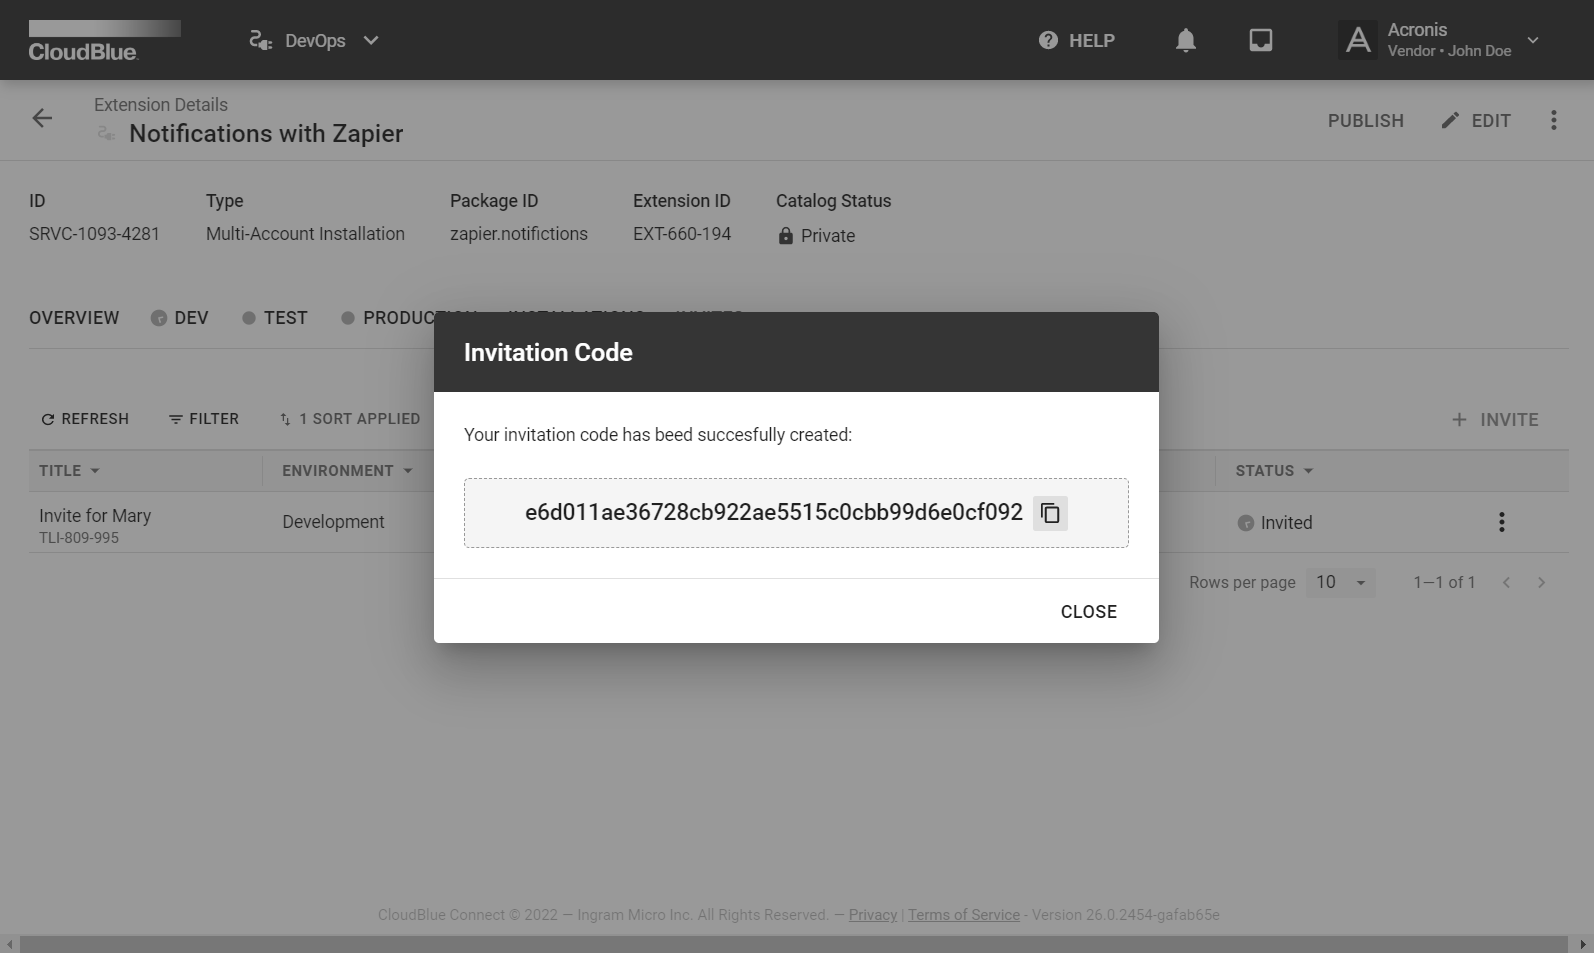
The system will display your created invite objects, their statuses, creation date, associated environment, and so on. Your invitation can also be revoked unless it is already accepted within the system. Open the additional menu by clicking on the vertical ellipsis (⋮) to revoke your invite or copy the invitation code.
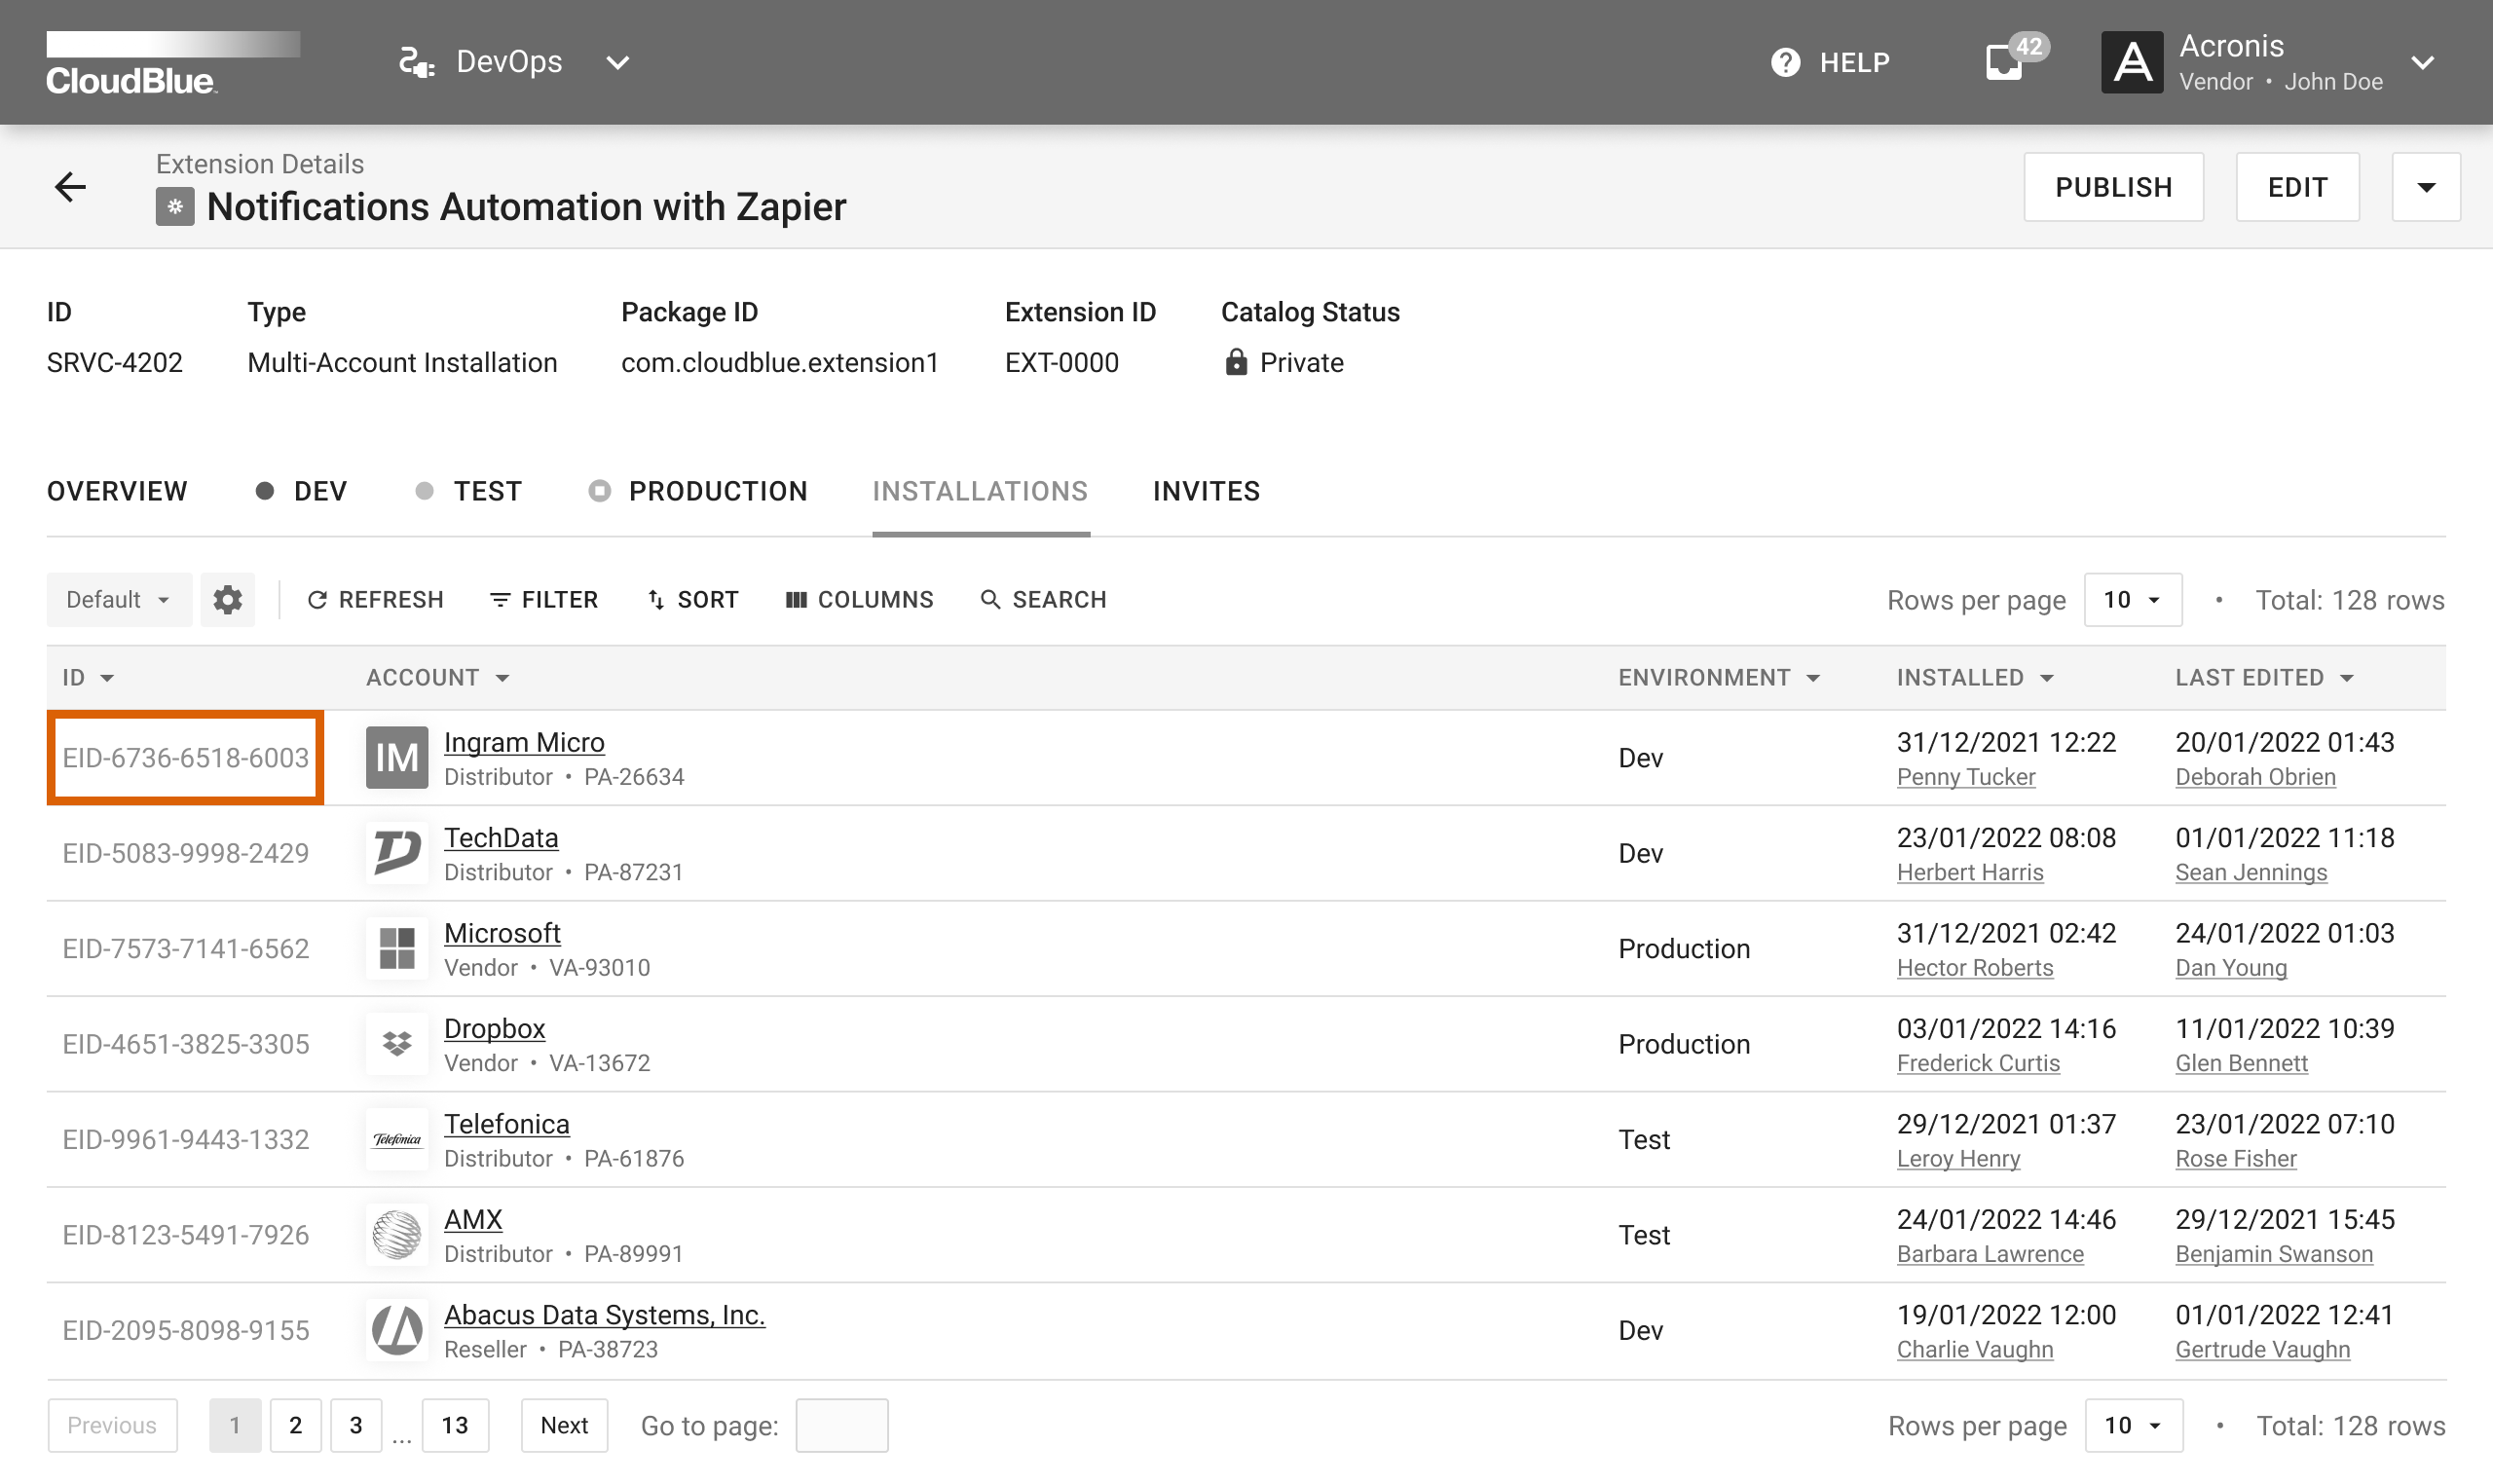
In case your extension is installed via your invitation via the Showroom Catalog, the system will provide a list of your installations. This list is displayed in the Installations tab, which provides detailed information on each installation object. The following describes provided details and available operations within this tab.
Access the Installations tab via Extension Details. Select an installation object from the list and click on its installation identifier to access the Installation Details screen.
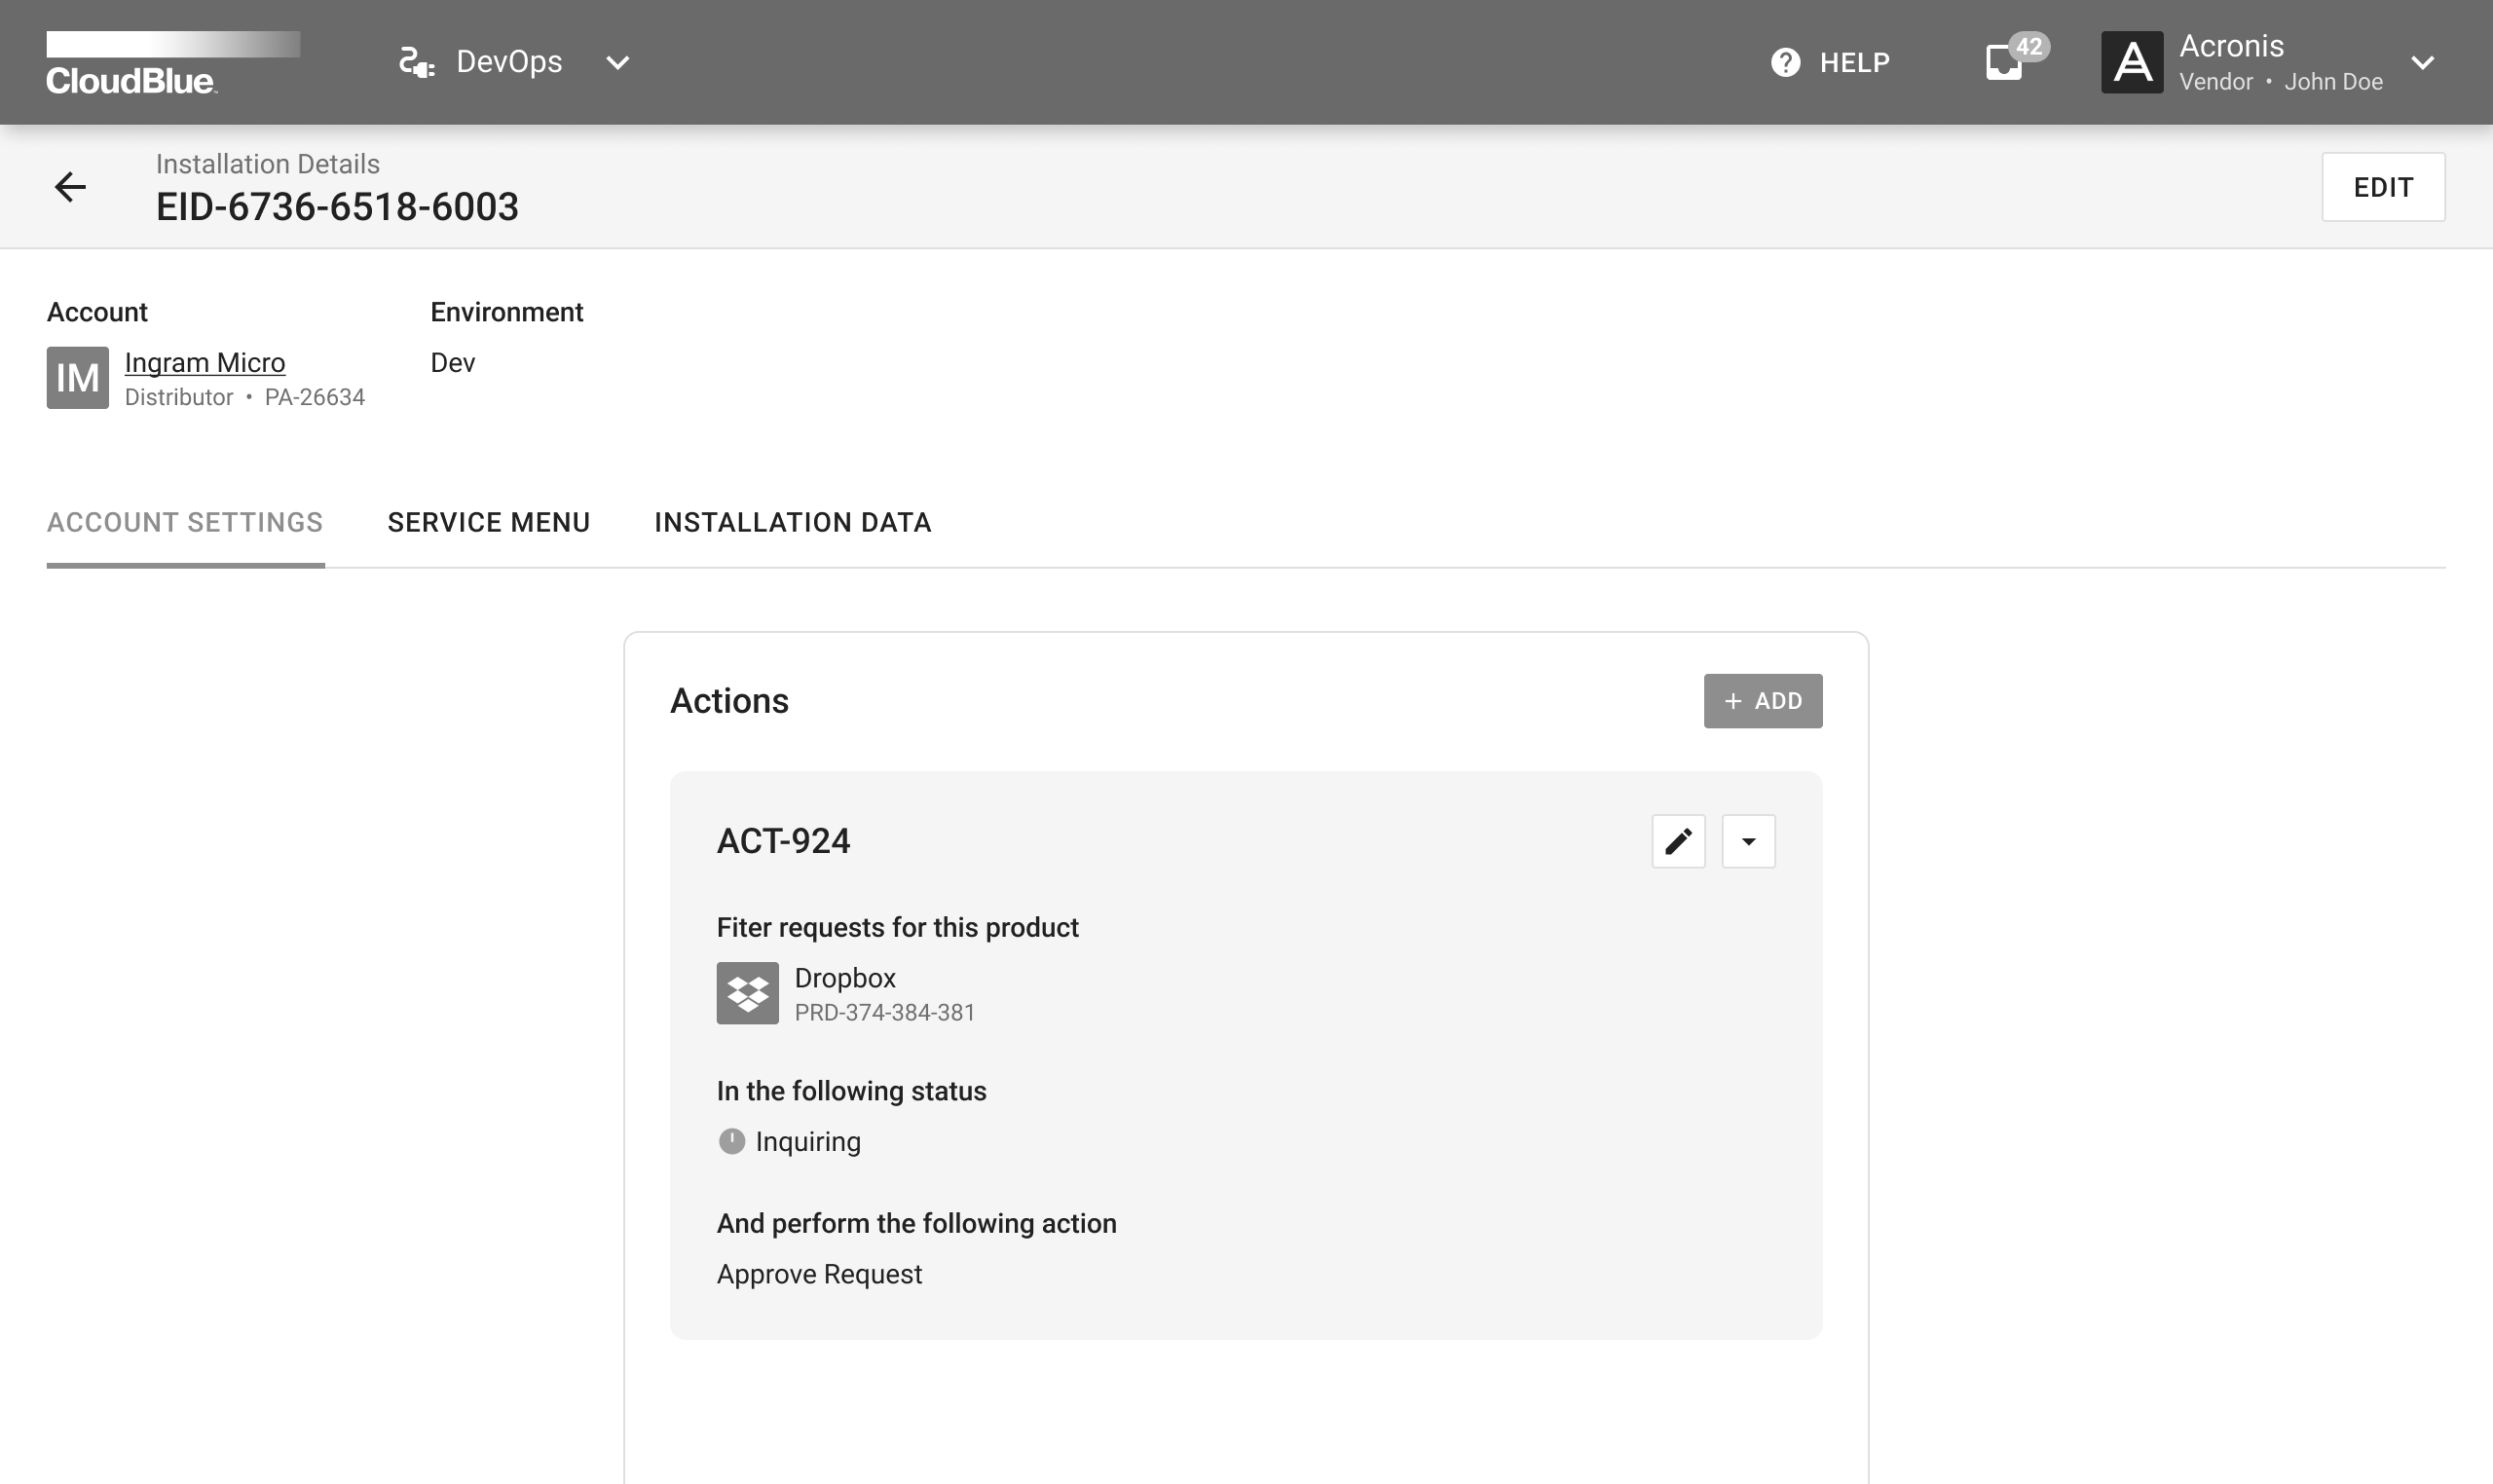
Use the Edit button at the top-right corner of the Installation Details screen to change the environment for your selected installation object.
The Account Settings tab is used to access a list of your specified actions executed by your extension. Namely, the system provides a list that summarizes the functionality of your extension and outlines associated object on the Connect platform, its status, parameter values and your specified action. The system also allows adding or editing actions by using corresponding buttons on the interface.
The system also displays your extension interface by using the Service Menu tab. The provided interface varies depending on the capabilities of your extension.
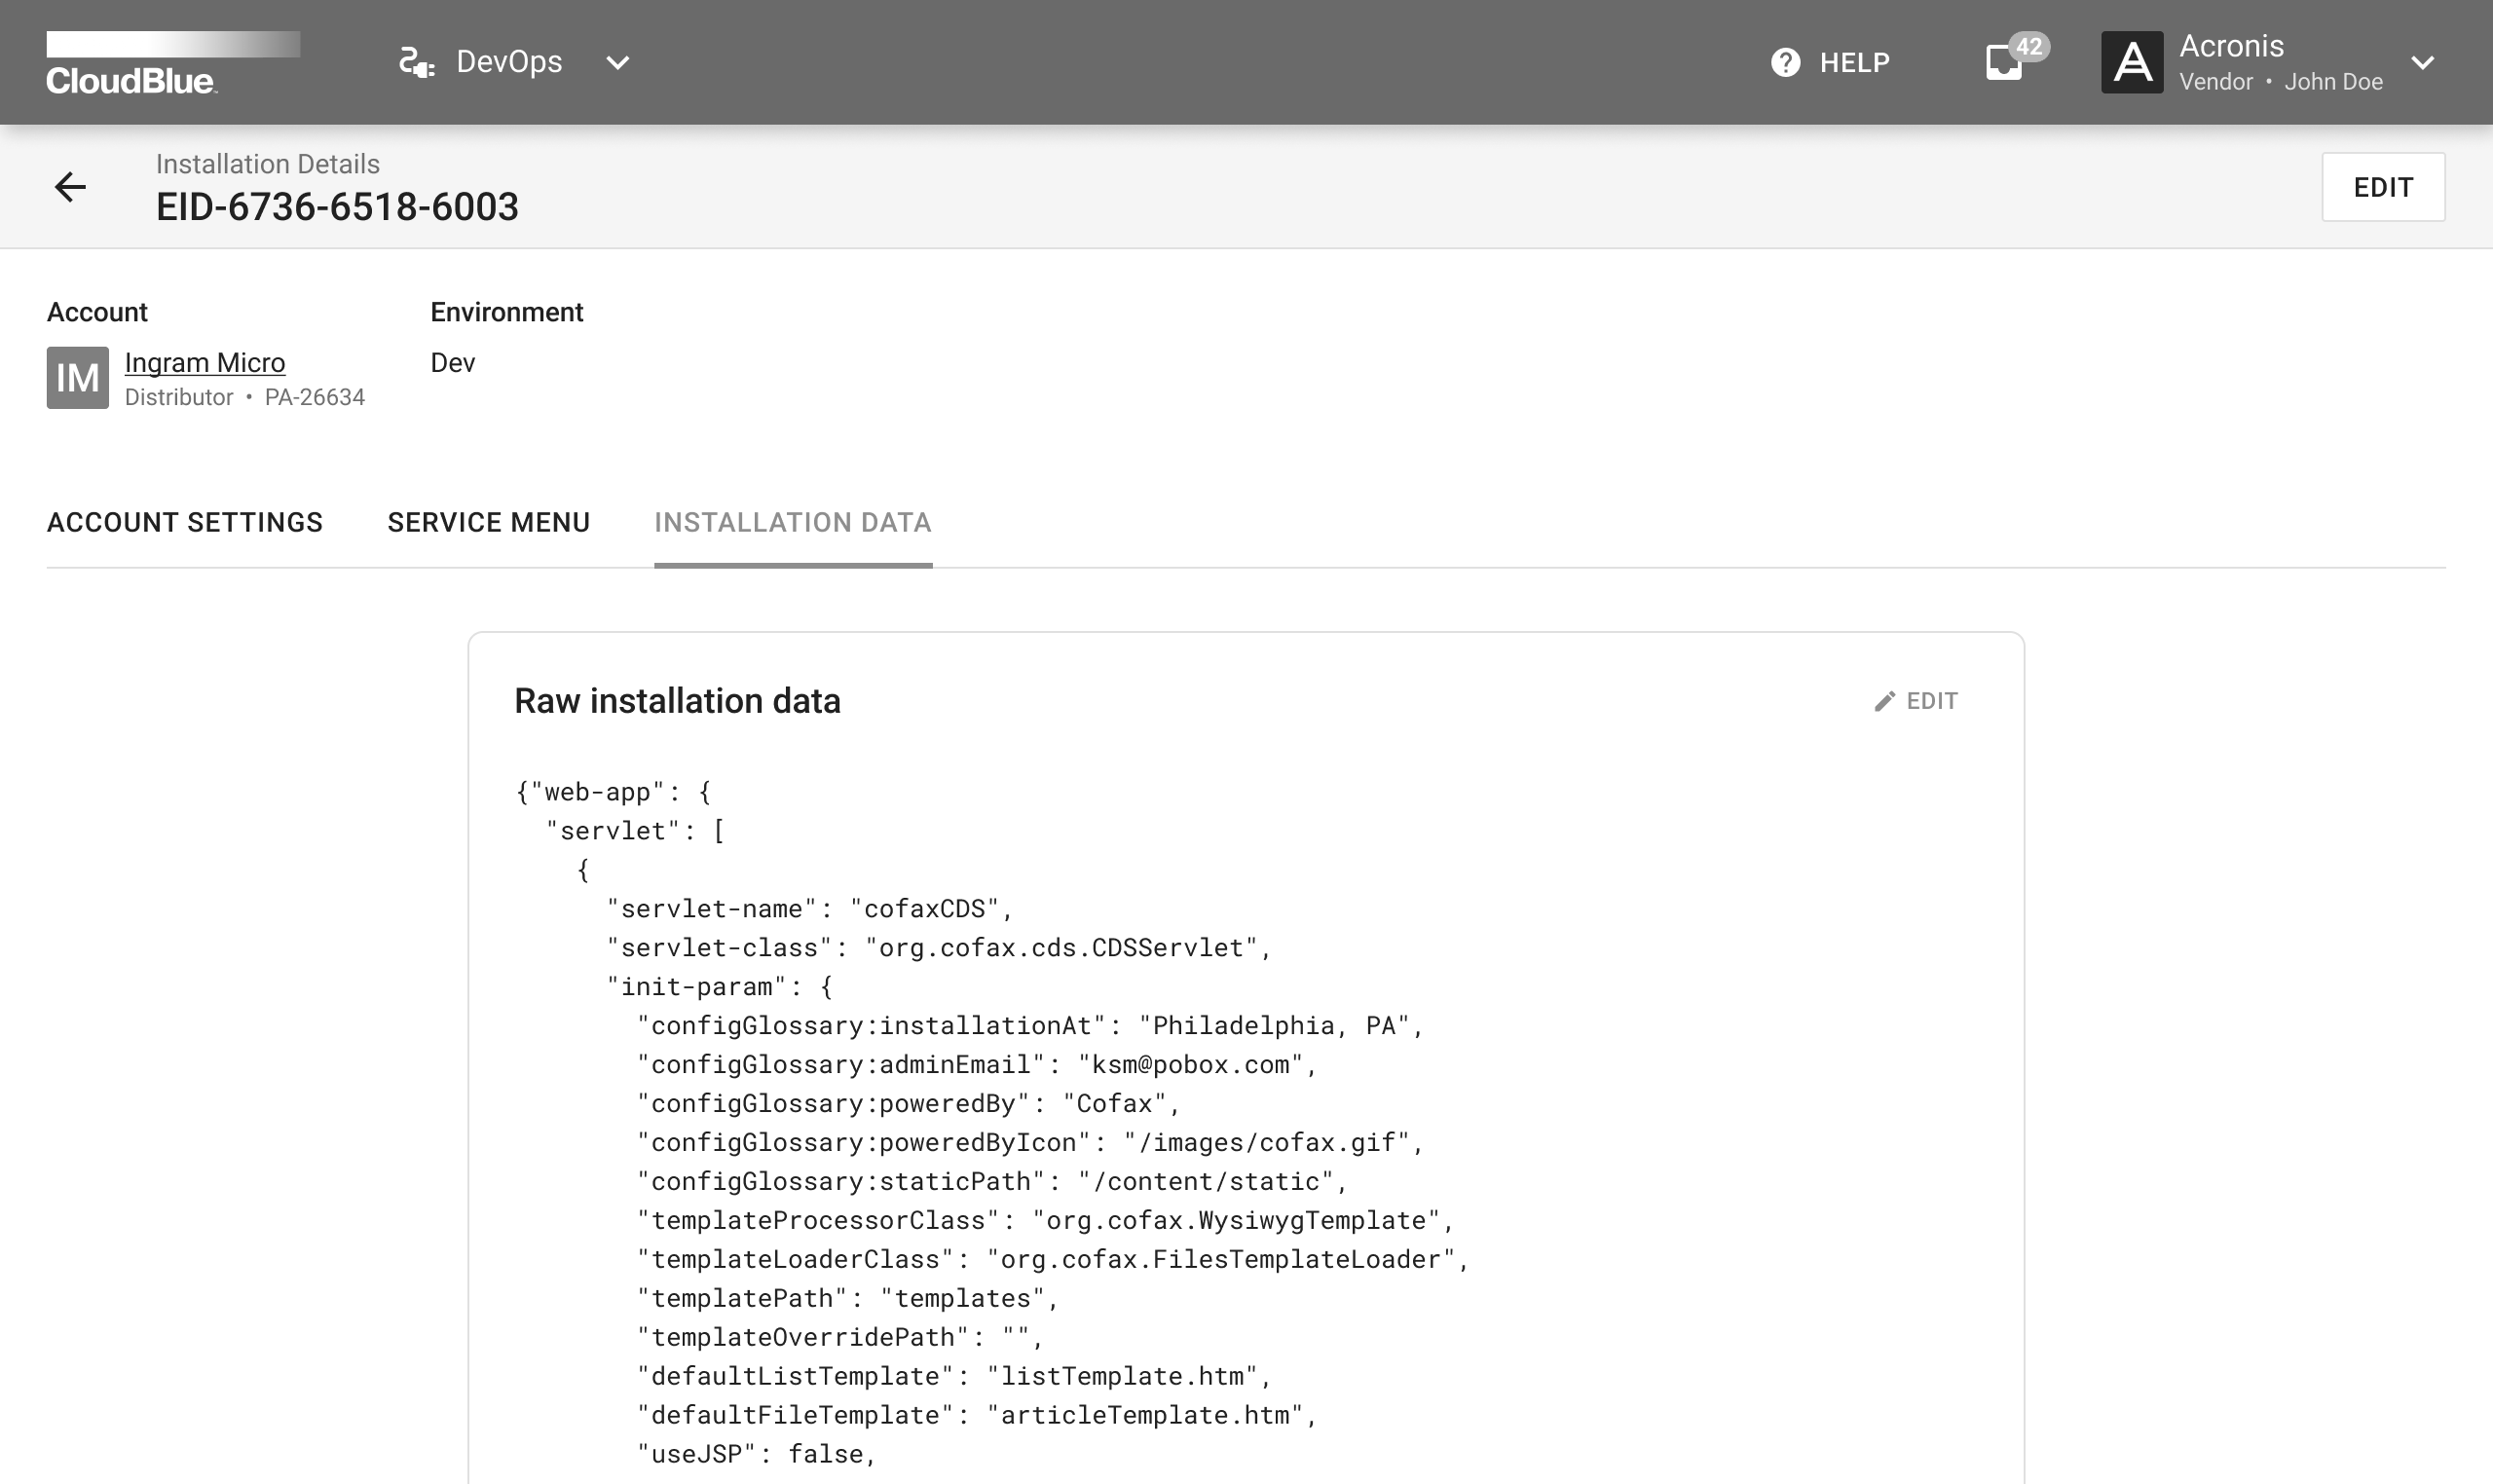
The Installation Data tab displays your extension code. The system also allows editing your raw installation data by using the corresponding button on the screen.