In general, subscriptions and fulfillment requests are created automatically by specified hubs via the Connect API. However, it is also possible to create subscriptions manually to test out product ordering procedures and to preview a product. The following describes how to manually create a subscription on the Connect platform.
Create a new subscription via a subscription creation wizard from the Subscriptions module.

Click the Create Subscription button to launch the wizard. Follow the steps below to successfully configure a new subscription.
The wizard will provide an introduction that explains the subscription concept.

Click Next to continue.
Select one of the available environments:
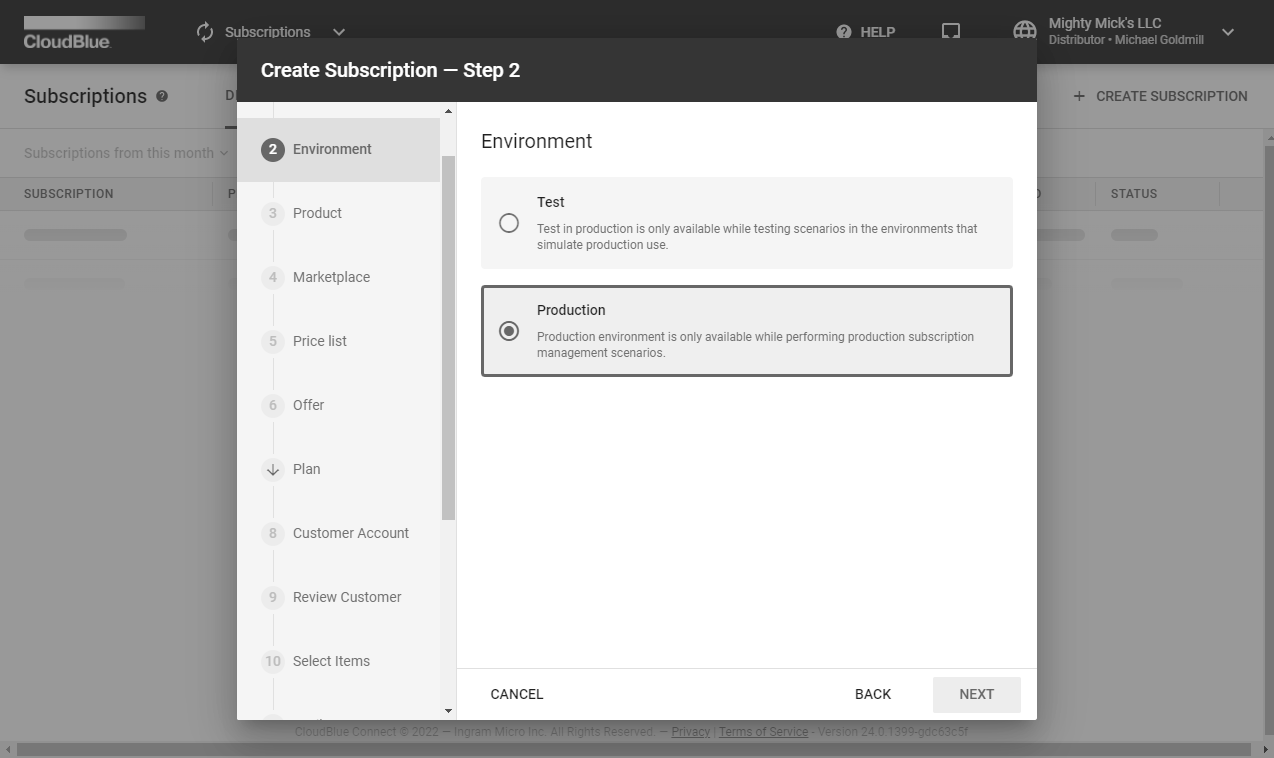
Click Next to continue.
Select your product from the provided list.

In case the list is empty, make sure that your required is defined and successfully listed via the CloudBlue Connect® platform.
Choose a marketplace that will be used to create a subscription.
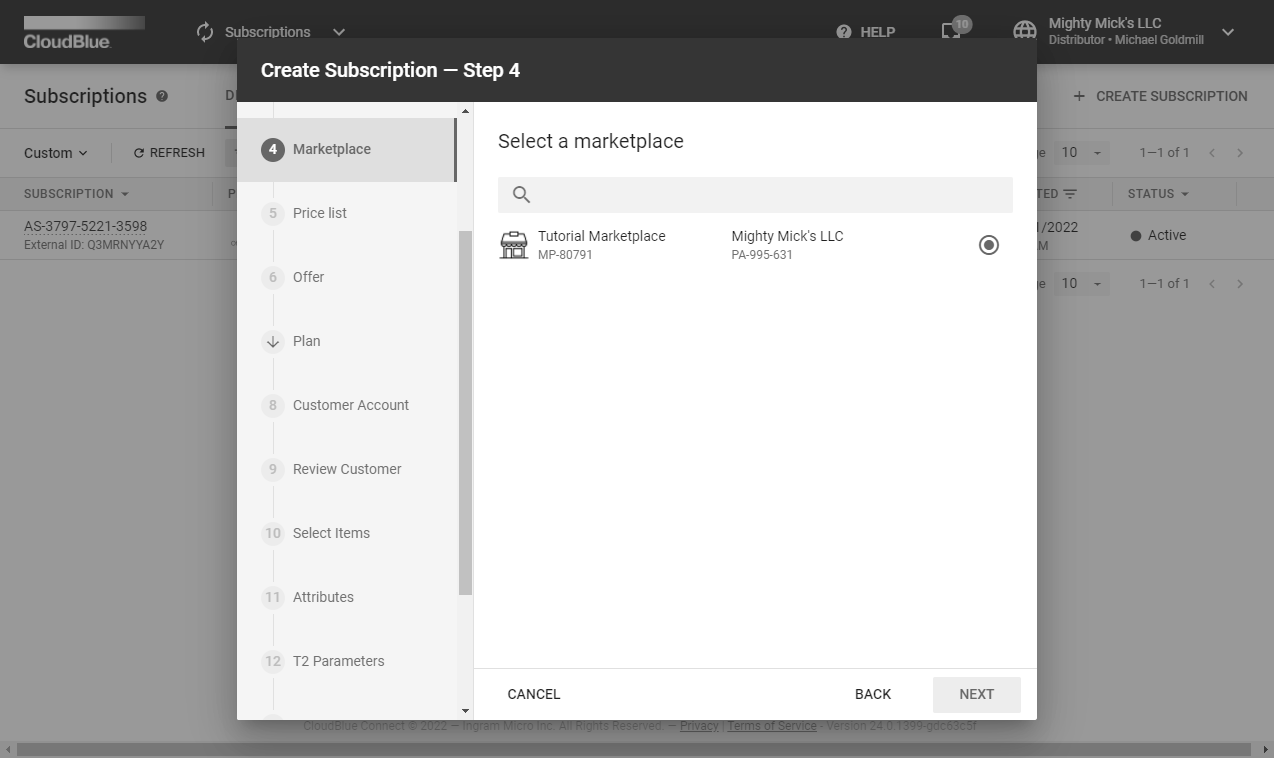
Click Next to continue.
The wizard prompts you to choose a price list for your subscription once the Vendor created such a list and linked it to the defined product on Connect. Note that it is possible to select price list objects that have the same currency as specified within your selected marketplace.
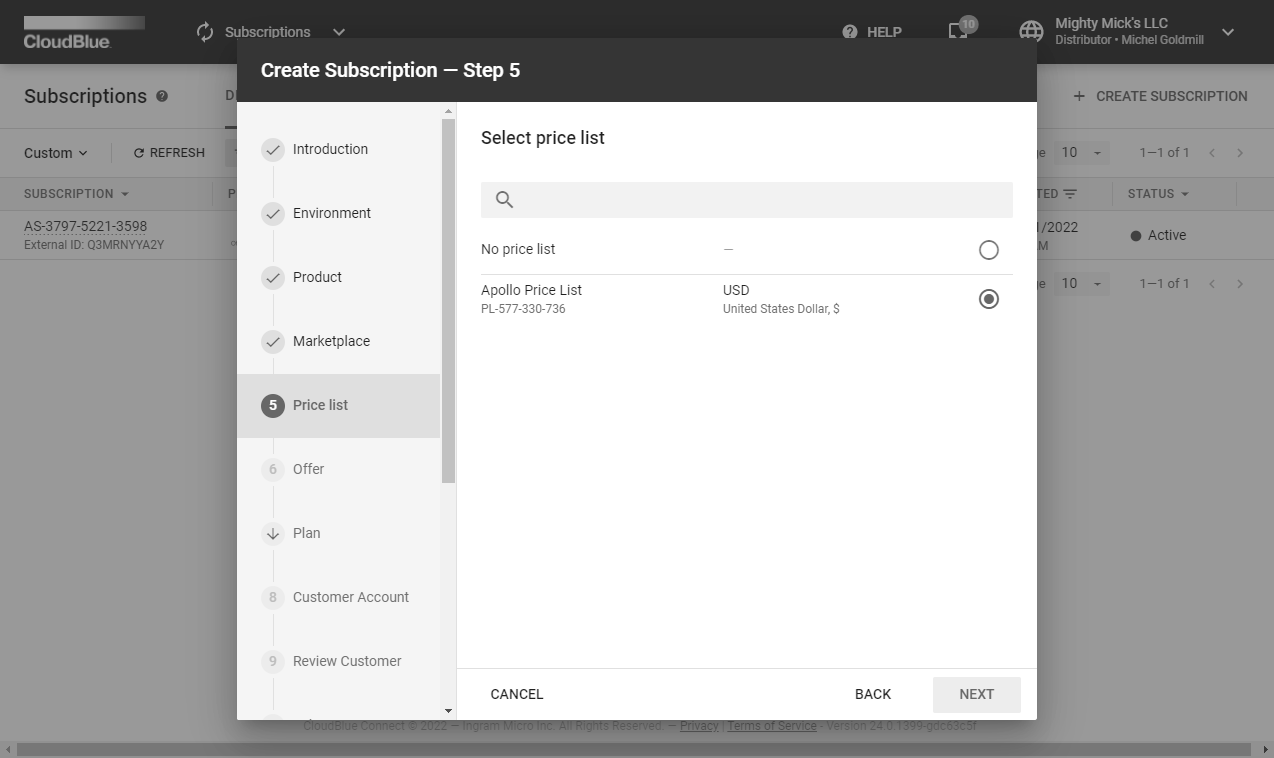
Refer to the Pricing module documentation for more details.
In case the Vendor successfully created offers for their defined product on the platform, the wizard allows specifying an offer for your new subscription.

Refer to the Offer module documentation for more details.
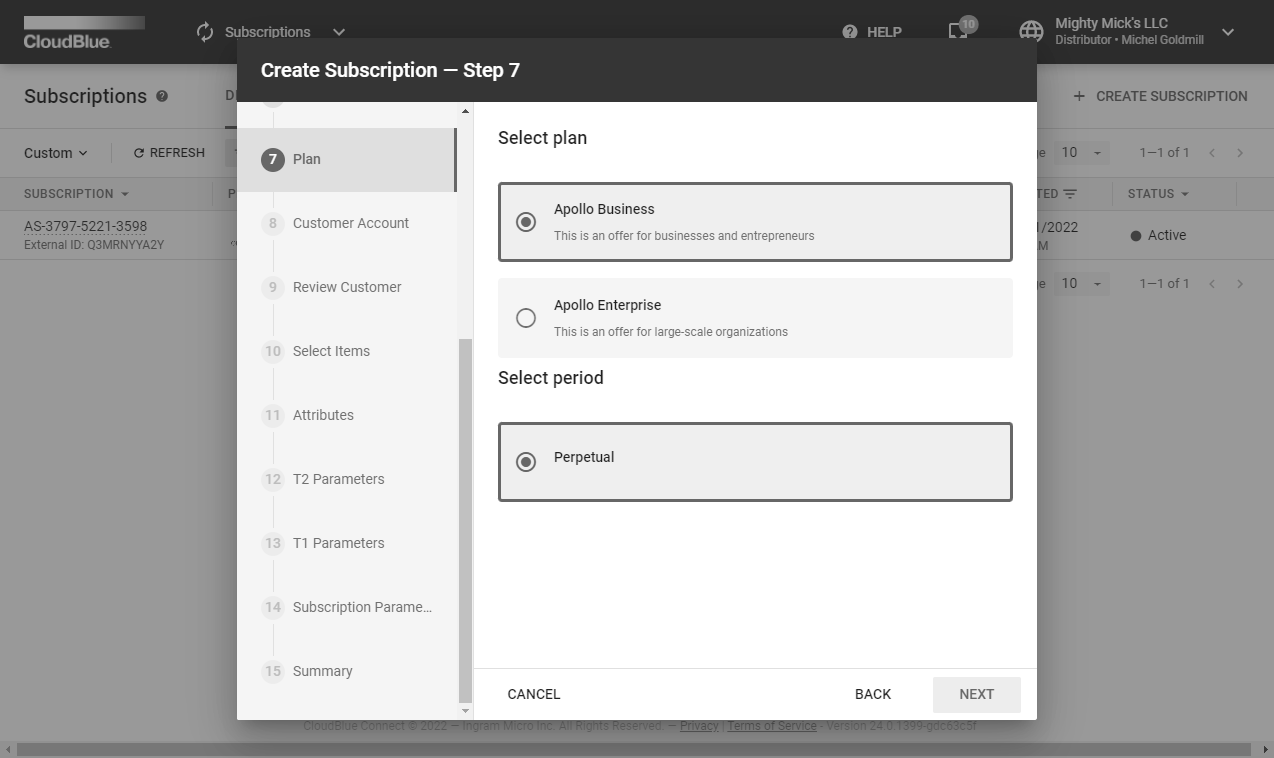
In case an offer is selected, the wizard prompts you to continue the offer configuration. Namely, the wizard prompts you to specify a plan and a period for your new subscription.
Select a customer account for your subscription. Specifically, the system requires to create a customer account before selecting this account by using the wizard. In case it is required to create a test subscription, the wizard allows selecting a test account from the list.
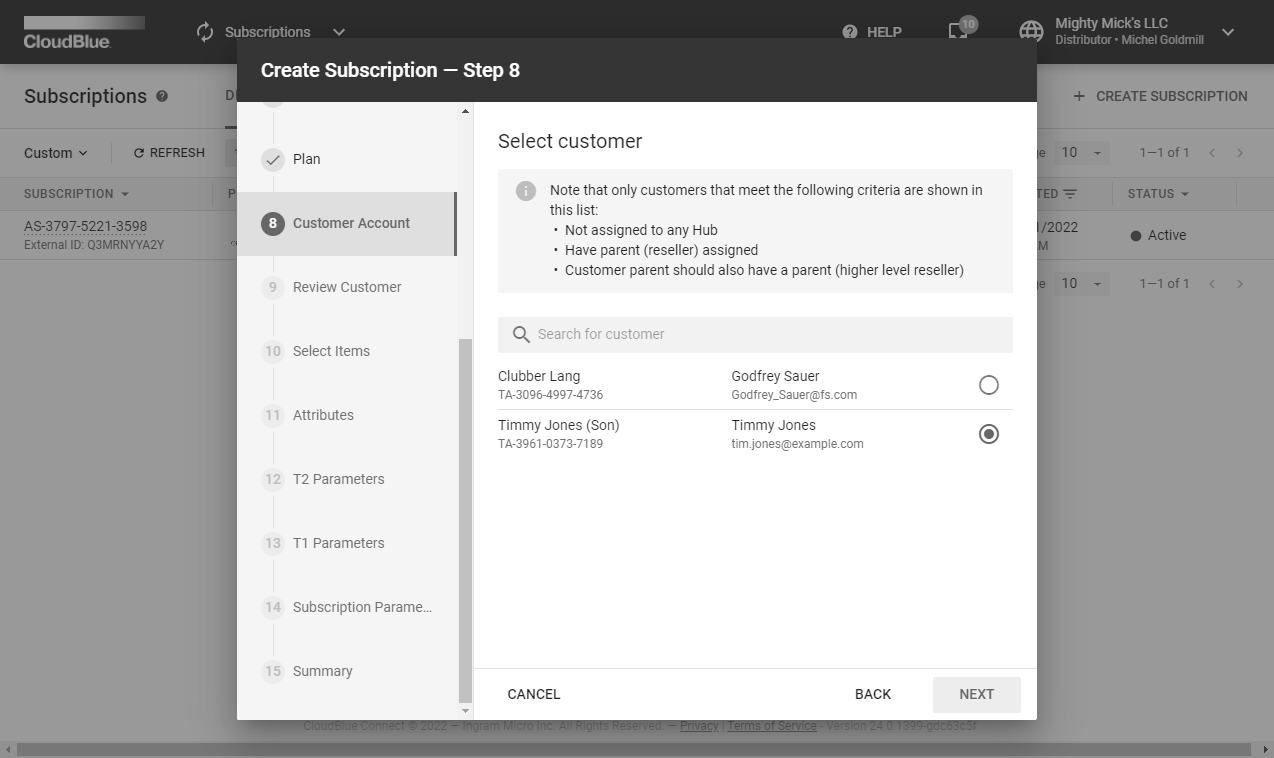
Refer to the Customers module documentation for more details.
The wizard displays the data of your previously selected customer account. This include parent account, information, general data (such as company, external id, etc.), address, contact information, and more.
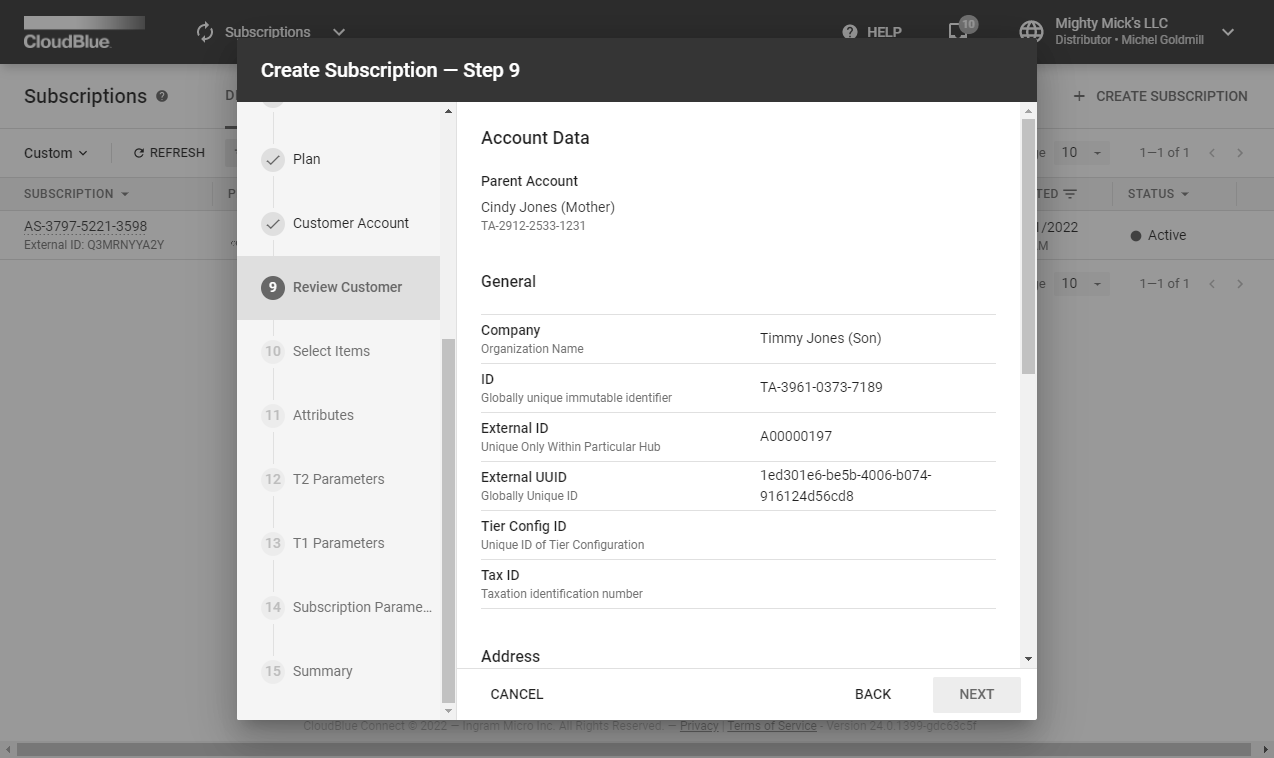
Make sure that customer data is correct and click Next.
The system will provide random item quantity in the following form. Edit quantity, add or change provided items by clicking corresponding buttons on the interface.
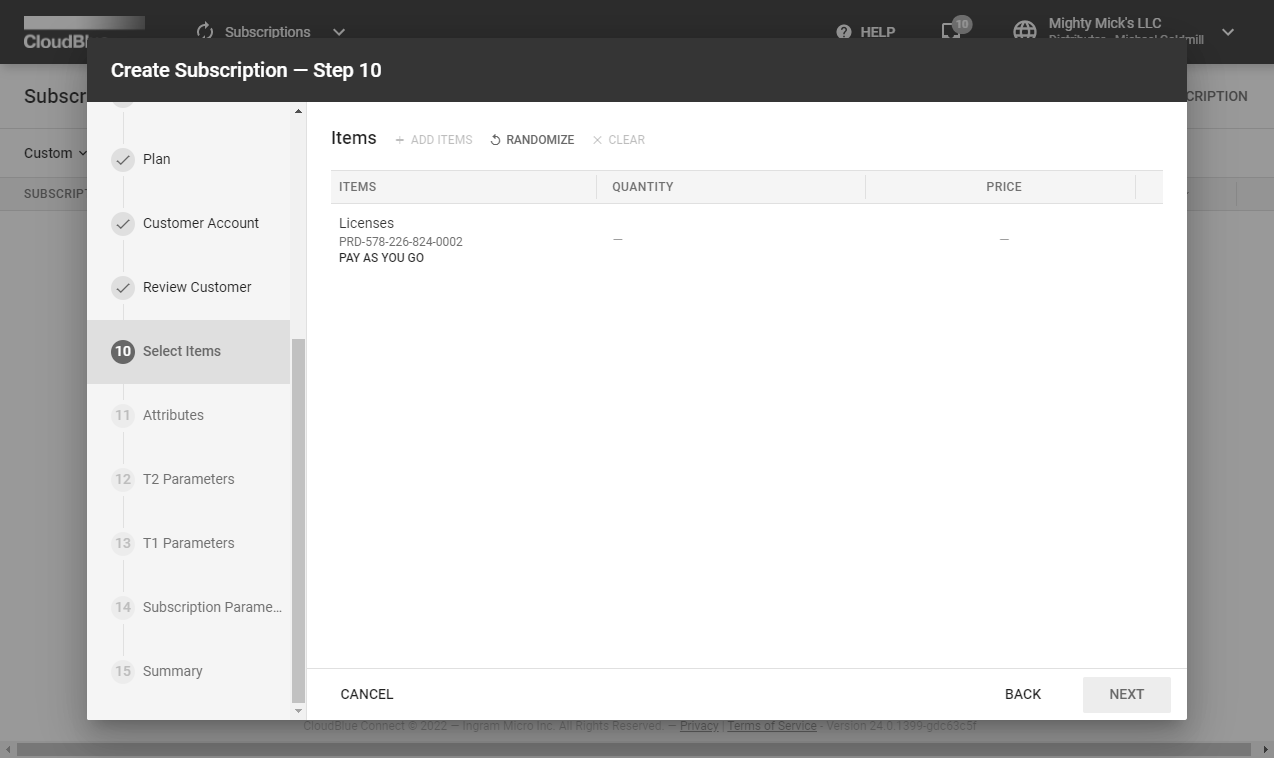
Click the Next button to continue.
The system will provide random External ID and External UUID attributes. Edit or randomize the provided subscription attributes by using the corresponding buttons.
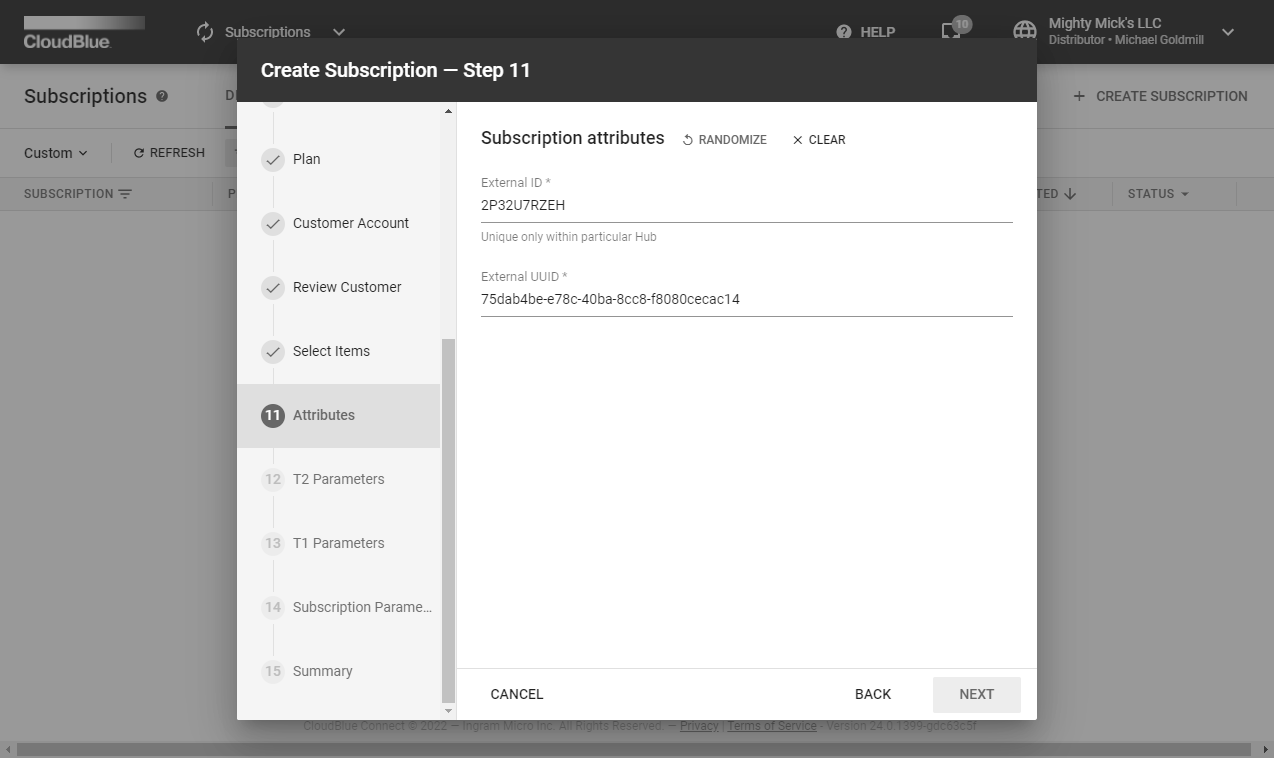
Click Next to continue.
The T2 parameter configuration is available in case your selected product includes a T2 ordering parameter. Provided options vary depending on the created parameter type. The system allows enabling or disabling parameters assignment by using the corresponding switch.
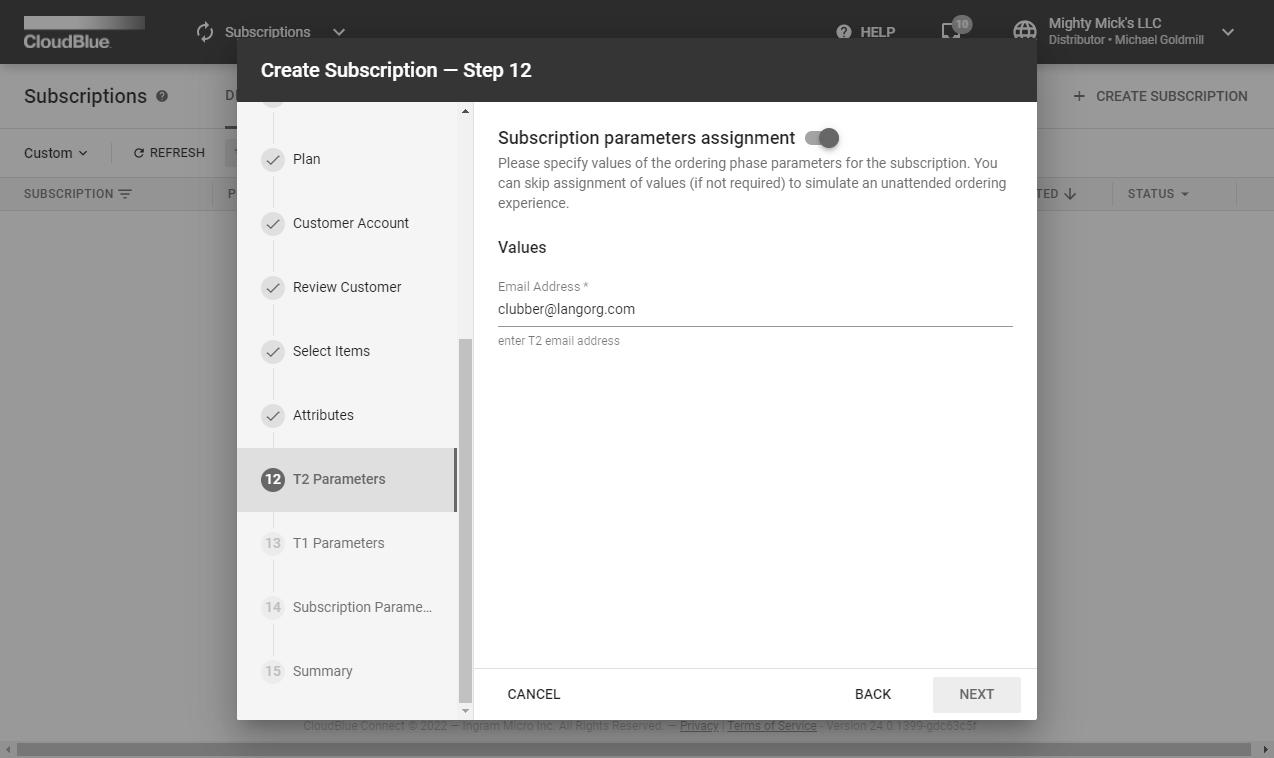
Refer to the Parameters documentation for more information on T2 and T1 parameters.
The wizard prompts to specify T1 parameter configuration in case it is applicable for your subscription. The system also allows enabling or disabling parameters assignment by using the corresponding switch.
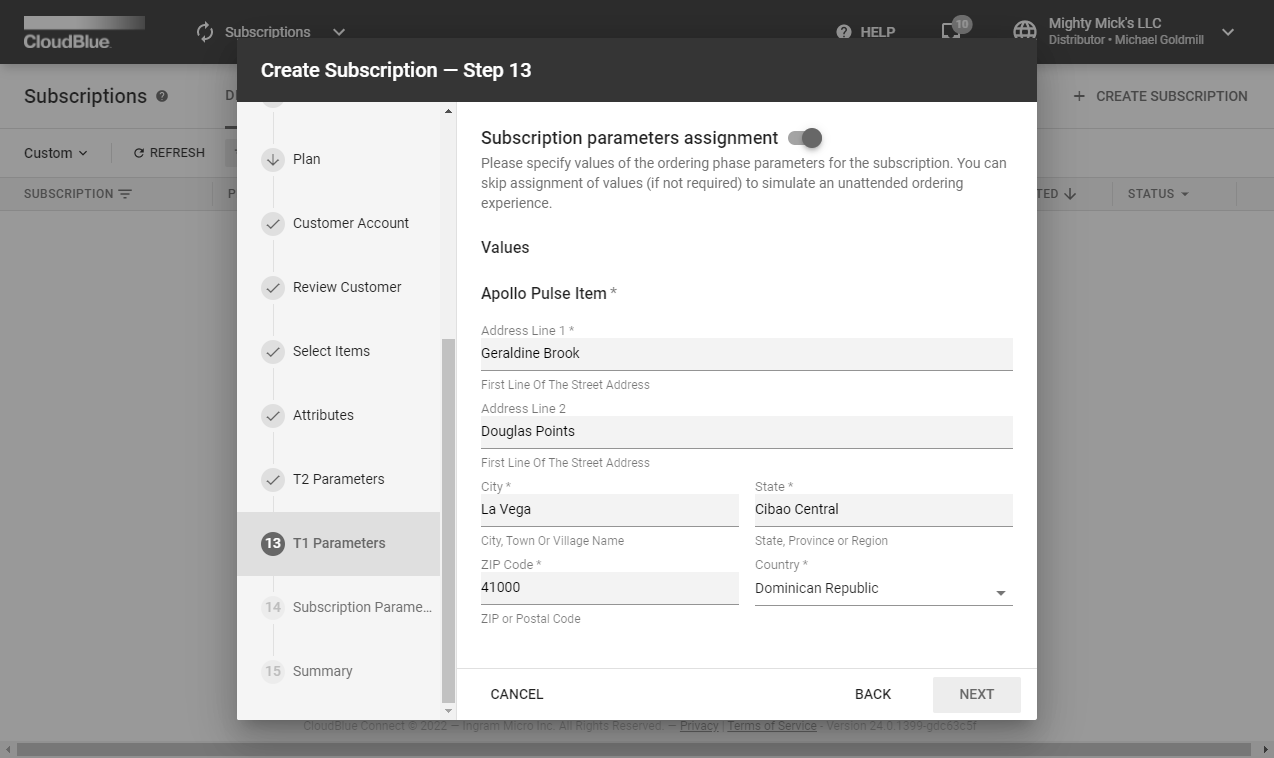
Generate random data by clicking on one of the provided fields. Randomized account data is generated based on a country that is randomly selected from the list of countries associated with a specified marketplace.
Provide your subscription parameters in the following form. Specifying Subscription Parameters is an optional step that is available in case a Vendor created at least one ordering phase parameter. Provided options also vary depending on the created parameter type.
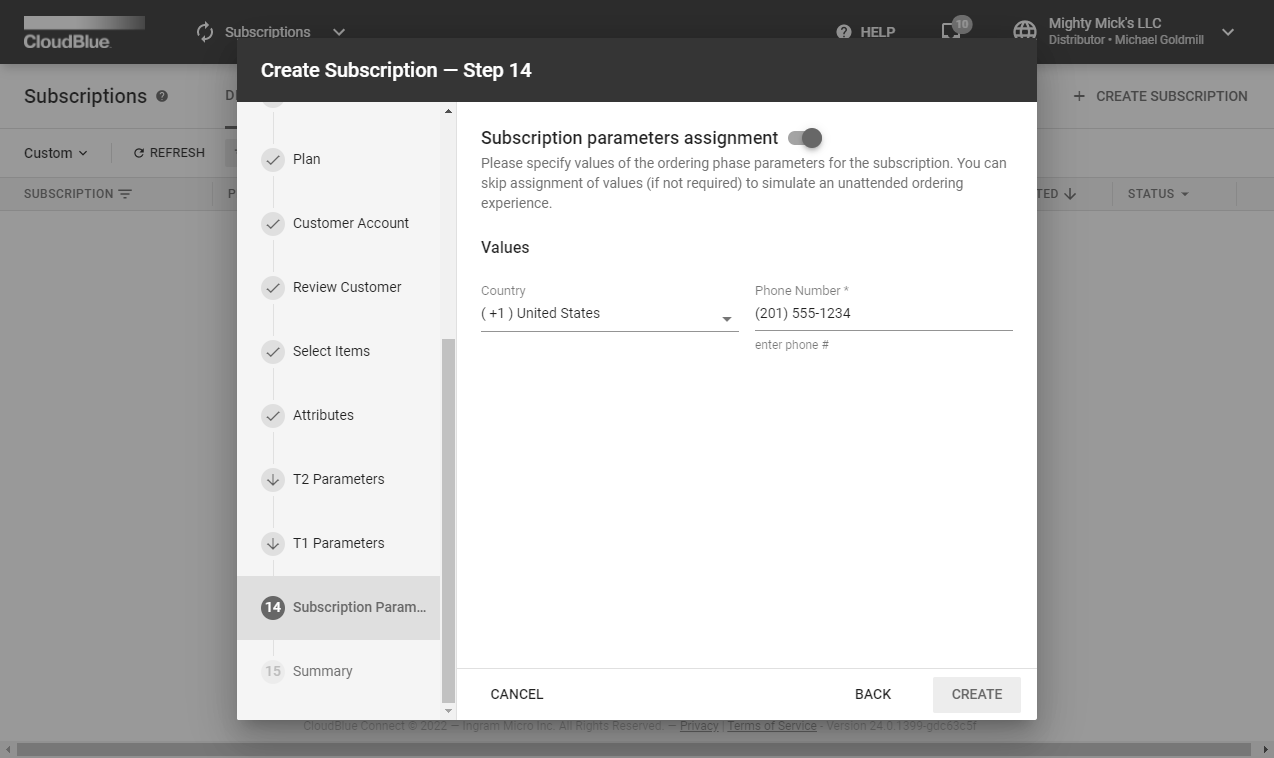
Enable or disable the parameter by using the corresponding switch. Click the Create button to finalize your subscription creation.
The wizard will provide your created subscription summary. Review the list of objects created during this process:
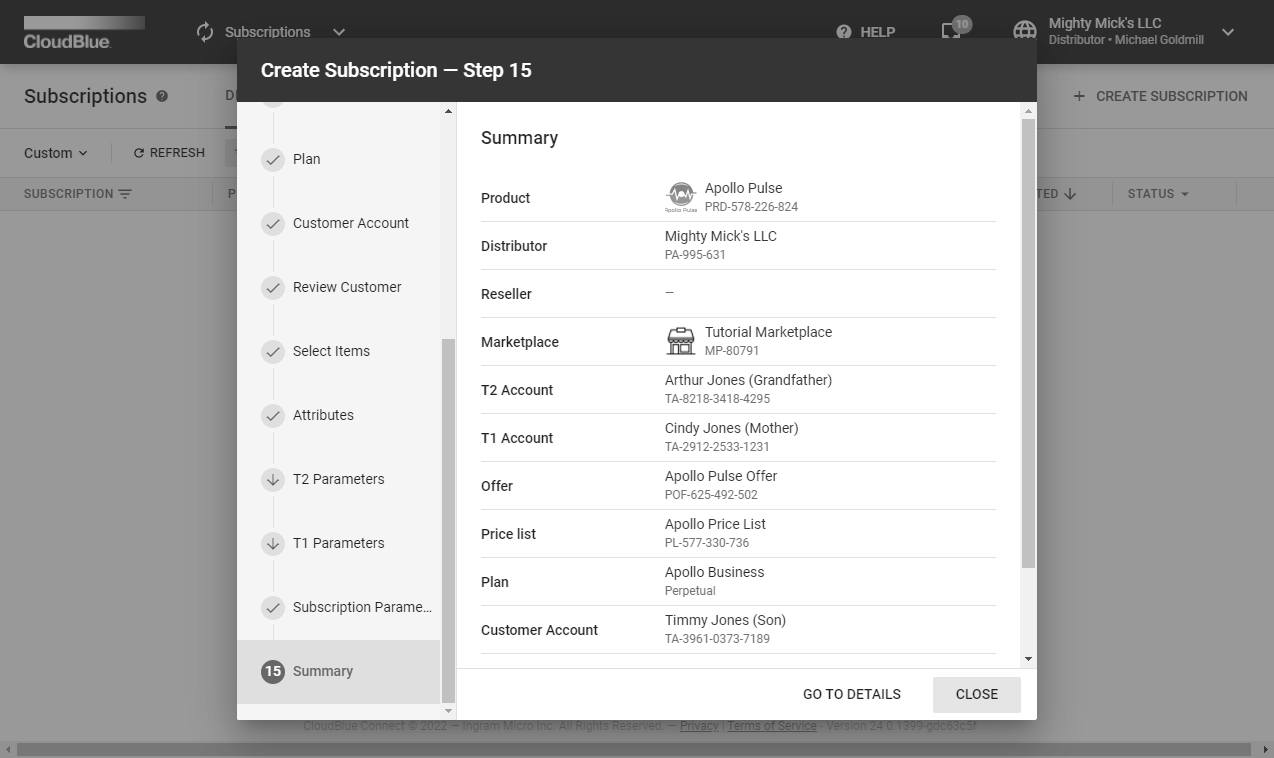
The summary list also provide clickable links that redirect to a corresponding object in a new window.
Click the Go to Details button to access your created subscription details screen. Otherwise, click Close to close the summary and the wizard.