The following provides instructions on how to create a price list instance, generate a price list version, add a price list to a listing and perform other pricing operations by using the graphical user interface on the CloudBlue Connect platform.
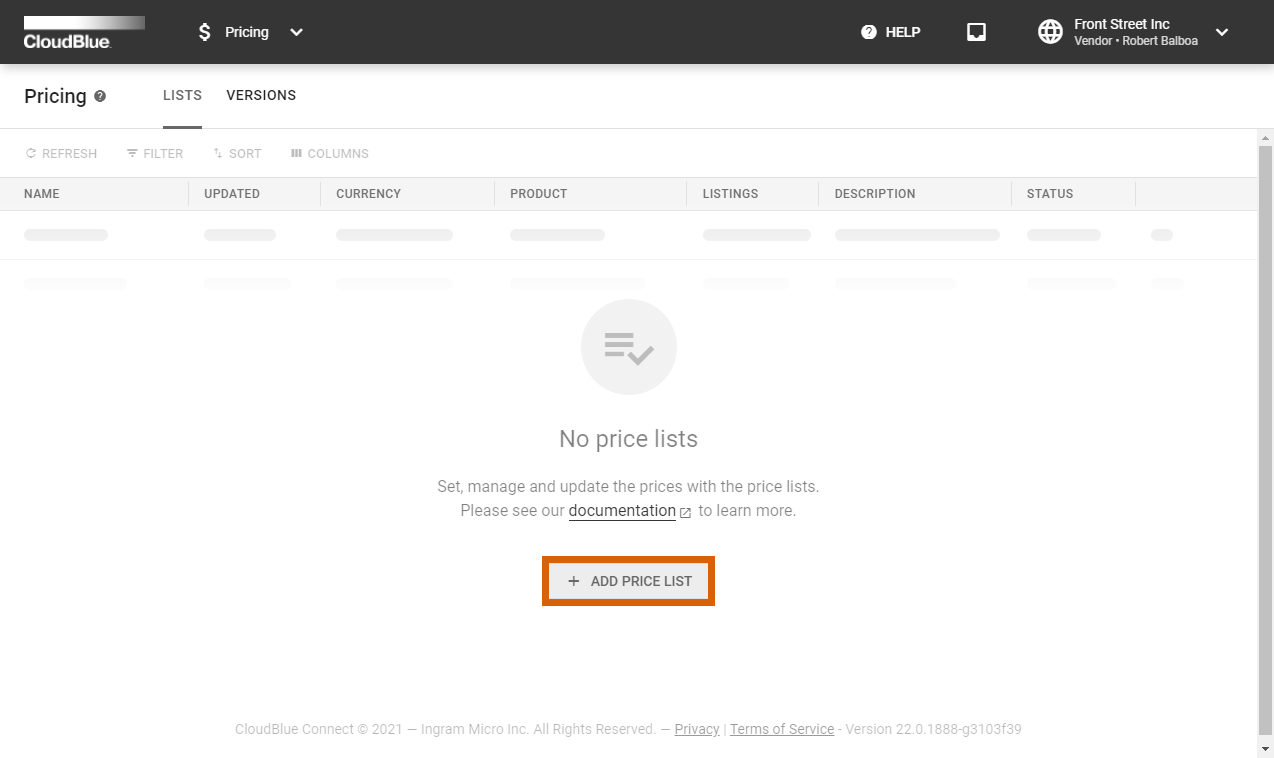
Create a new price list object by accessing the Pricing module and. Furthermore, the system also enables Vendors to generate a new price list via the product profile page. Note that by creating a price list, Vendors generate an initial price list version and specify its activation time and date.
Click the Add Price List button to launch a price list creation wizard.
Follow the wizard steps to successfully configure your price list.
Specify the following general attributes:

Click Next to continue.
Select your product in the following form. Note that at least one product should be selected.
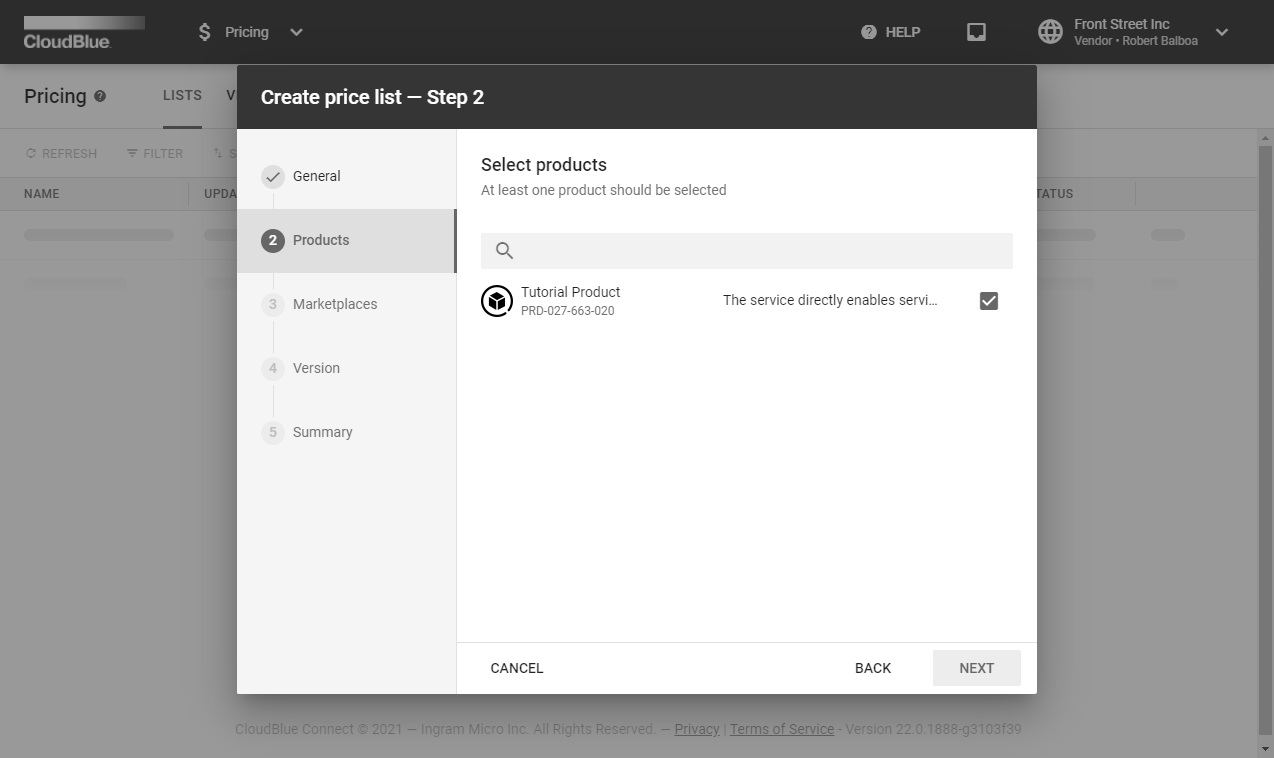
Click the Next button to continue.
Specify a marketplace that supports your selected currency. Note that at least one marketplace should be selected
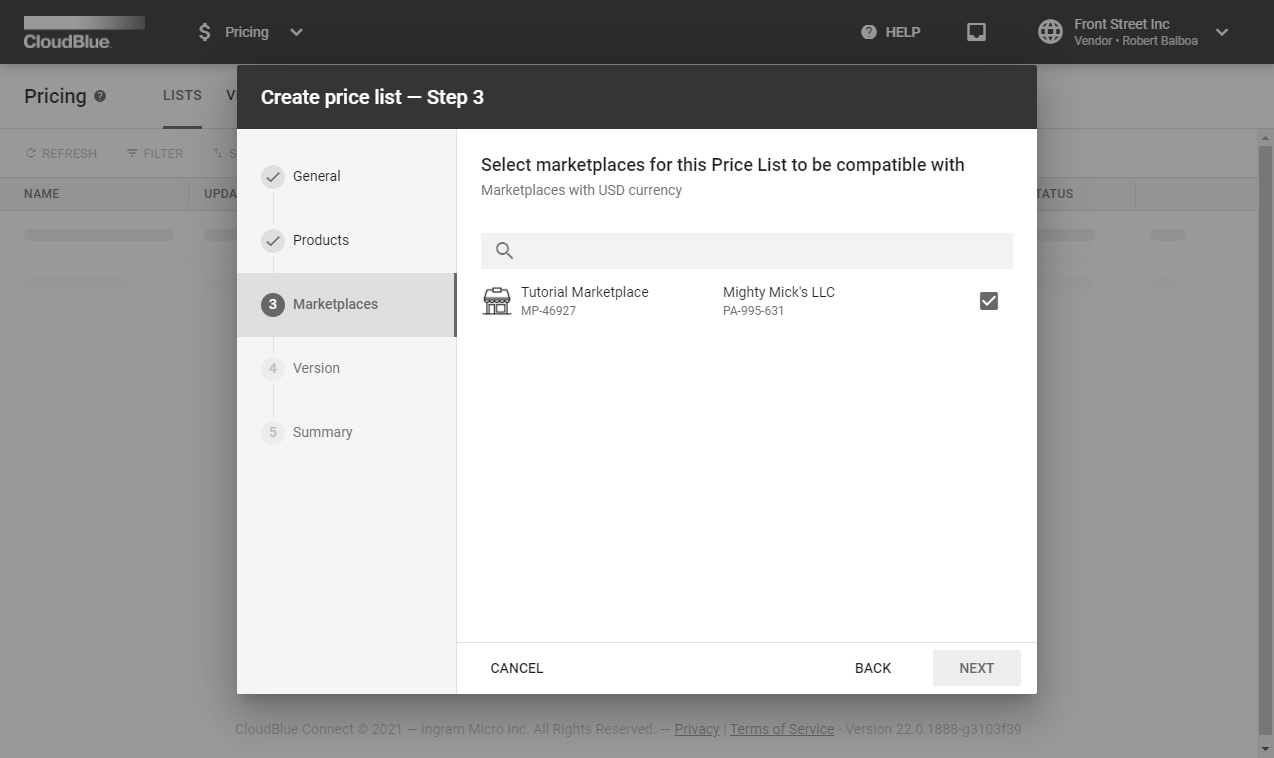
Click Next to continue.
Specify the following attributes for your initial price list version:
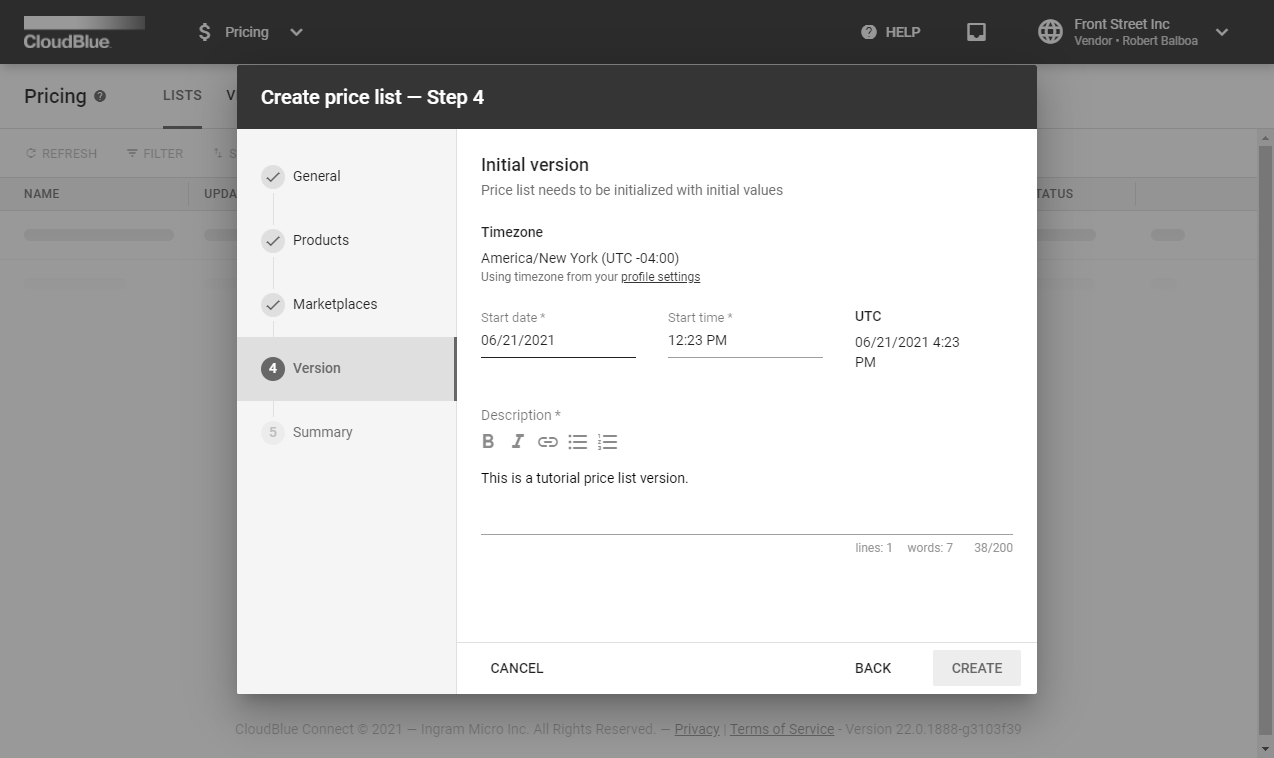
Click Create to finalize your price list and creation.
As a result, the system provides a summary for your generated price list and price list version objects

Click the Go to Details button to access the price list details screen. Otherwise, click Close to close the summary.
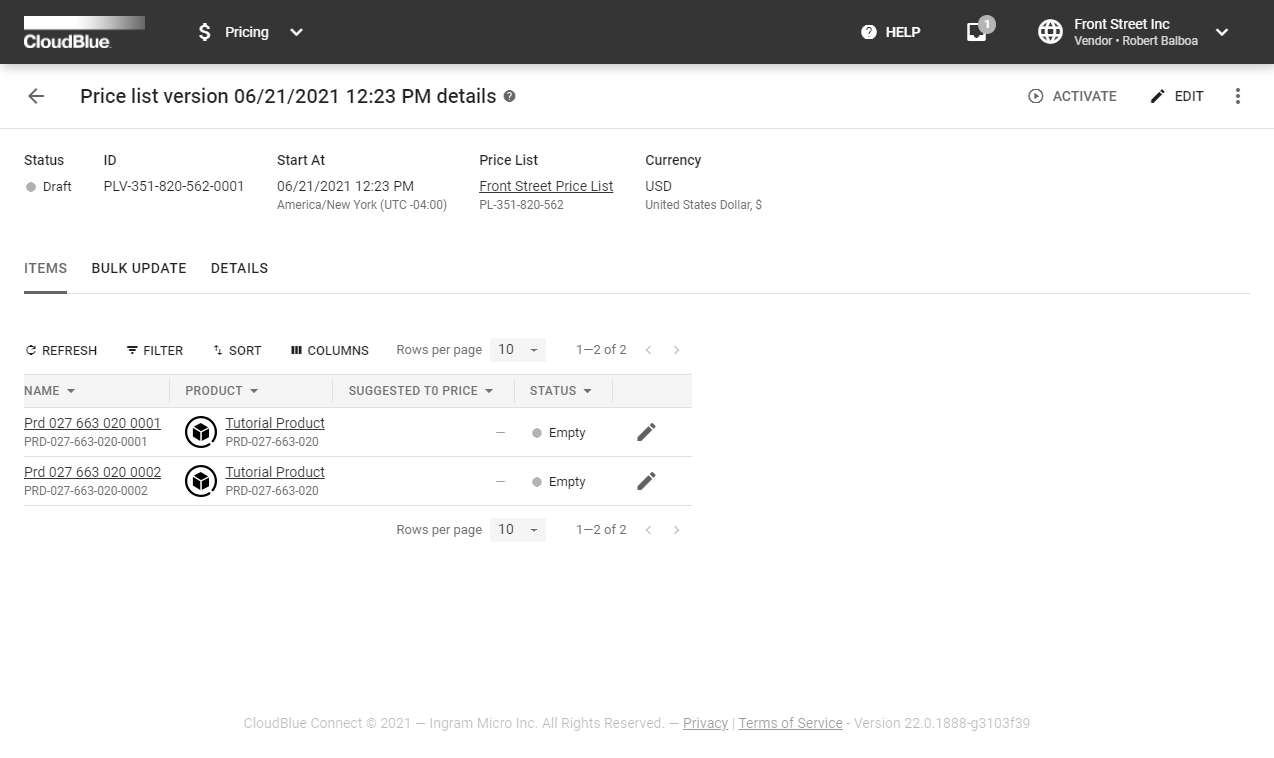
Once a price list version is generated, Vendors can access the price version details screen to activate your version. schedule activation, edit or delete your price list version, manage price values, and perform other operations.
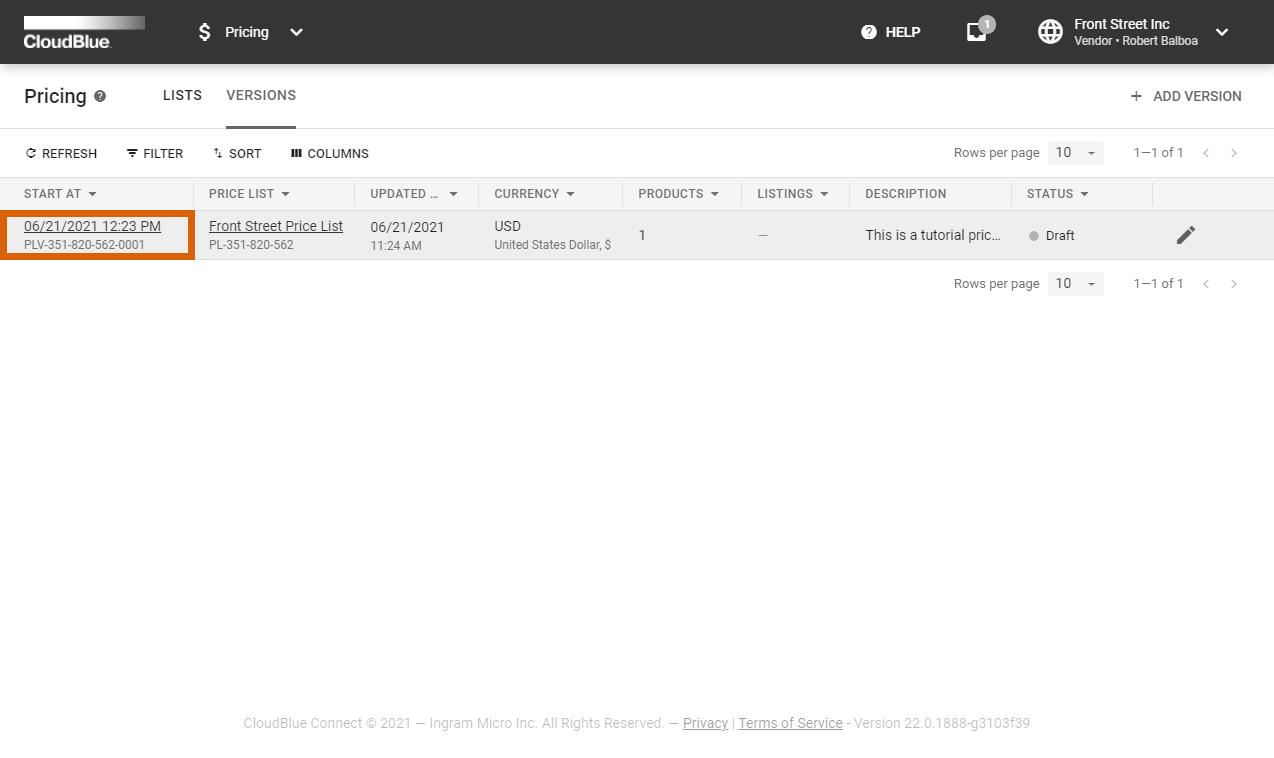
Proceed to the Versions section of the Pricing module. Thereafter, click on the Start At value to access the price list version details.
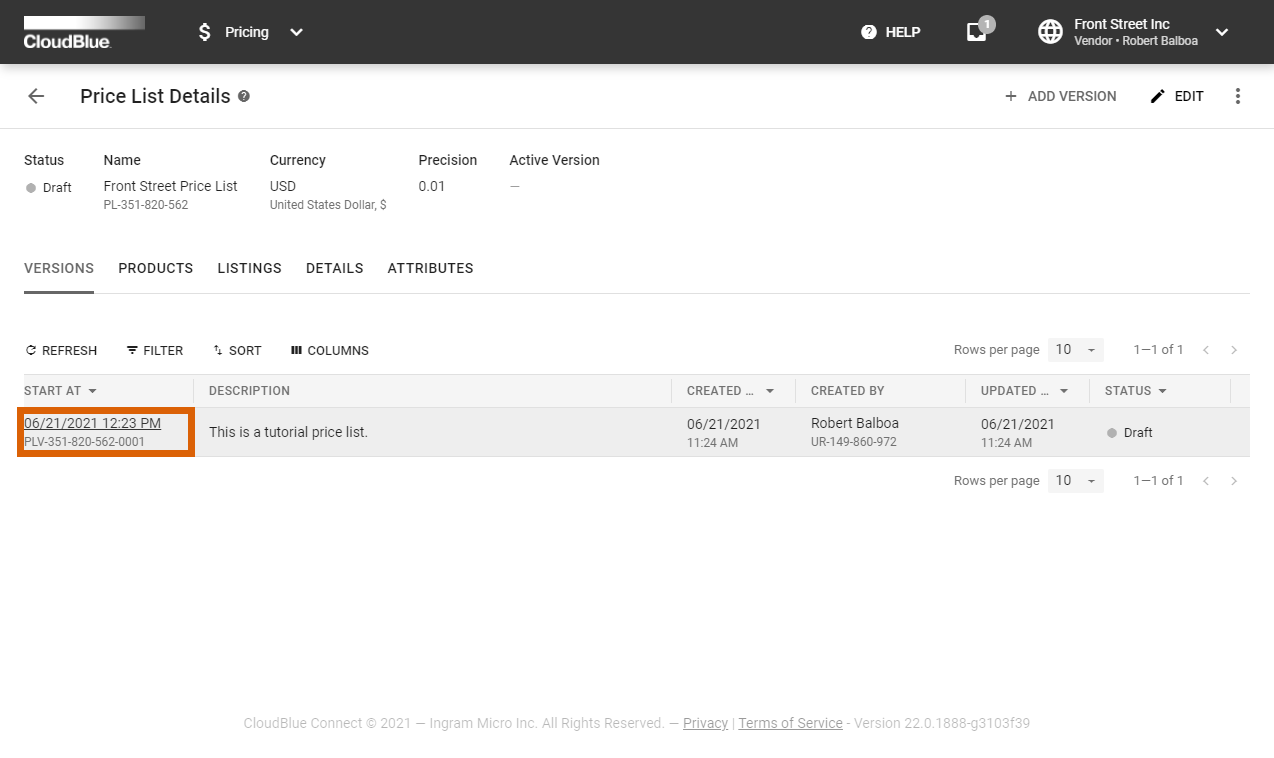
Vendors can also navigate to the price list details screen and access the version details from this screen.
Vendors can assign values to an individual item by clicking the edit icon from the Items list.

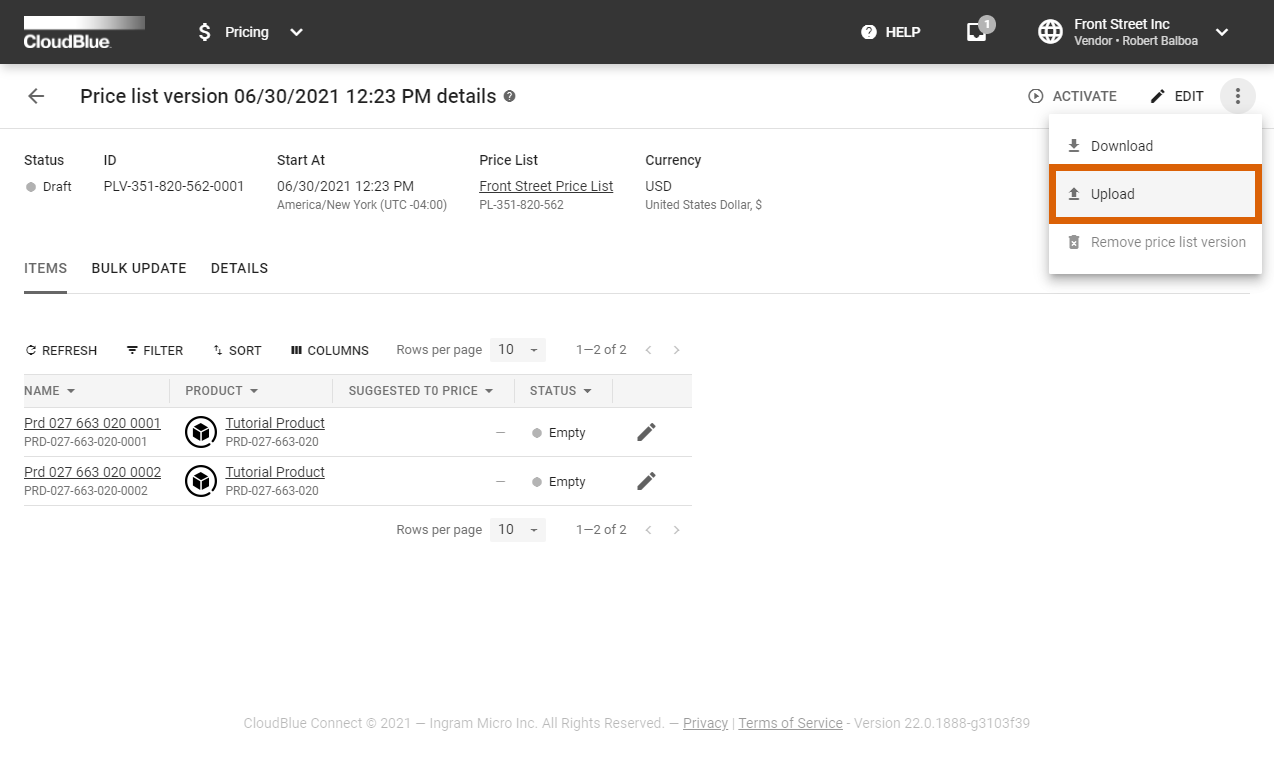

Vendors can export and import item price values by clicking on the vertical ellipsis (⋮) and selecting the Download or Upload options. In addition, Vendors can update provided values by using the bulk update functionality via the corresponding tab.
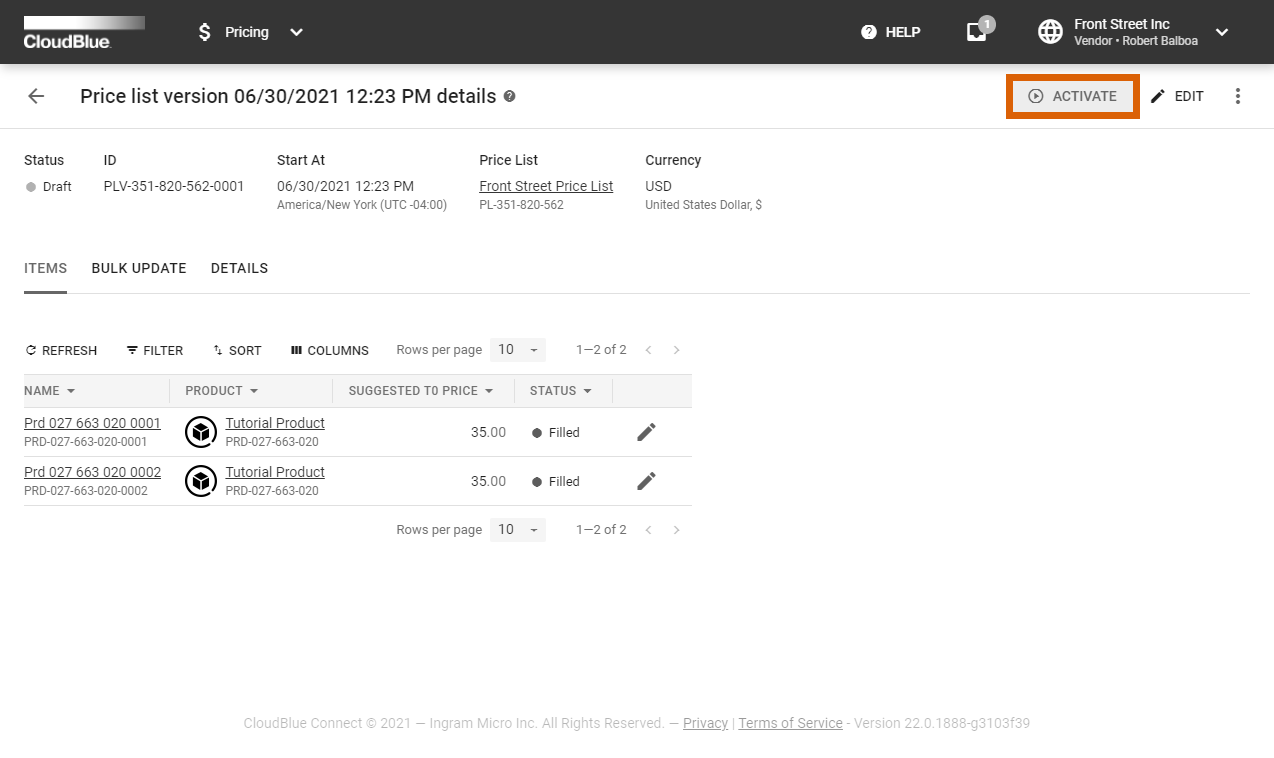
Once all required values are specified, the system enables Vendors to activate price list version as described below.
Click the Activate button at the top right corner of the price list version details screen to activate your price list version or schedule its activation.
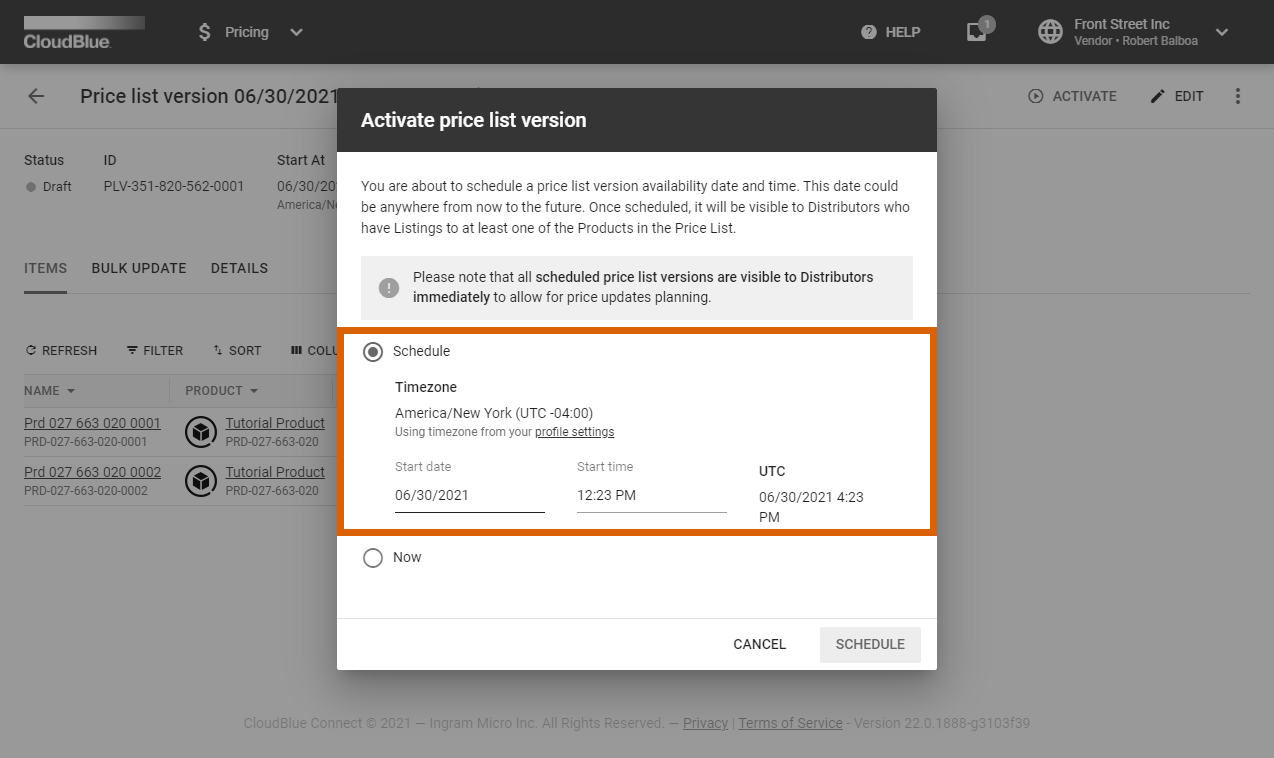

Select the Schedule option to specify price list activation time and date. Note that the system uses the timezone specified in your
Alternatively, select the Now option activate their price list version instantly by selecting the
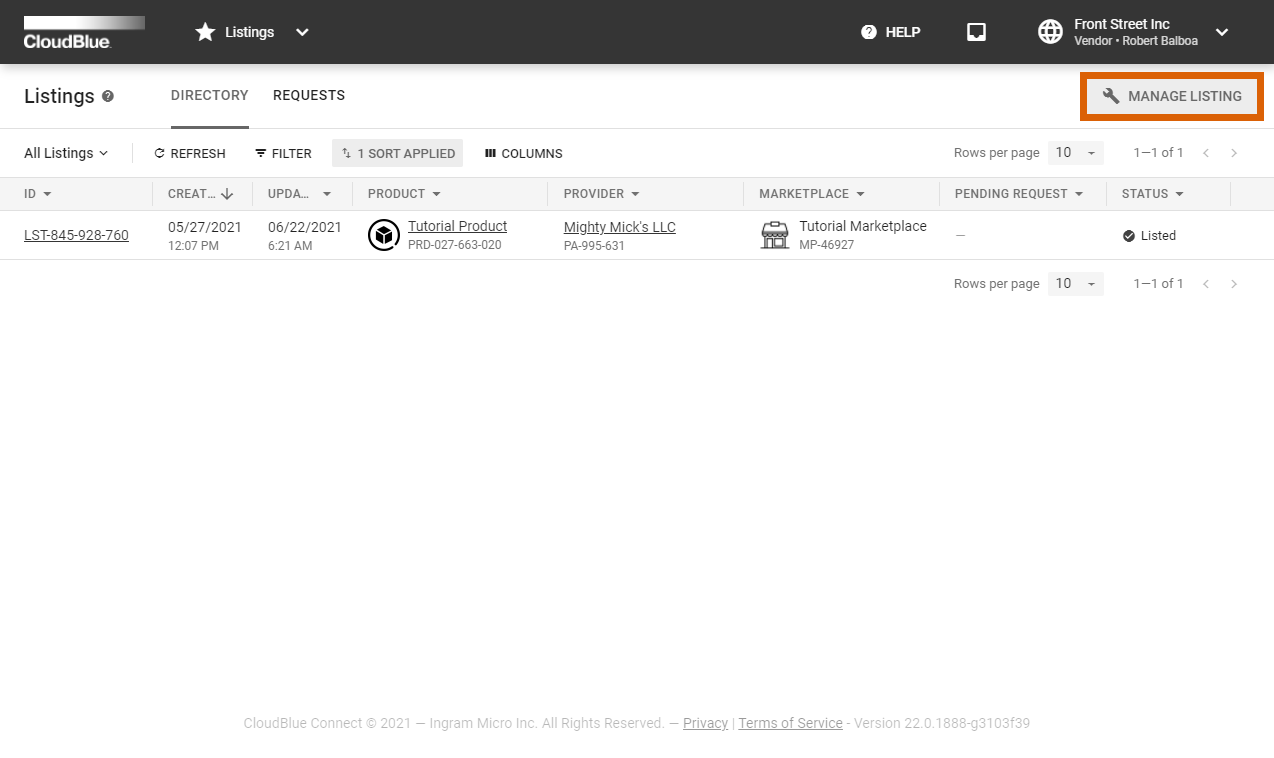
Once the system assigns the Scheduled or Activated status to a price list version, Vendors can update their listing and attach a price list to it.
To make a price list visible to Distributors, Vendors are required to create a new listing instance or update their existing one and attach their new price lists. The instructions below showcase this operation:
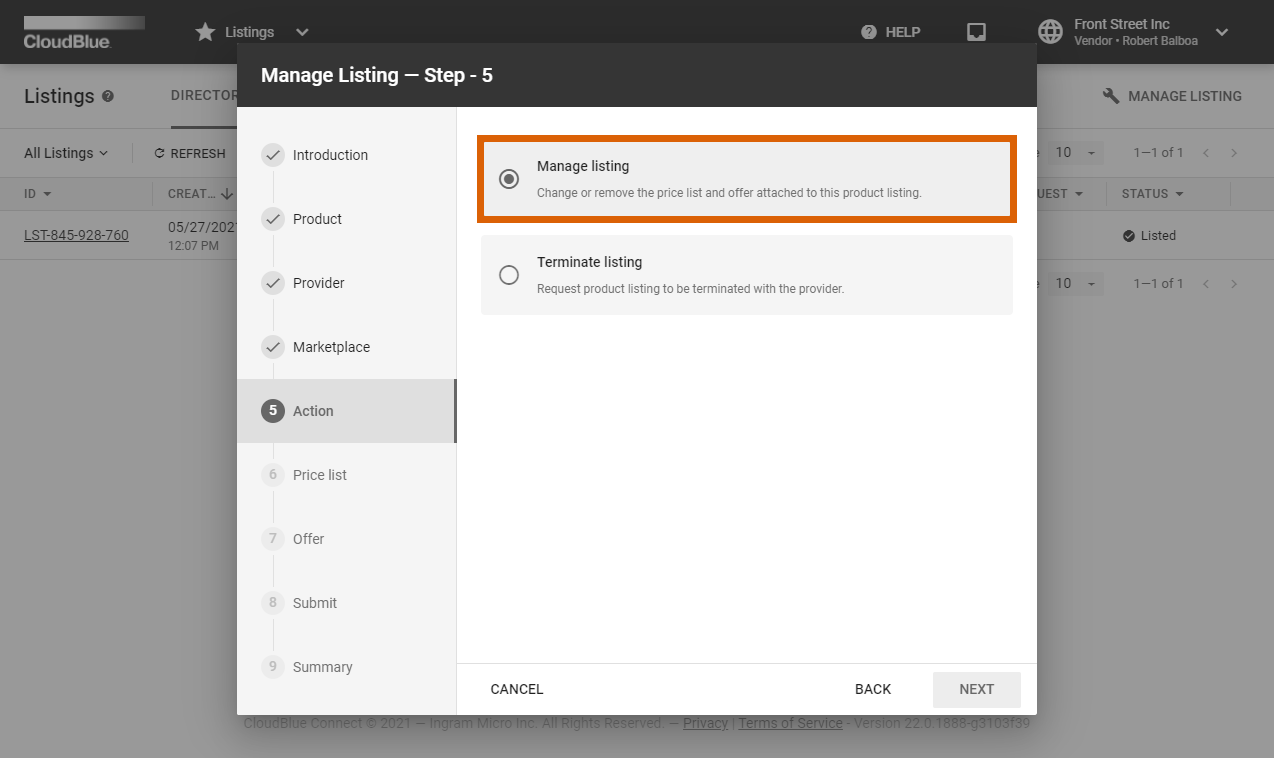

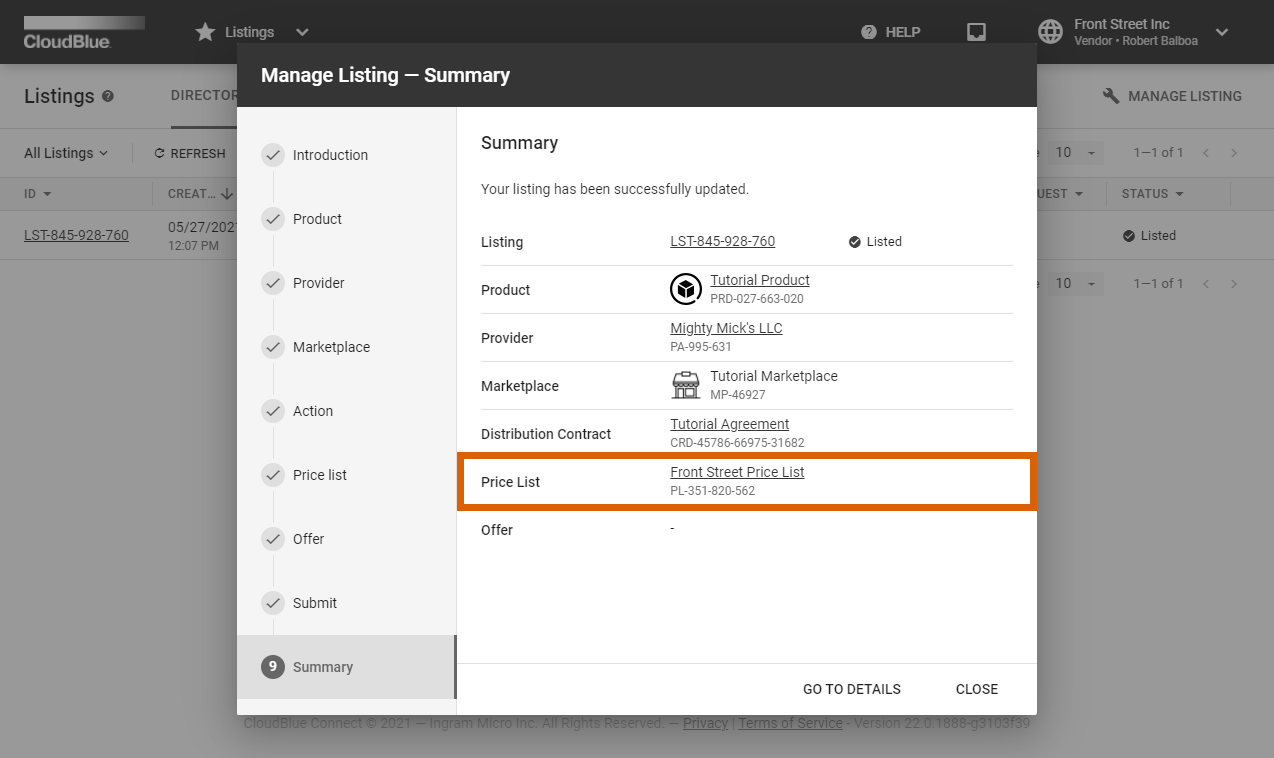
Once a new listing request is successfully submitted, the created price list will be available for Distributors. The system will also provide the updated listing summary and displays the selected price list.