The APS Locales tab within the Localization section represents a legacy version of the localization functionality on CloudBlue Connect®. Namely, it enables Vendors to provide a translation for the product ordering process. Specified localizations are used when presenting a product on international marketplaces.
The localization file that is generated via this tab includes text forms for automated messages and notifications related to product ordering operations. Note that the configured localizable attributes are applicable only to your provided localization.
The following guidelines showcase how to acquire a translation template via this tab and how to upload your provided localization file.
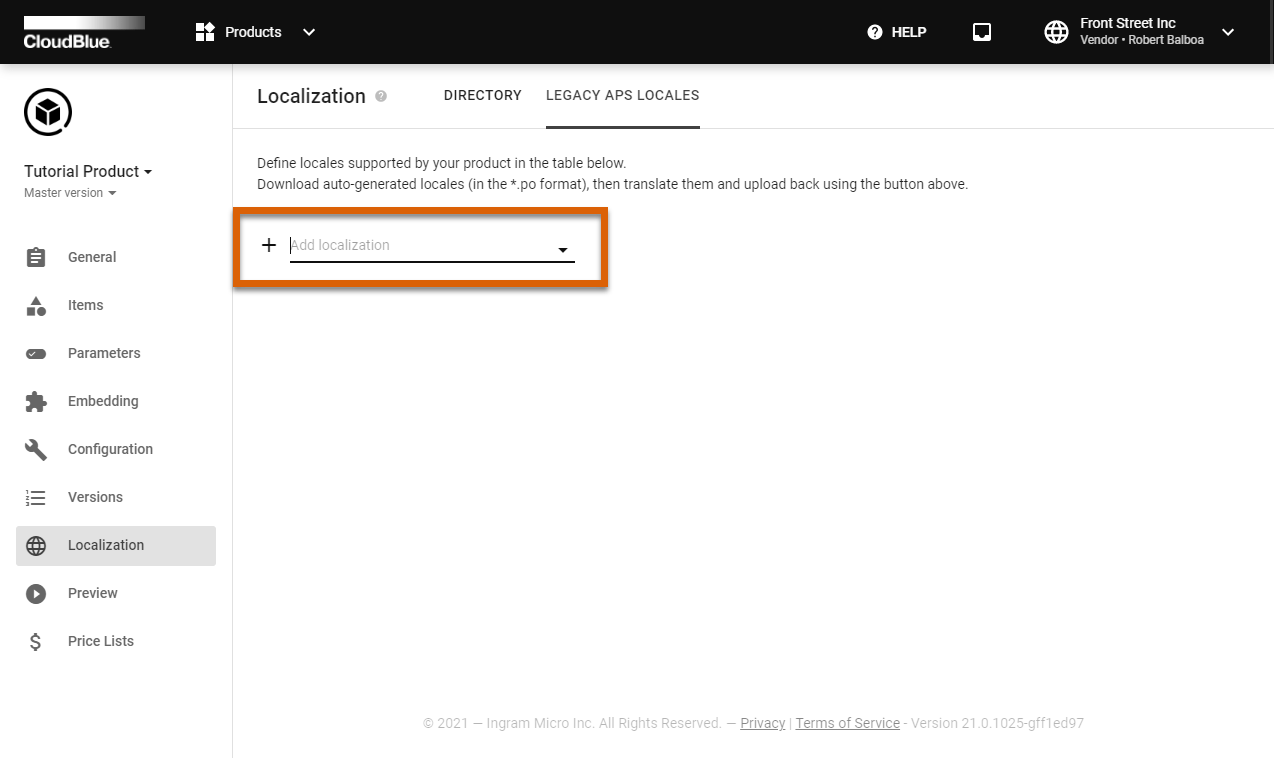
Click on the Add Localization field from the Localization section to select a language.
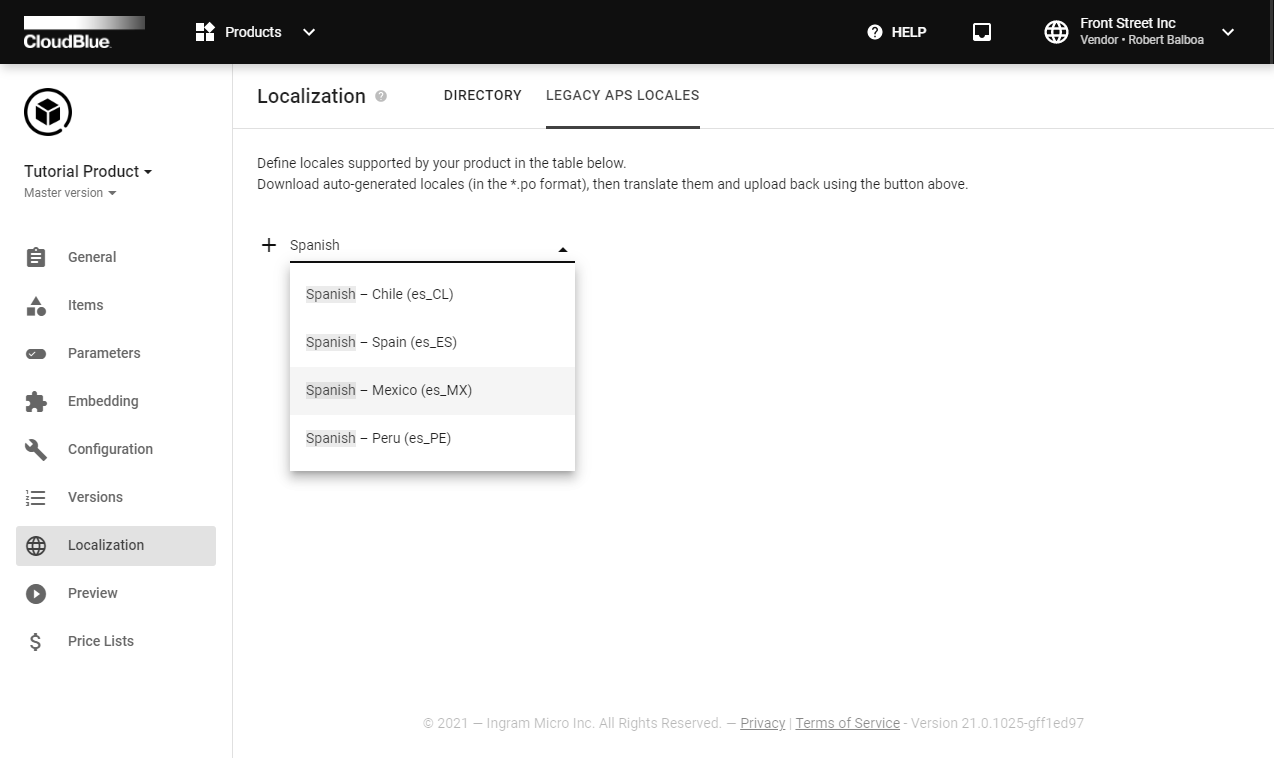
Click on your selected language from the list.
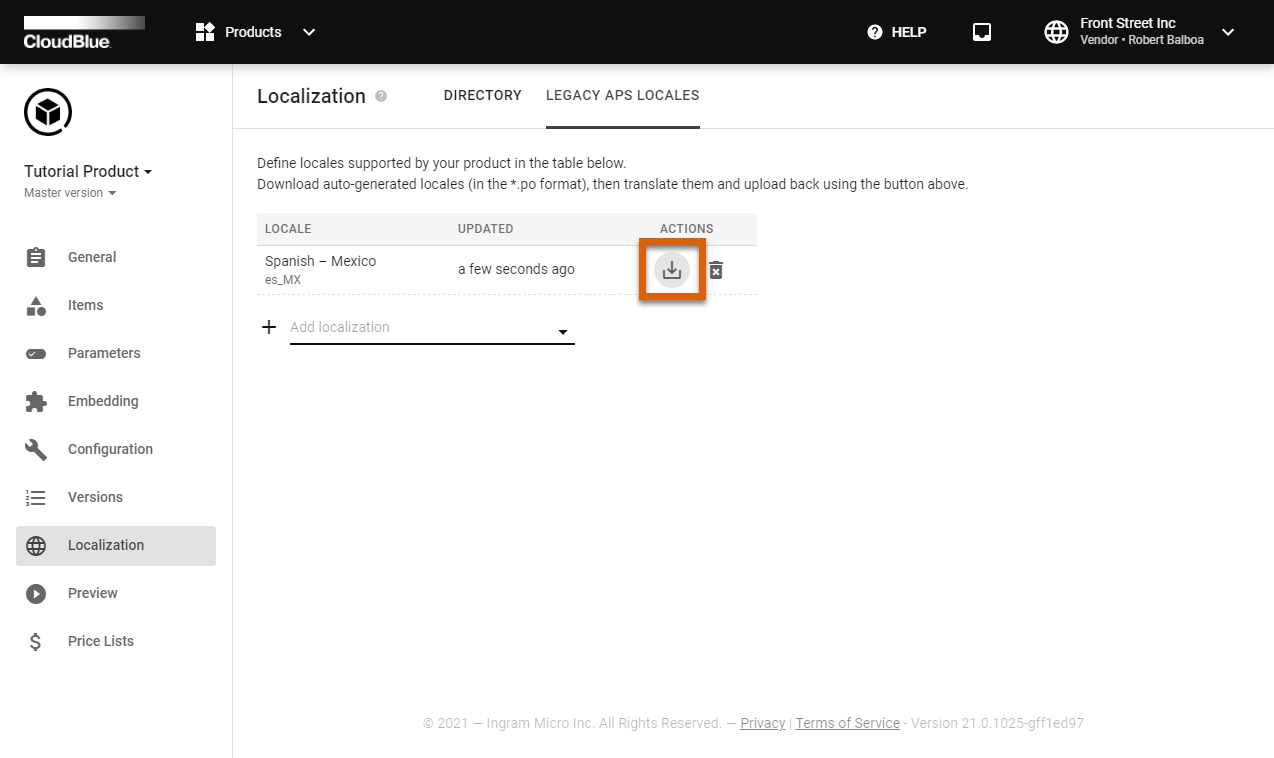
As a result, the system will display your created locale on a list.
Click on the download icon next to your specified locale to acquire a localization template file.
Provide required translations via a PO file editor. Save your translated file in the PO format.
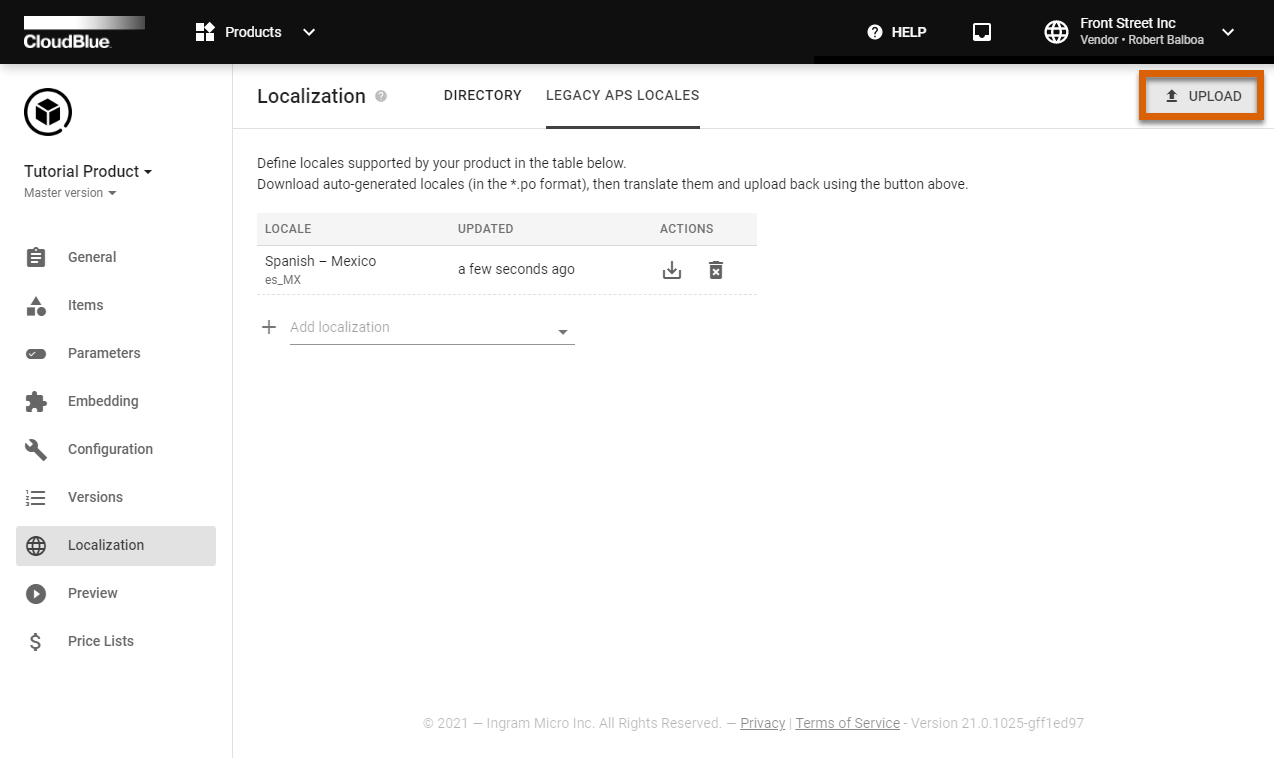
Click the Upload button to upload your file with provided translations.
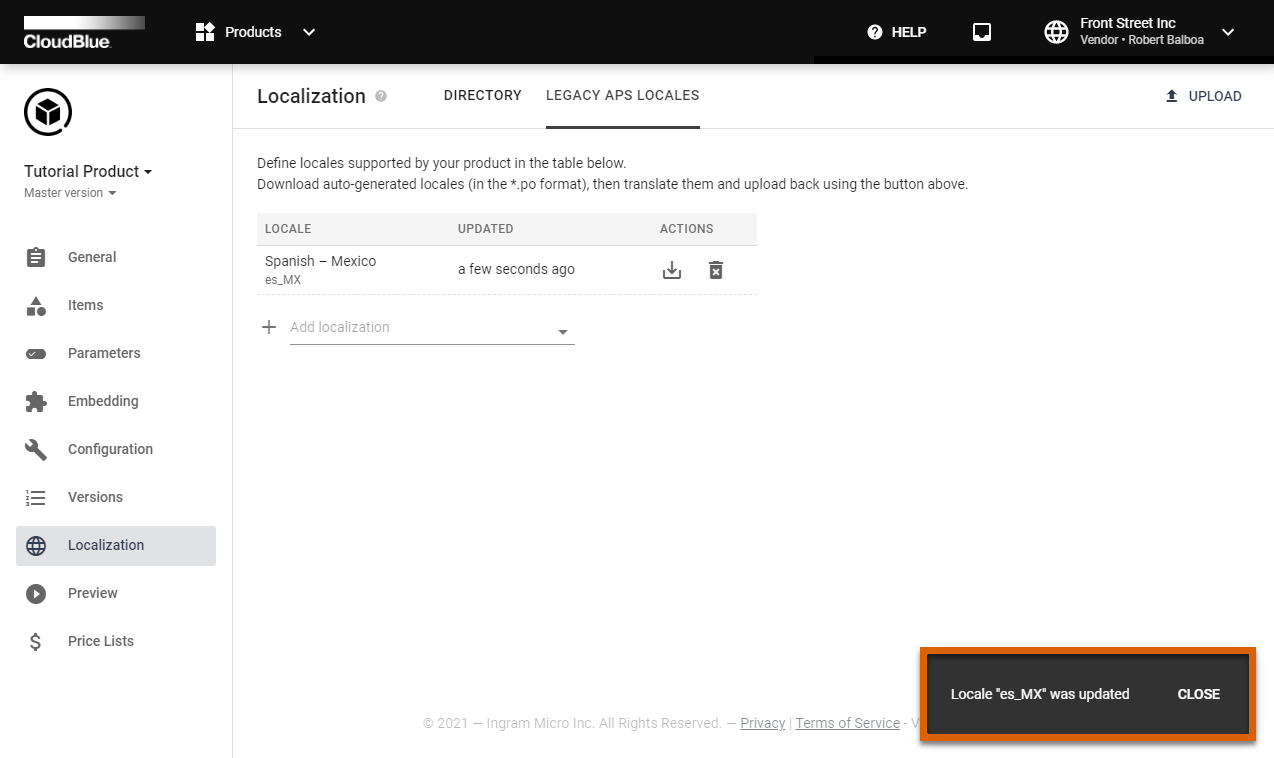
Once a localization file is successfully uploaded, the system displays the following locale update message.
Thus, your product ordering process via international marketplaces and the CloudBlue Commerce platform will support your specified localization. In case your localization requires an update, click the Upload button and upload your updated localization file.