The following showcases how to successfully register a new marketplace and perform other operations with marketplaces on the CloudBlue Connect® platform. It is also recommended to familiarize yourself with the Marketplace Overview first.
Proceed to the Marketplace module to access a list of your marketplaces. In general, marketplace object can be added automatically via the Marketplace API. However, the system also allows creating a new marketplace manually by using a wizard.
Click the Create Marketplace button from the Marketplaces tab to launch the aforementioned wizard.
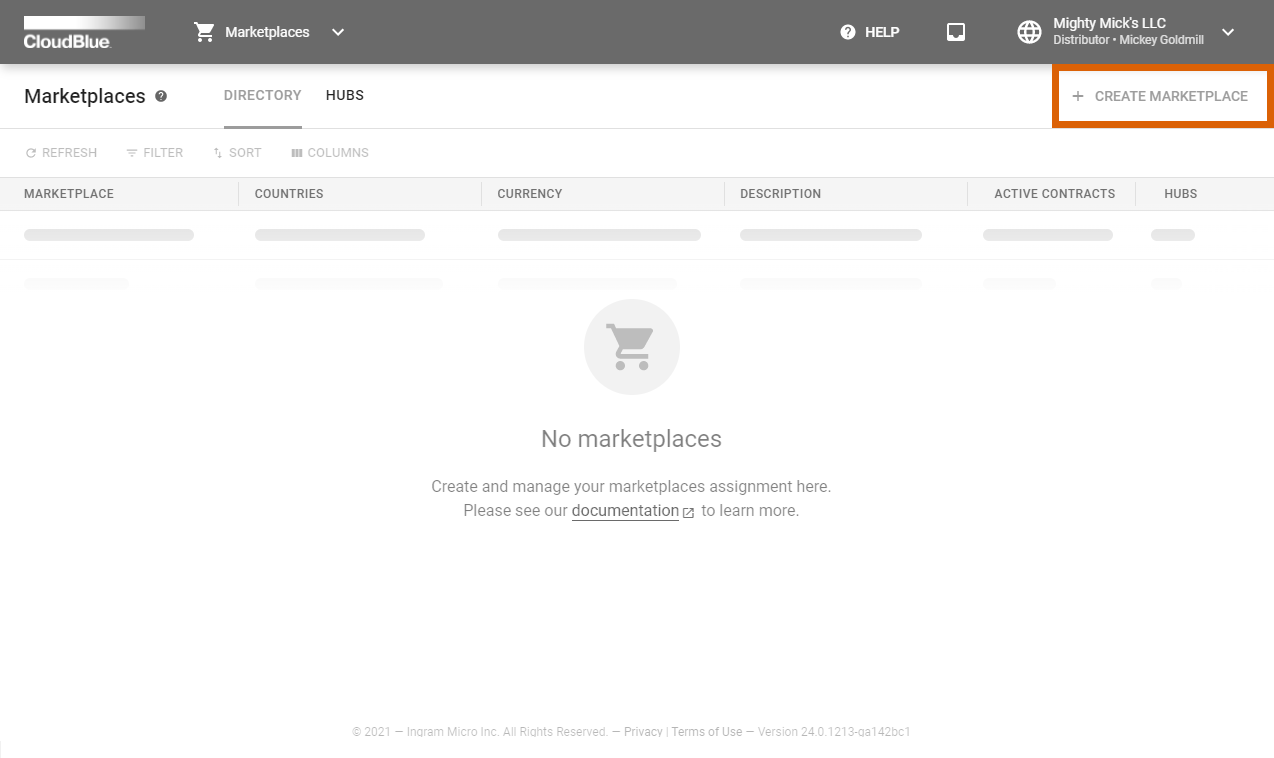
Thereafter, the wizard helps to define your marketplace, select associated countries, choose currencies, locales, map required hubs, select price attributes and so on. Once your marketplace is created, it will be available within the Directory tab.
In case step-by-step instructions on your marketplace creation are required, please refer to the Distributor Tutorial documentation.
Click on your marketplace name from the provided list to access the Marketplace Details screen:
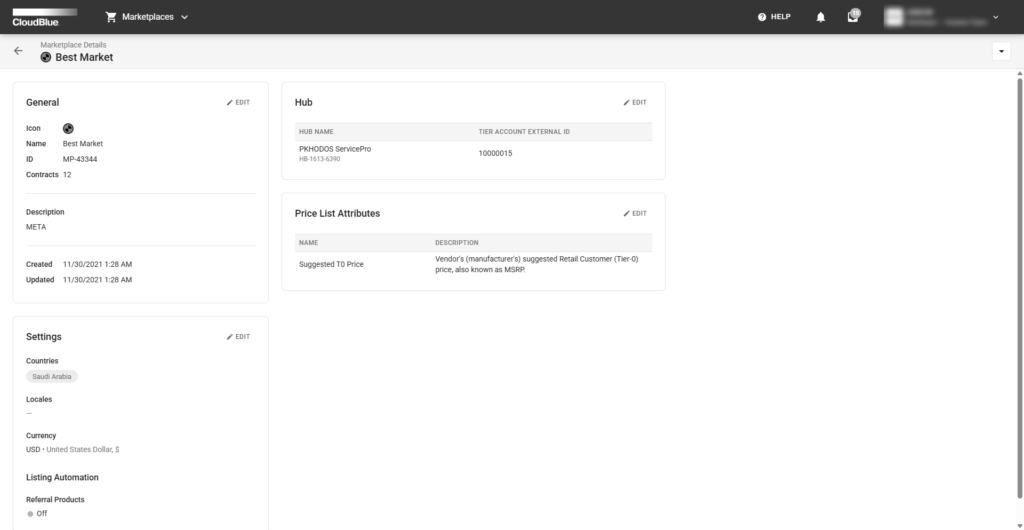
This screen displays various information on your selected marketplace. Namely, you can access its update or creation date, its ID, and the number of associated contracts.
Note that Marketplace Details can be used to review general marketplace information (e.g., name and icon), provided settings (e.g., selected countries, locales, currency, listing automation for referral products, and support queued requests), associated hubs, and selected price list attributes. Edit the aforementioned parameters by clicking the Edit button.
It is also possible to remove your marketplace by clicking on the (⋮) icon and selecting the Delete option. Note, however, that the system doesn’t allow deleting marketplaces with assigned active agreements.