The following guidelines demonstrate how to define a product on the CloudBlue Connect® platform. Note that products may represent physical goods as well as software or provided services.
The product definition operation is an essential part of the Product Flow and one of the most important procedures on the platform. For instance, Vendors can define product capabilities that drastically affect further subscription operations, such as renewal management, product usage reporting and more.
Therefore, the Products module includes a comprehensive list of options and settings that enable Vendors to specify every single feature of their product and customize product distribution operations with their partners.
Before defining your product on the Connect platform, make sure that the following requirements are met:
The following scenario showcases Front Street Inc vendor organization that defines a product on the Connect platform. This product represents customer management software that requires a license and an activation key to work with. Use the instructions below and provided scenario to successfully define your product on the platform.
Access to the Products module and click the Create Product button to initiate the product definition process. Thereafter, the system prompts you to fill out the following form:
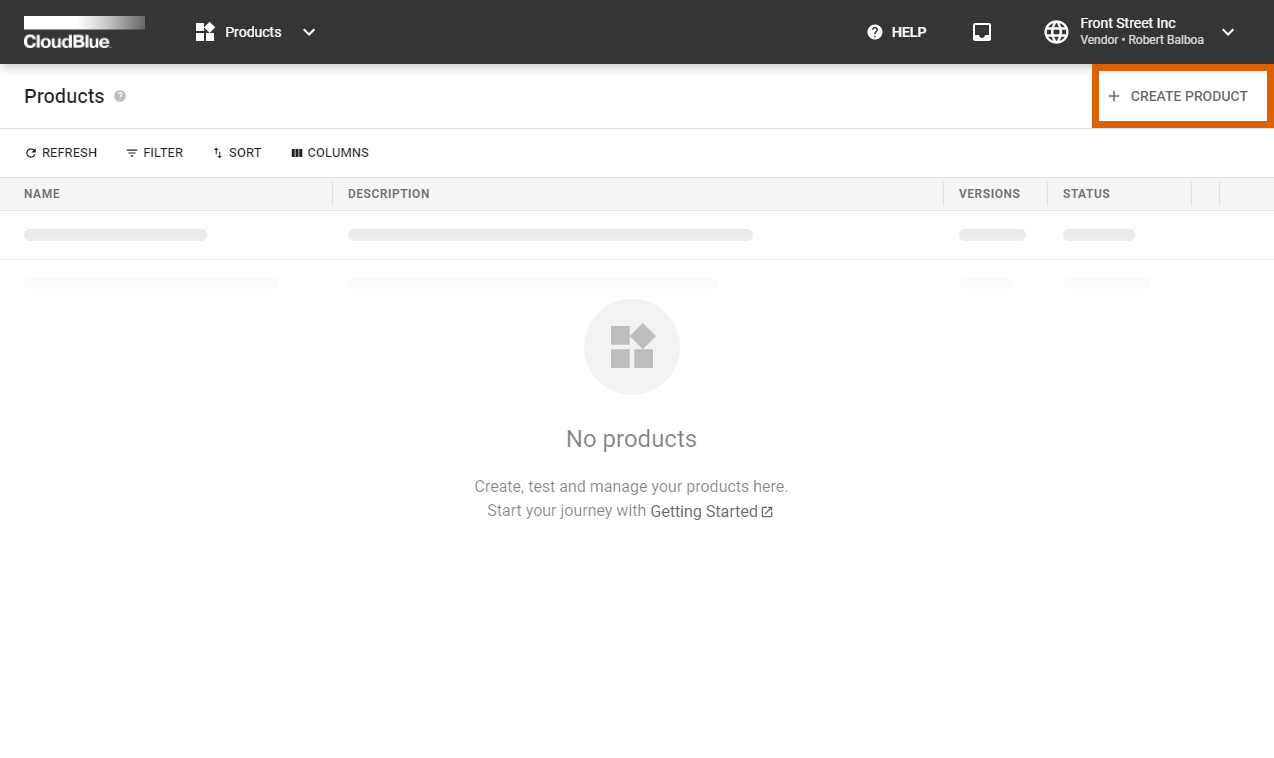

Since Front Street Inc’s product represents customer management software, the Customer Management category is selected.
Click the Create button to create a product object on the platform. Note that this product is not configured yet. Access your product profile page by clicking on your created instance. Thereafter, follow the guidelines below to continue with your product definition operation.
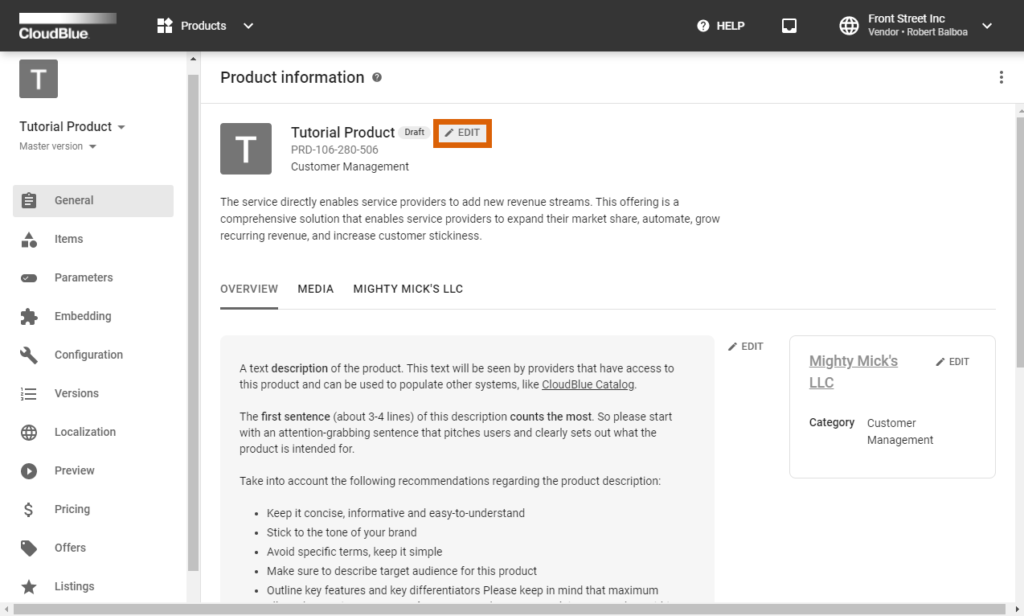
The General section within the product profile page provides general product attributes that define product name, category, logo, description, etc. In addition to these attributes, this section also contains the following tabs:
Front Street Inc can use the General section to add their logo, adjust description, provide required media and change other attributes.
Click the Edit button next to your product name to edit your Product Information.
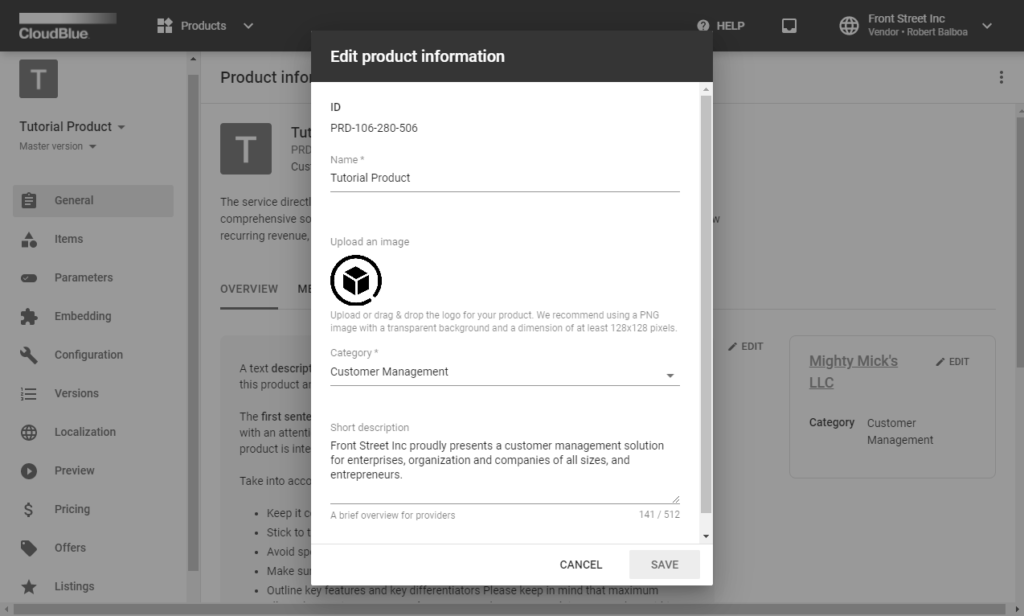
Therefore, Front Street Inc can enter required product description and upload their product icon.
It is recommended to use the PNG format with a transparent background for your icon.
Click the Edit button next to your product overview and change it. Follow the provided instructions and replace the default overview with your own text.
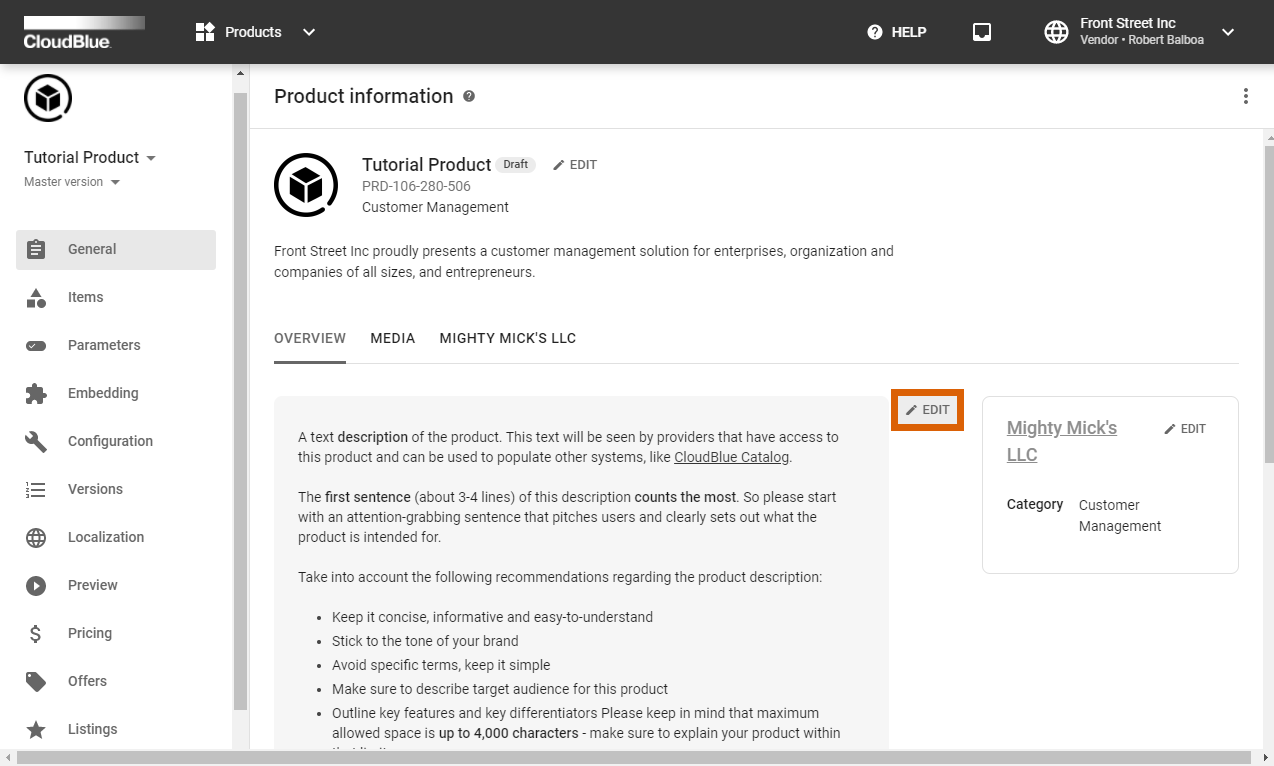
Note that provided description should support the markdown text formatting.
Proceed to the Media tab to upload your images or videos. In general, uploaded media content files consist of images and videos describing the product..
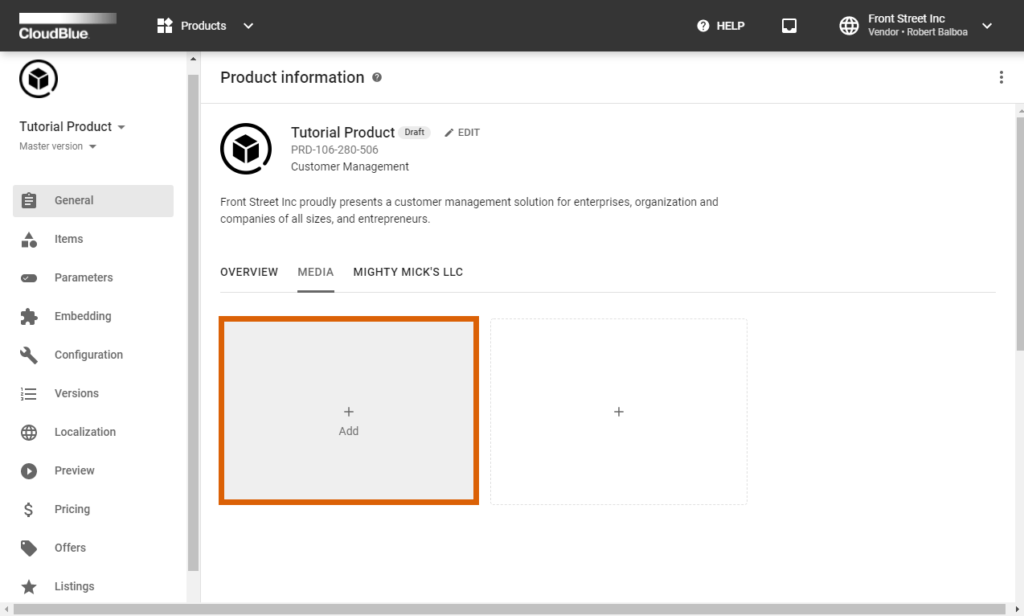
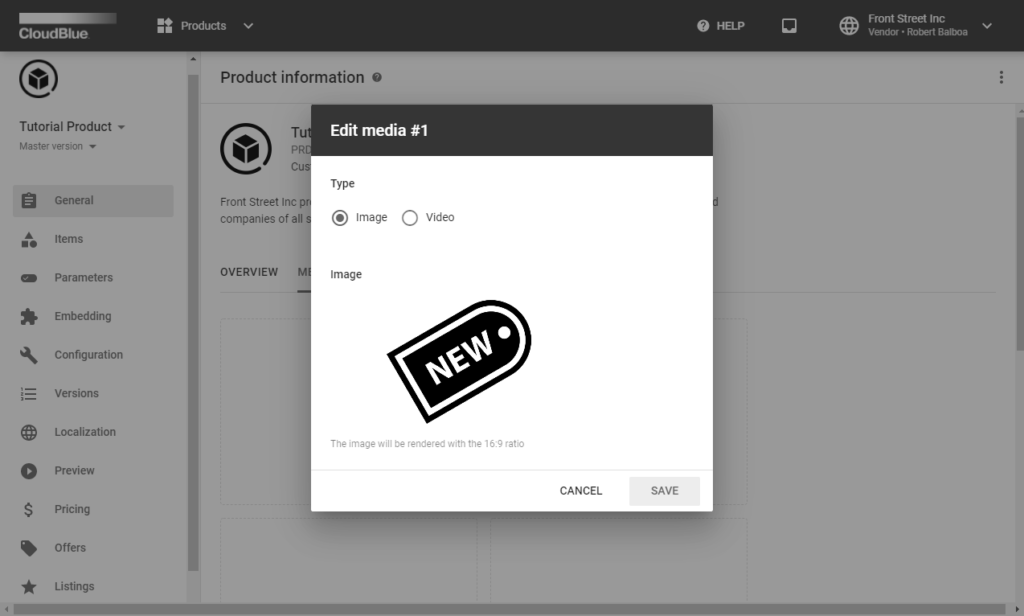
Note that the first uploaded media content serves as the main image or the main video of your product, meaning that it is used as a thumbnail image for your product within the system.
Settings represents one of the key section of the product profile page. This section is used to enable or disable various aspects of a product distribution and product ordering procedures. Note that certain options within the product profile page (e.g., the Pay-as-you-go items configuration) are not accessible until corresponding setting is switched on for your product.
Proceed to the Settings section and click the Edit button to enable or disable specified product attributes.
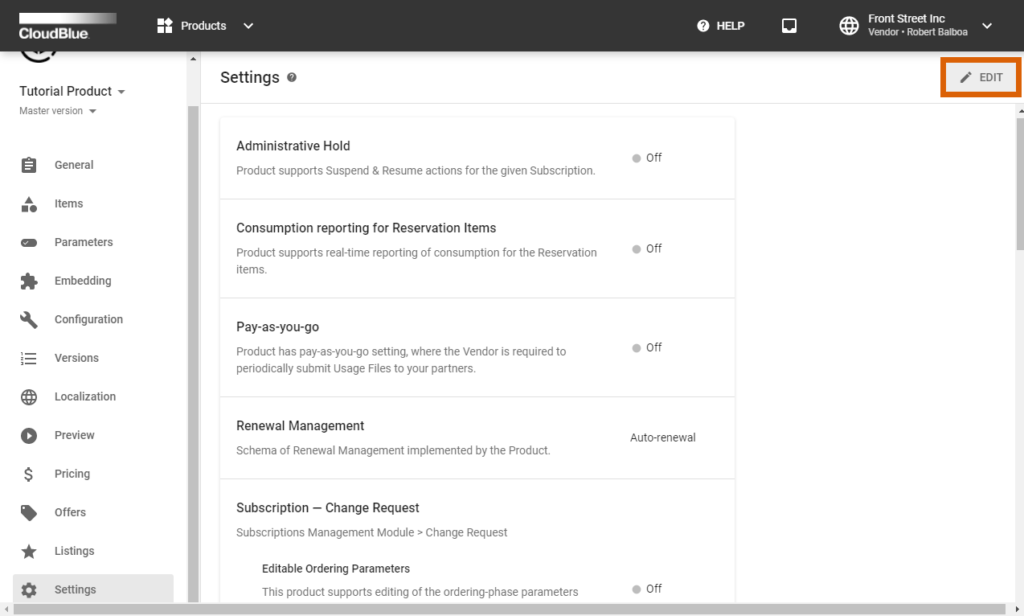
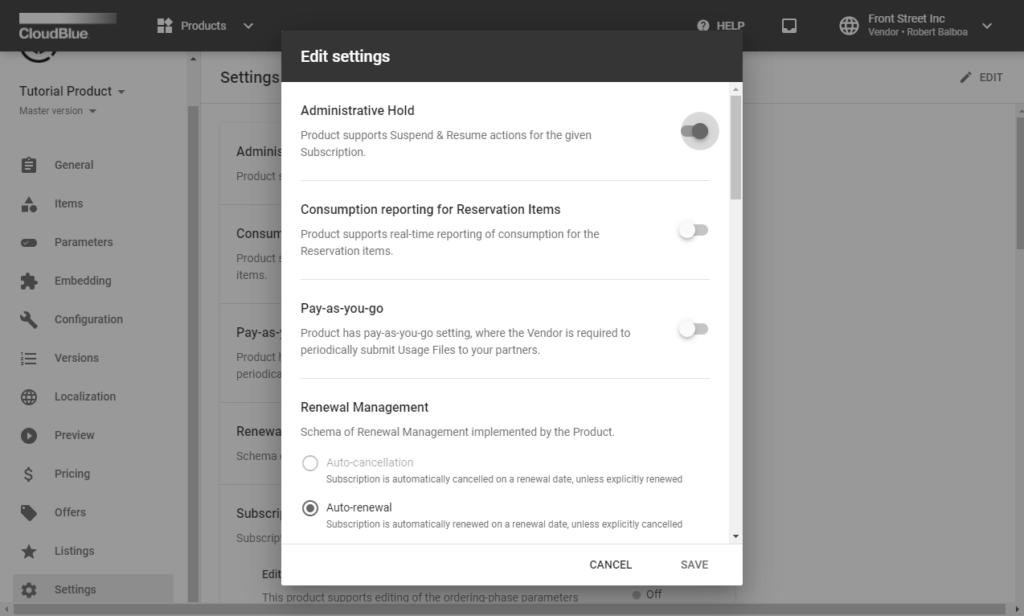
It is recommended to familiarize yourself with the Settings documentation before editing the settings list.
A product that is defined on the CloudBlue Connect® platform should include items (also called SKUs). Items represents individual atomic line items of the order (or the invoice). Namely, an item is a specific resource or service that customers order and pay for. In case more information on products and items difference is required, refer to the Product vs Items chapter.
In this scenario, Front Street Inc should create items for their software licenses within the product profile page. The following steps showcase how to define such items.
Proceed to the Items section to define your items.
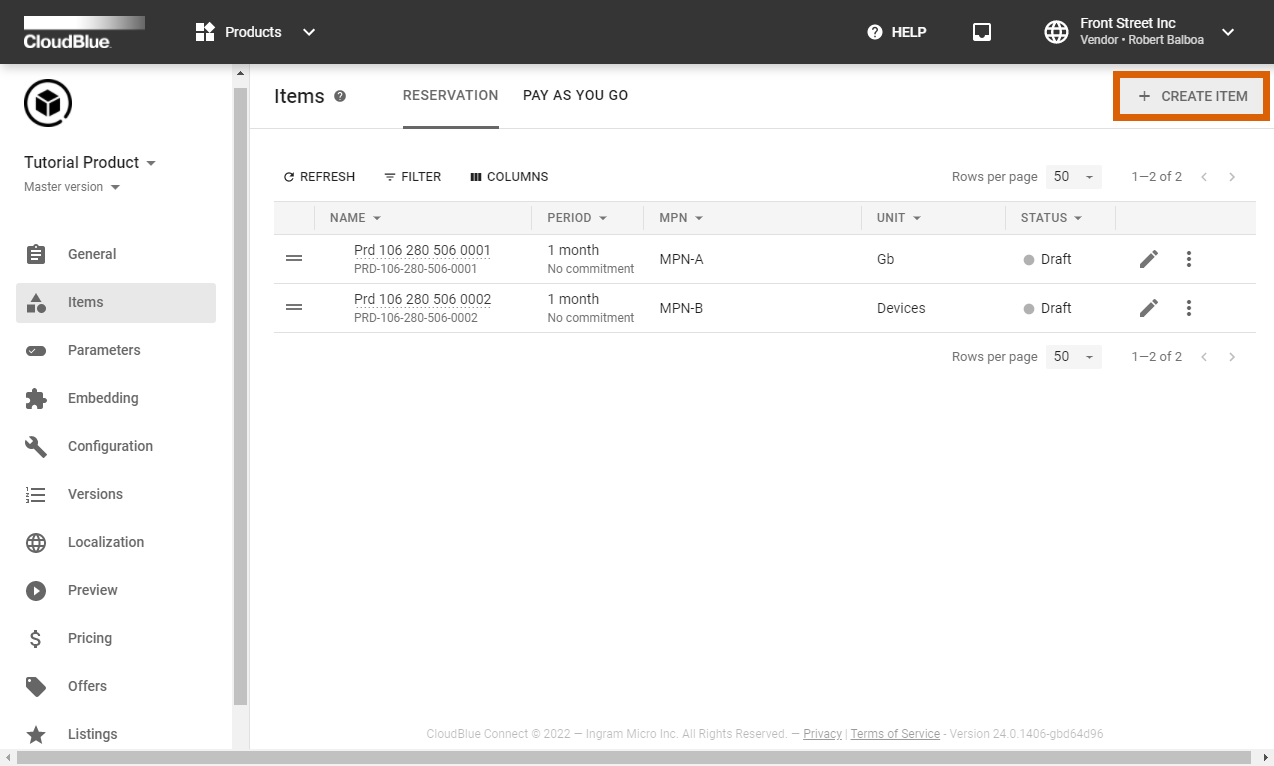
Click the Create Item button to create a new item. Alternatively, you can edit default items from the list.
Configure the general item properties in the appeared form:
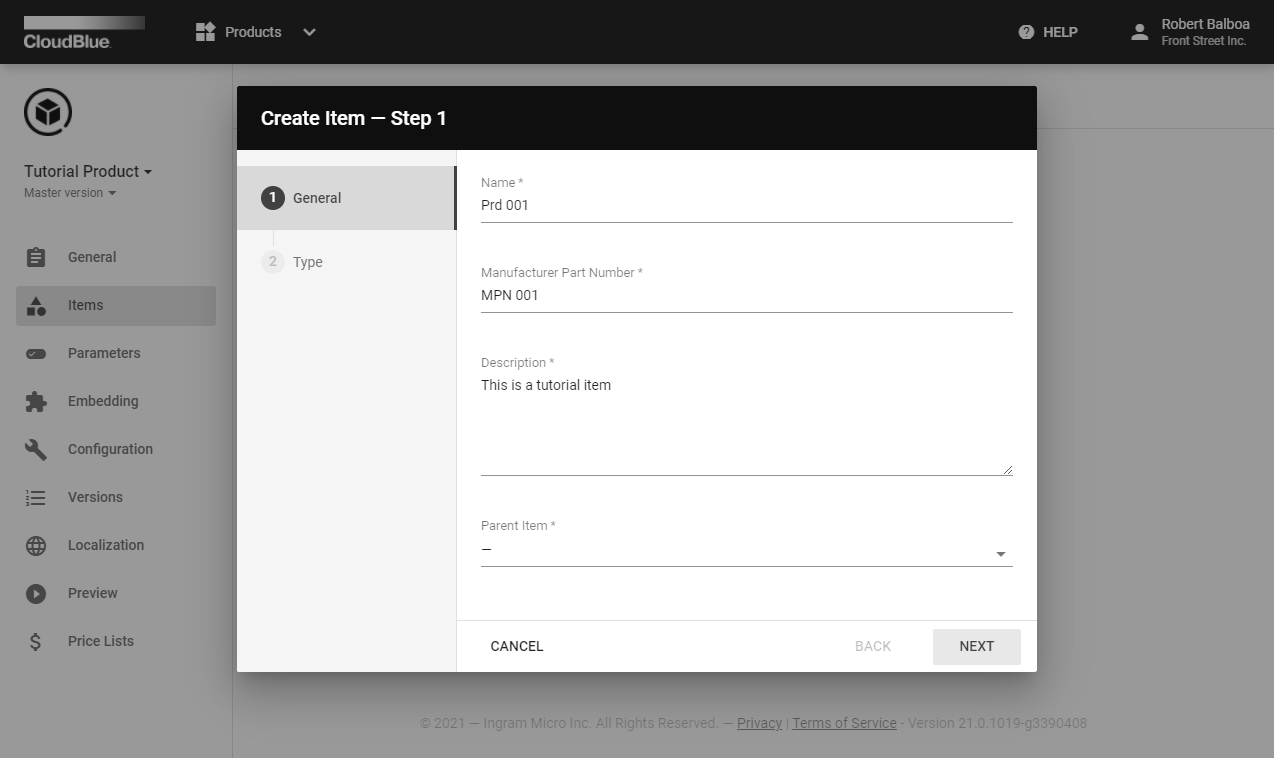
Click Next to continue.
The system prompts you to fill out the following form:
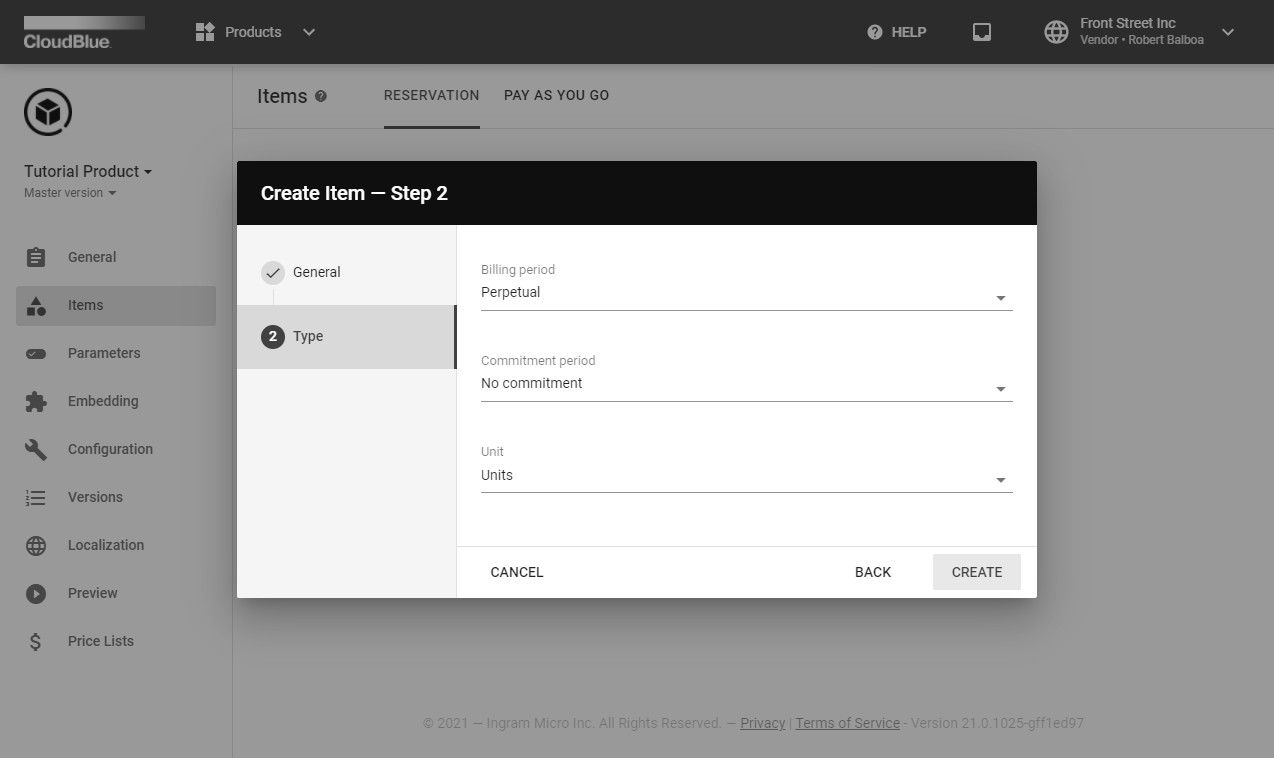
In this scenario, Front Street Inc selects perpetual billing period, specifies units that represent software licenses, and chooses no commitment in the corresponding field. Therefore, these licenses will be sold on a one-time basis.
Your product can contain parameters that are used to create a product order and to fulfill a product request. There are three types of parameters on the Connect platform that are specified during the product configuration phase, during ordering phase and during the fulfillment phase. Learn more about parameter phases by accessing the Parameters documentation.
The following steps showcase how Front Street Inc creates a parameter for license activation key value. This value should be assigned by this Vendor during the fulfillment phase.
Access the Parameters section to define your parameters. Click Create Parameter to launch the parameter creation wizard. Alternatively, you can edit the provided parameters by clicking on the corresponding icon.
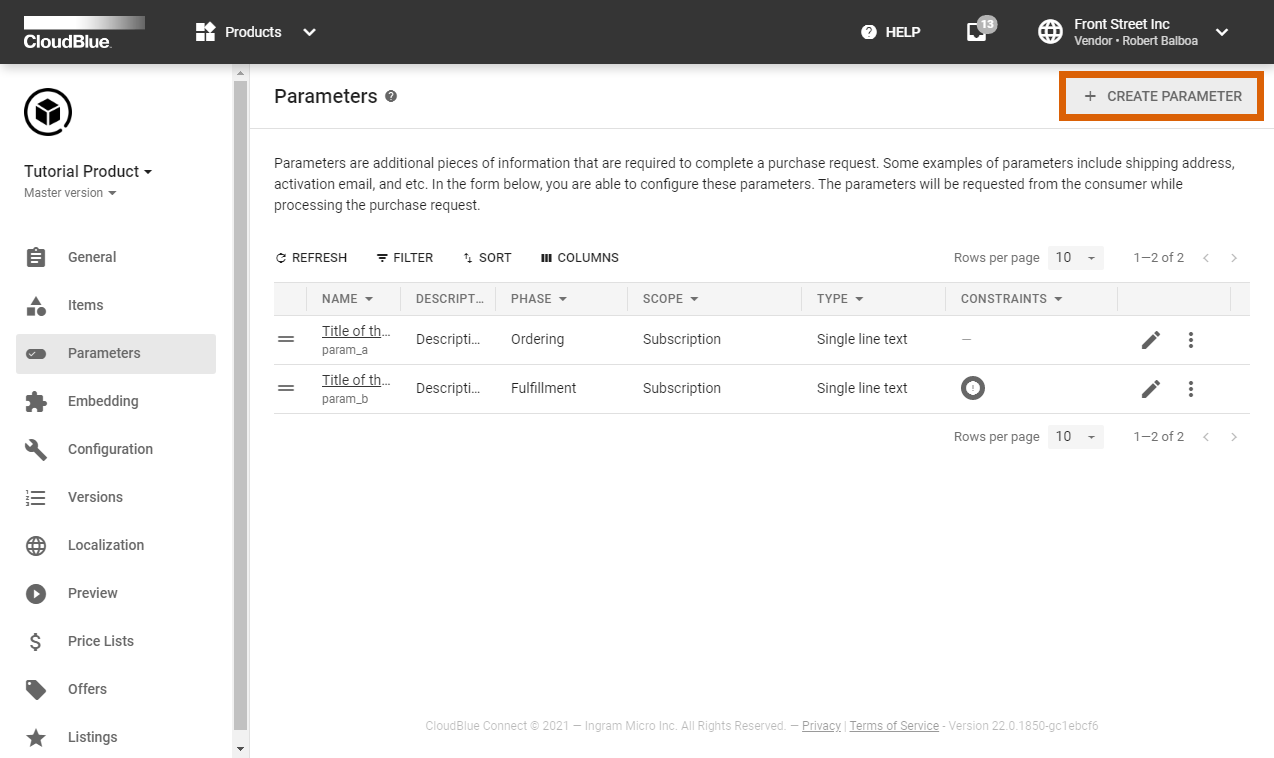
Front Street Inc decided to create new a parameter for license activation key values.
Specify your parameter type and available options by using the following form
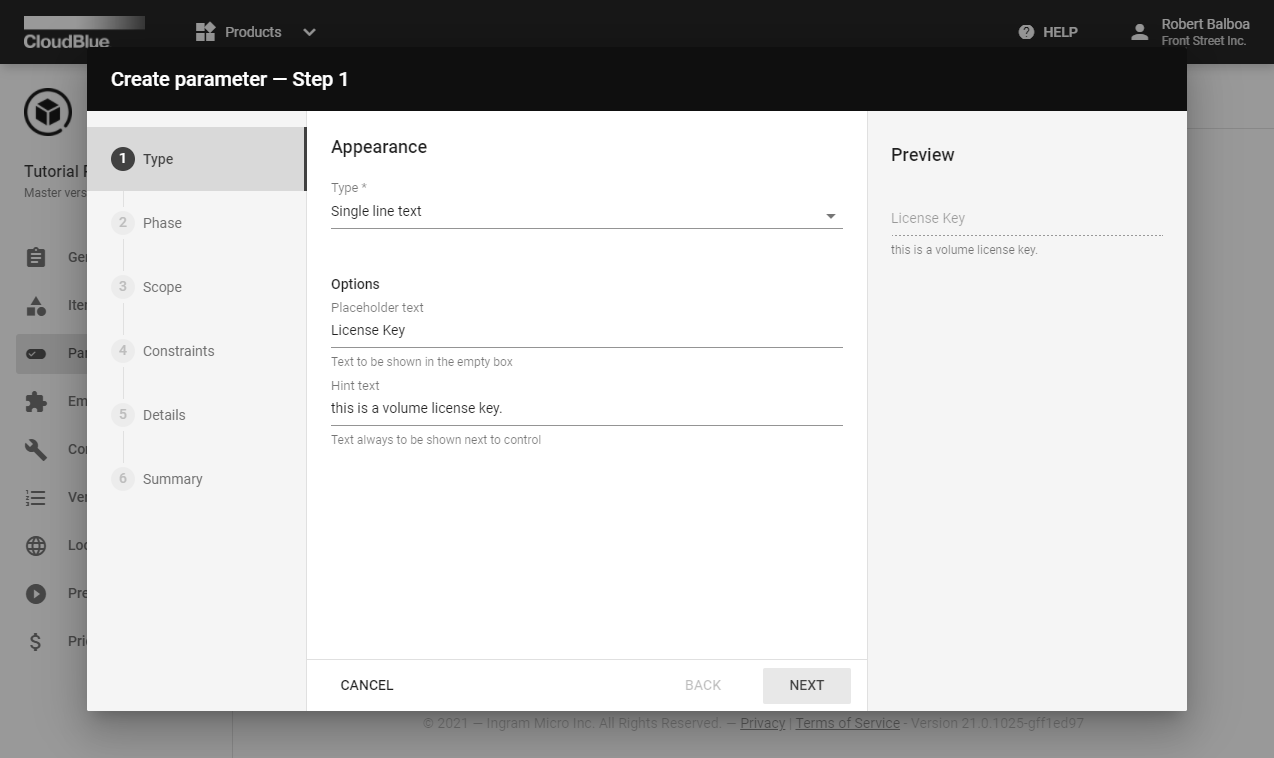
Since Front Street Inc requires license activation key parameter, the single line text type is selected. This Vendor also specifies placeholder and hint text.
Click Next to continue.
Choose your parameter phase in the following form.

Since Front Street Inc will provide license key values during the fulfillment phase , the Fulfillment option is selected.
Click Next to continue.
Choose your parameter scope in the following form. Note that provided options vary depending on your selected phase.

In this scenario, for example, the system allows Vendors to select only the Subscription scope.
Click Next to continue.
Specify parameter constraints in the following form
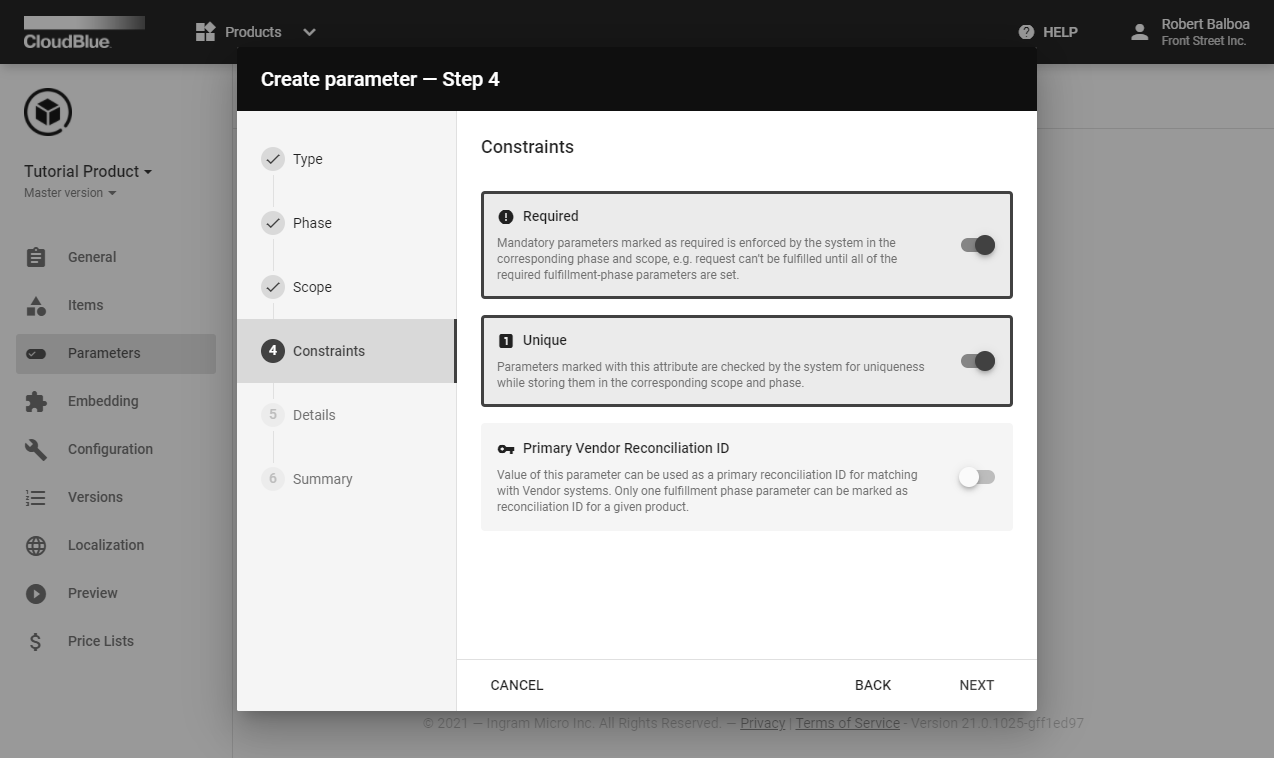
In this scenario, the following constrains are selected:
Click Next to continue.
Specify your parameter details in the following form:
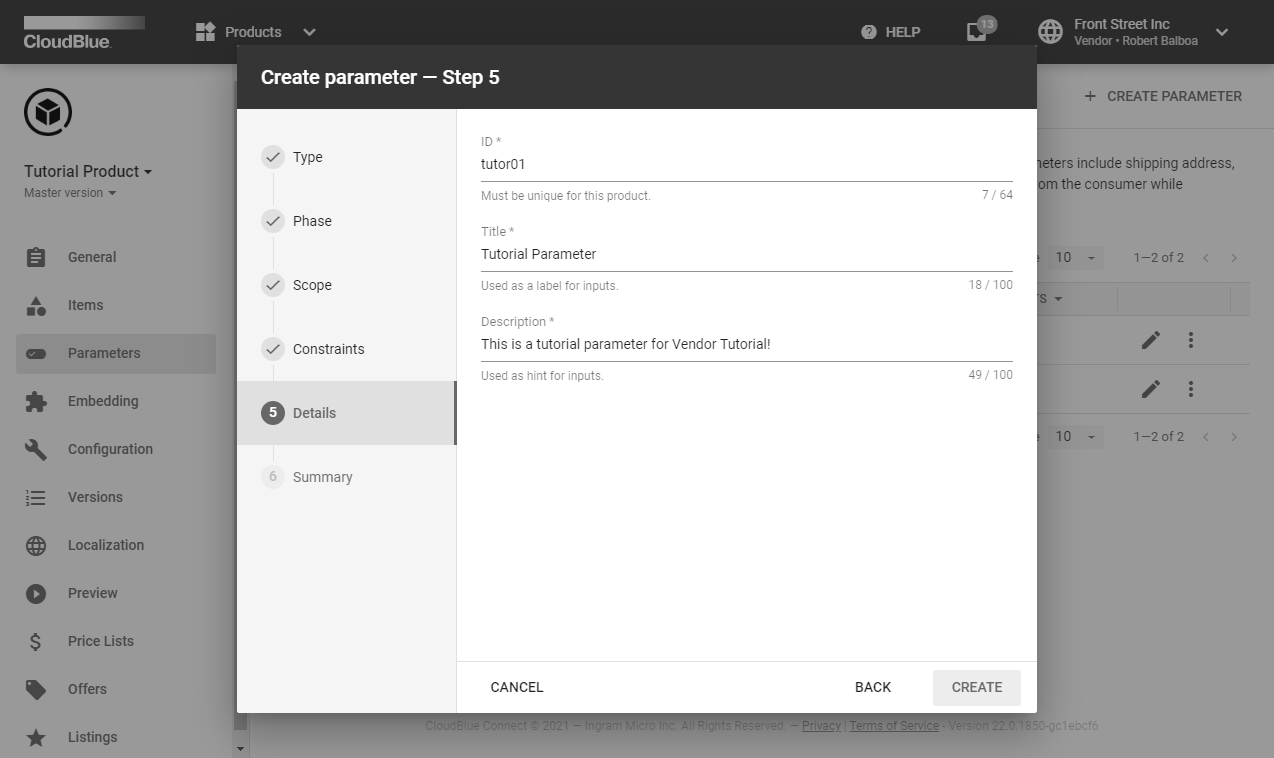
Click Create to finalize your parameter creation.
As a result, the system provides your parameter summary. Review your created parameter by clicking Go to Details or click the Close button.
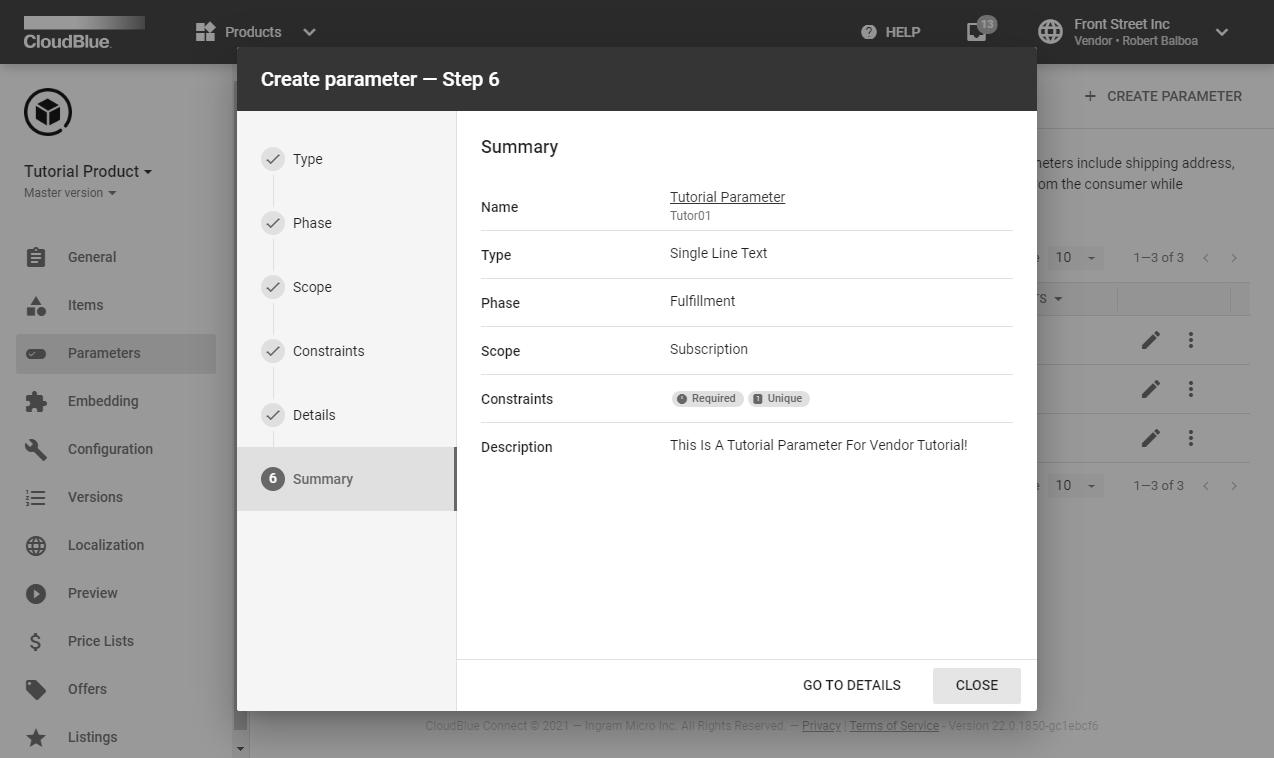
Therefore, Front Street Inc successfully created required parameter to provide license activation keys for customers.
The following provides outlines settings and option that could be skipped in case you want to create a test product on the Connect platform. Note, however, that the provided options and configurations can be increasingly important for your product and your real business cases.
The Embedding section governs how end-customers in a commerce system can see the product properties and interact with the product. Access these product properties via the following tabs:
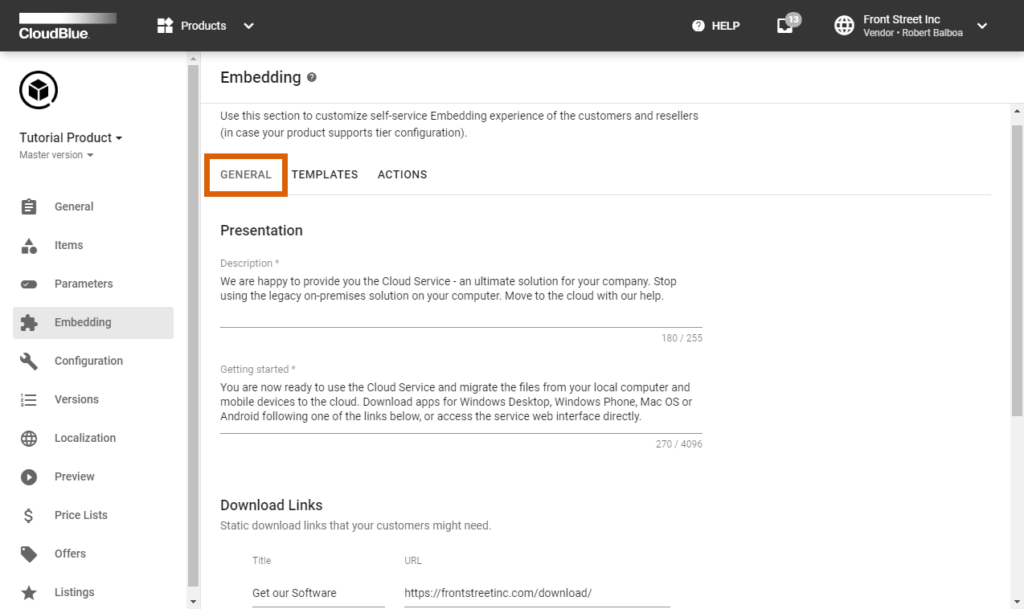
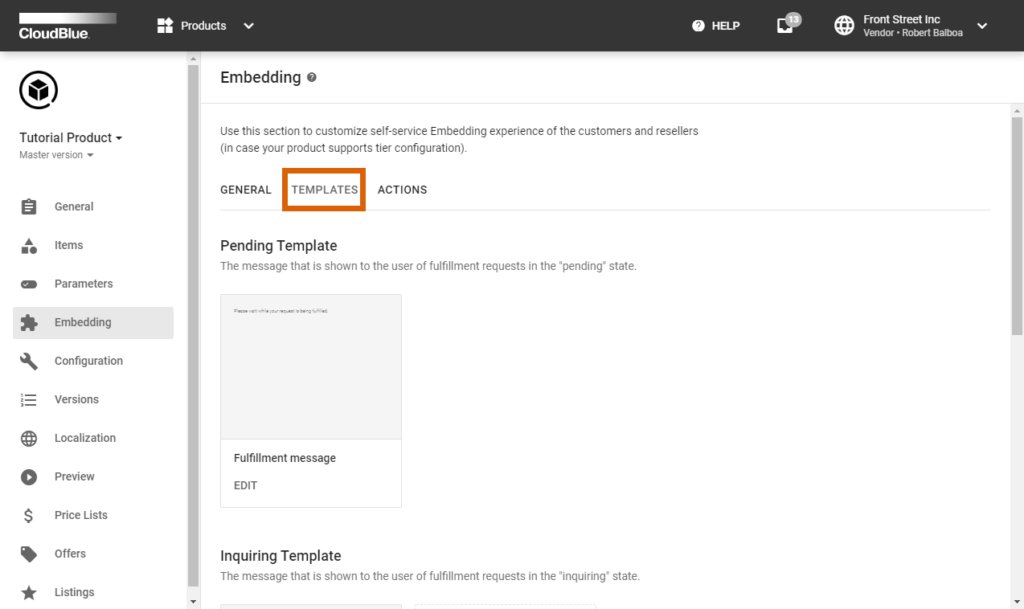

In case more information on any option or setting is required, refer to the Embedding documentation.
The Configuration section allows Vendors to manage parameters associated with the Configuration phase. These parameters are vendor-specific and typically used in middleware extensions integrating Connect with the Vendor system.
Provide value for your created configuration parameter by clicking on the edit icon.
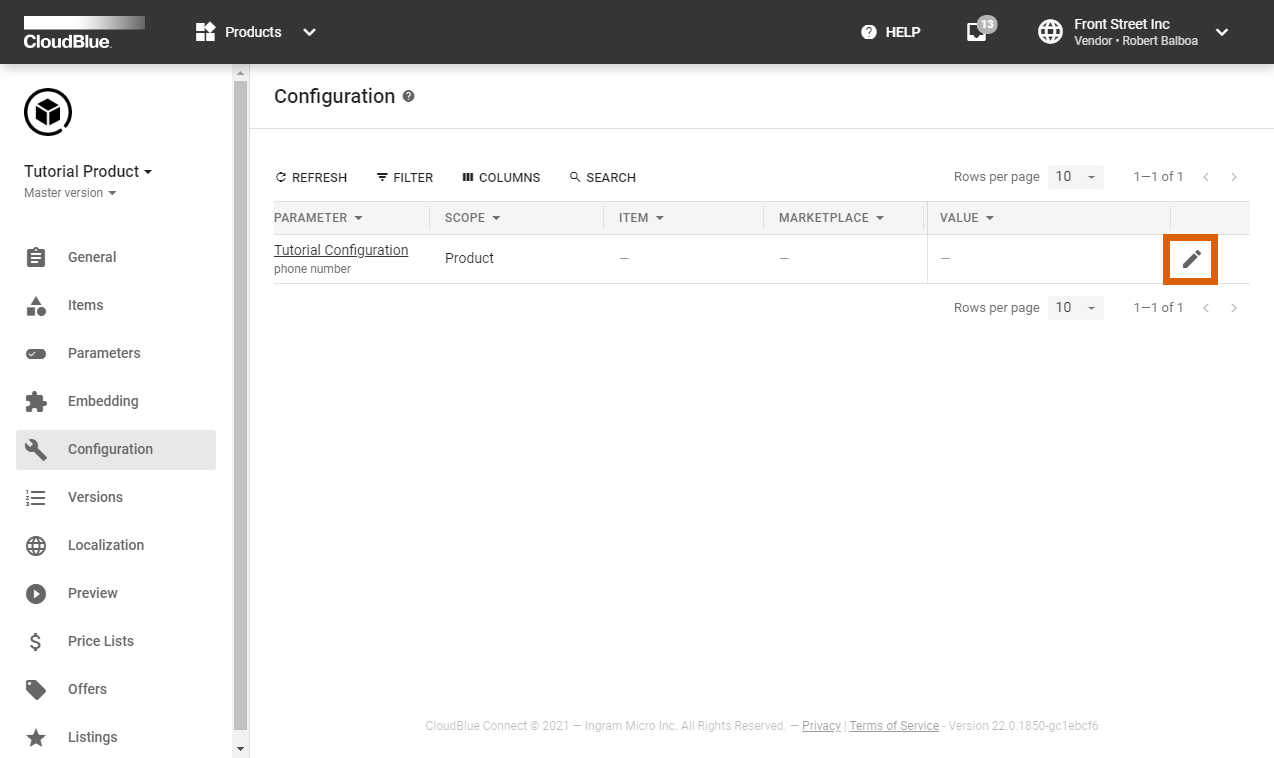
In case middleware integrations with the platform is not required for your organization, you can leave this section intact.
This section allows specifying localizations supported by your product ordering process. Connect provides localization template files in the PO format for translation. Use PO file editors (such as poedit.net) to open and edit these files.
Add required localizations by using the Add localization field within the Localization section.

Refer to the Localization documentation if more detailed instructions are required.
This section enables Vendors to define and manage product price lists. Vendors can also create and edit price lists via the Pricing module on the Connect platform.

In case more information on pricing lists is required, refer to the Pricing module documentation.
Offers represents logical grouping of one or multiple product plans (i.e., service levels that provide different item quantity, product features, etc.) Vendors can create offer instances from the Offers section. Note, however, that your offer instances should be properly configured within the Offers module.
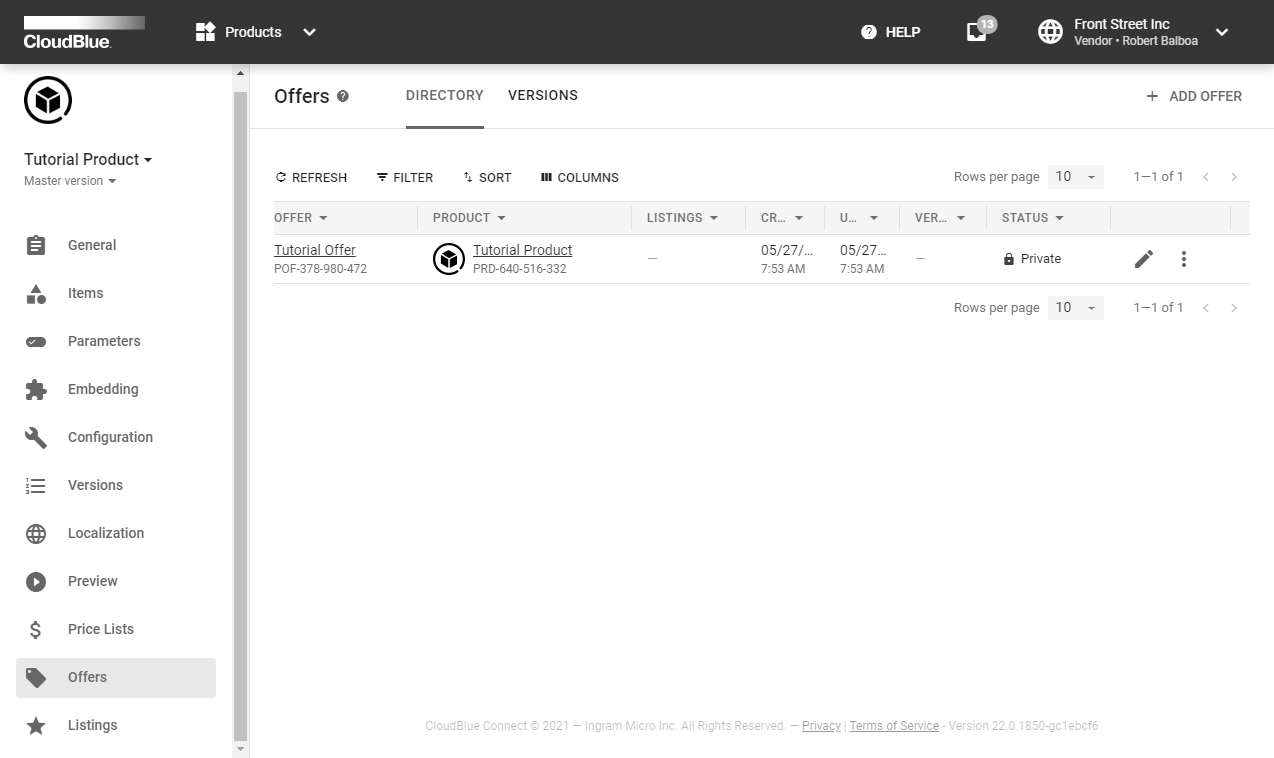
Refer to the Offers module documentation for more details.
Vendors can preview their product configuration by accessing the Preview section from the product profile page. It is recommended to launch this preview before assigning a version for a product. Therefore, Vendors can simulate their product ordering experience and ensure that provided settings and options are defined correctly.
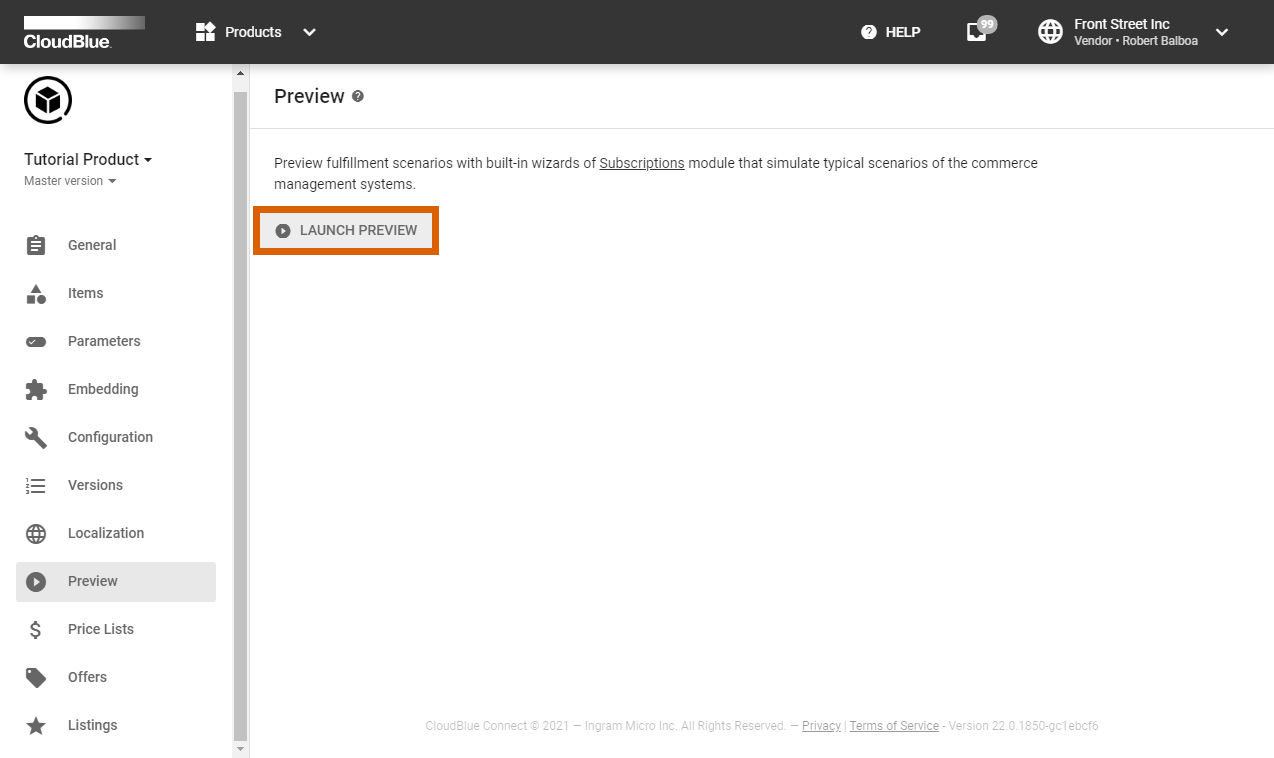
Once Vendors finalize their product preview procedure, the system generates a preview subscription and its fulfillment request. Vendors can approve or reject this request as described in the Subscription Processing tutorial article.
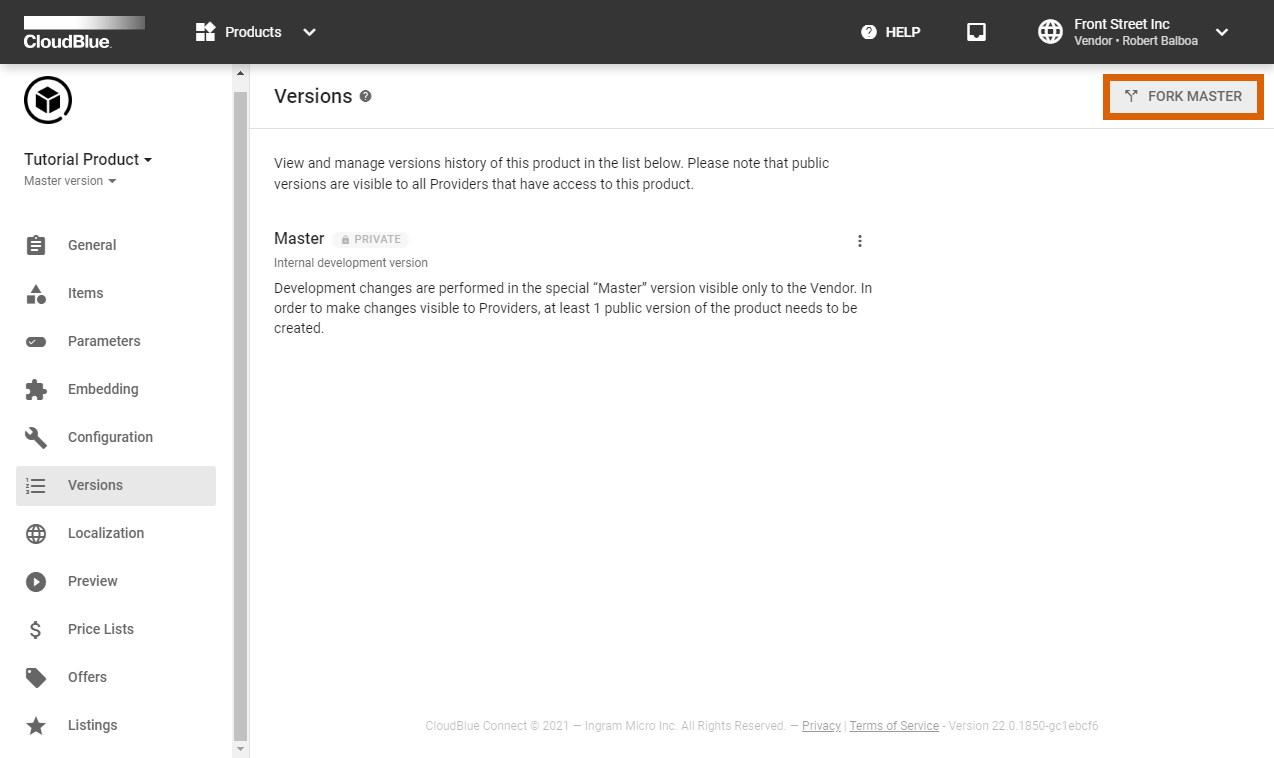
Once all necessary settings and options are specified, Vendors are required to save the product version. Vendors can create public or private versions of their product. Note that public versions are visible to Distributors and Resellers that have access to this product. Furthermore, public versions are displayed within the Catalog in case your product is listed there. On contrast, private versions are visible only to the product owner.
Front Street Inc finalized the product definition operation. Therefore, this Vendor decided to save this version and make this product publicly available. Follow the provided scenario and instructions below to successfully save your product version.
Access to the Versions section from your product profile page and click the Fork Master button.
The system prompts you to fill out the following form:
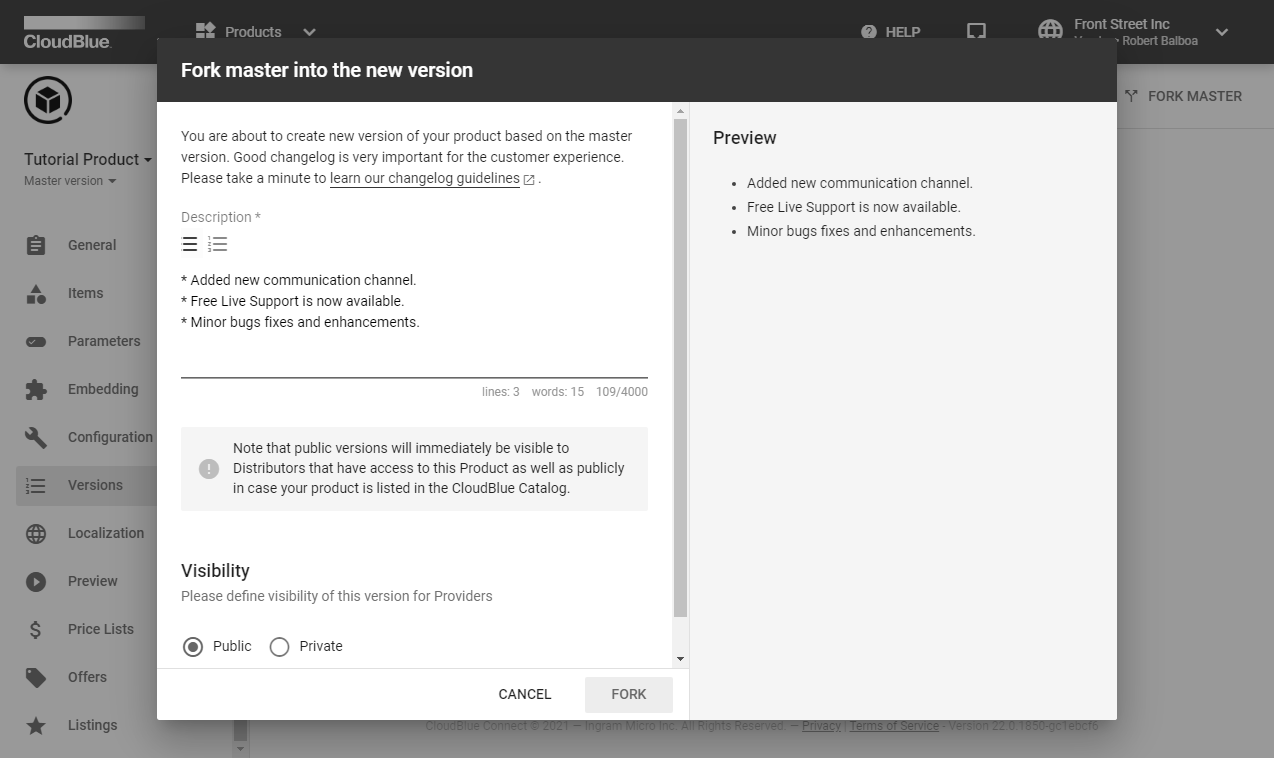
Click the Fork button to create your product version.
As a result, Front Street Inc provided the version description and created a public version for the product.
Once Vendors finalized the product definition operation and saved public version of their product, the Connect platform enables such Vendors to create a product listing request. By creating these requests, Vendors can expose their products on required marketplaces. Access the Product Listing Creation to proceed with the Vendor Tutorial.
In case more information on any provided setting from the Products module is required, access the Products module documentation for more details.