The following describes available operations within the Helpdesk module on the CloudBlue Connect® platform, such as creating a Case, inquiring additional information, closing Cases, and more.
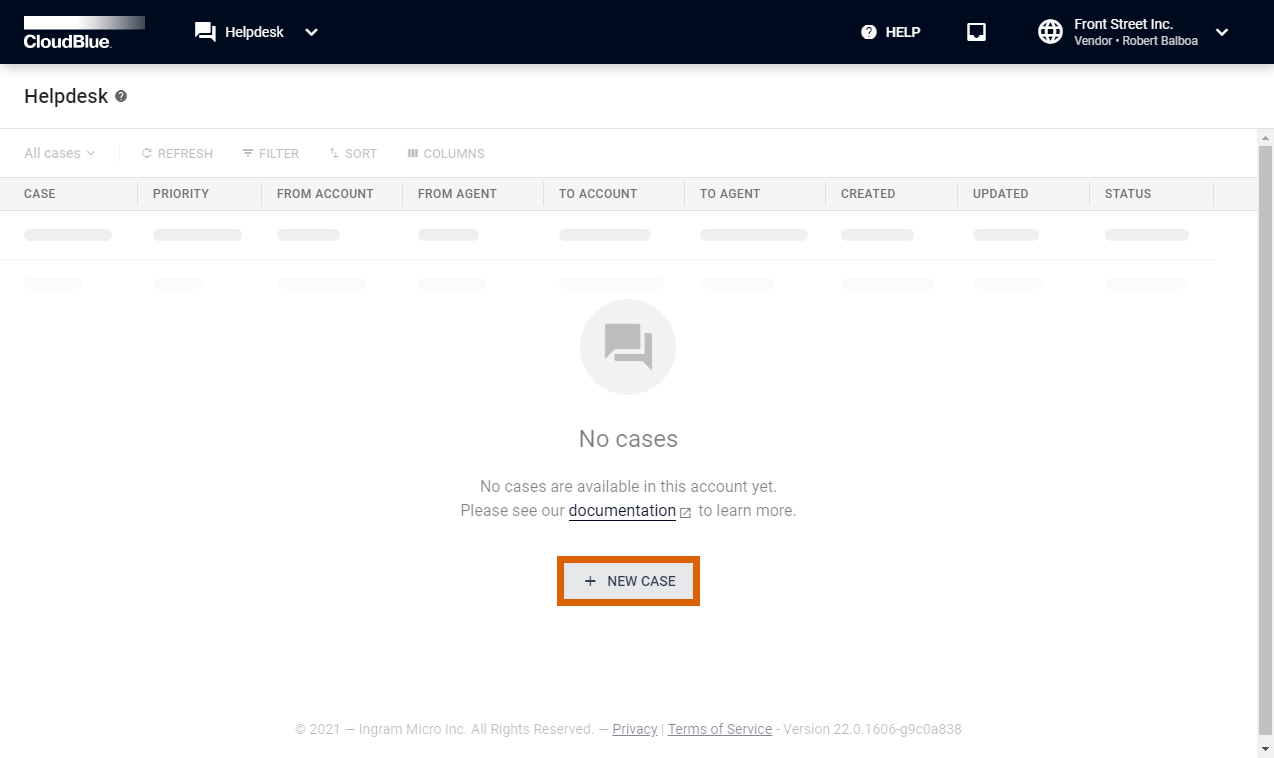
Navigate to the Helpdesk module on the Connect platform. Submitted Cases are displayed within the provided list.
Click the New Case button to launch a case creation wizard.
Follow the wizard instructions to successfully create a new Case.
Choose a Partner (Vendor, Provider, or Reseller) from the list.

Click the Next button to continue.
Fill out the following details form:

Click Create to create your Case.
Once your case is successfully created, the system provides your case summary.

Click Go to Details to access the Case details screen. Otherwise, click Close to close the summary.
Click on the Case name from the Helpdesks module to access the Case details screen.
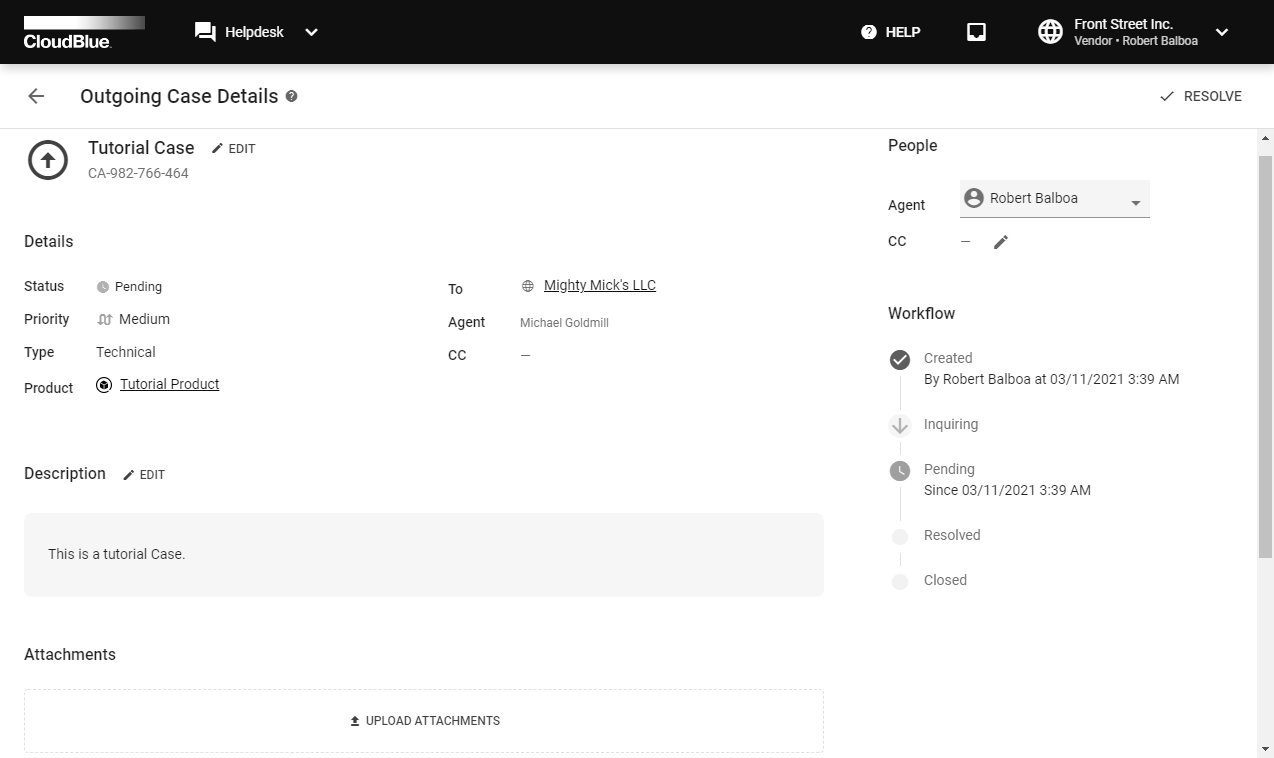
The Case details screen indicates if an Outgoing or Incoming Case is opened. This information is displayed at the upper left corner of the screen.
Next, this screen contains specified details. Namely, it provides Case Status, selected Priority, specified Type, selected Product, and a reporter (the From field).
The Case details screen also displays assigned Agents and CC for Incoming or Outgoing Cases.
The Workflow bar indicates the current state of your Case, associated users and dates. The Workflow bar also showcases completed states and the following states of this Case.
Furthermore, this screen allows uploading attachments and submitting comments for communication between Partners or private messaging. Follow the instructions below to upload an attachment and submit a comment.
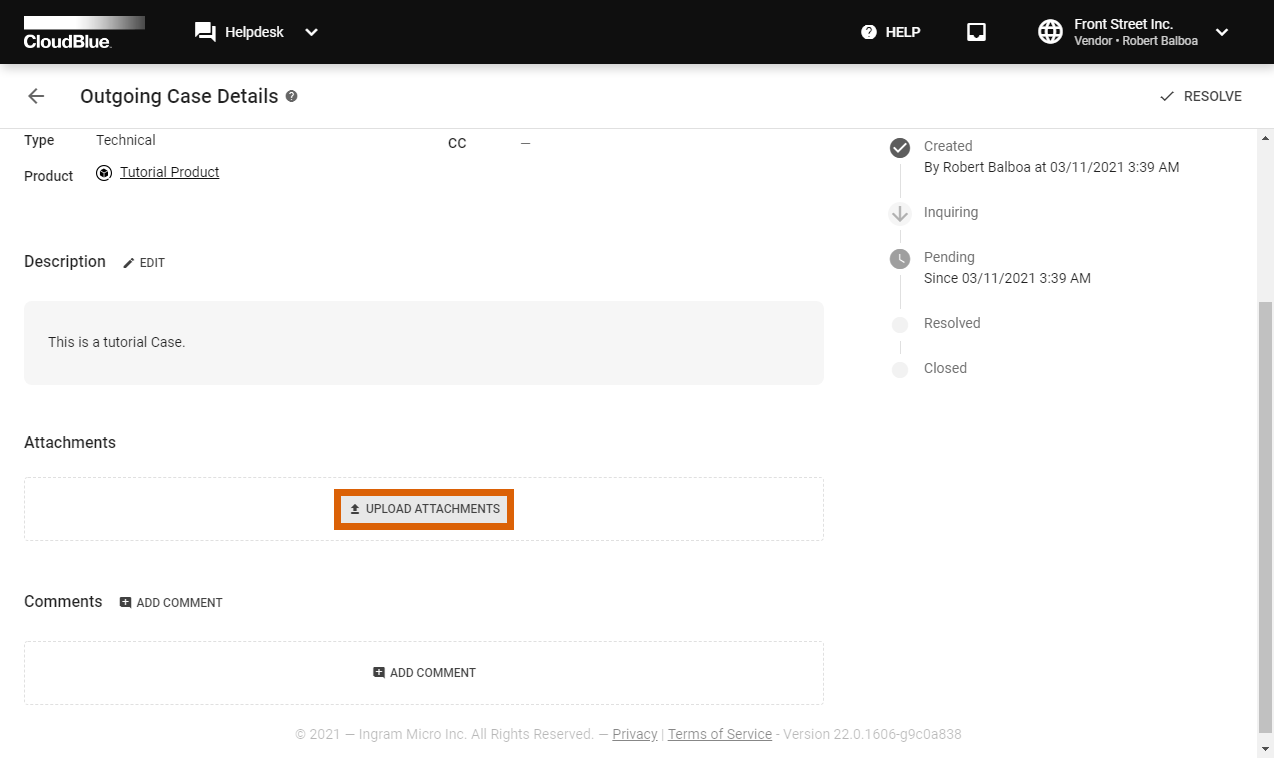
The Attachments field allows uploading additional files, such as screenshots, pictures, logs, and so on. Attachments can be especially helpful for technical issues. Follow the steps below to successfully upload your file
1. Click the Upload Attachments button to submit your file.
2. Drag or select your files to the corresponding zone in the following Attachments form.

3. Click the Upload button to upload your file. Once this operation is complete, your file will be displayed under Attachments within the Case details screen.
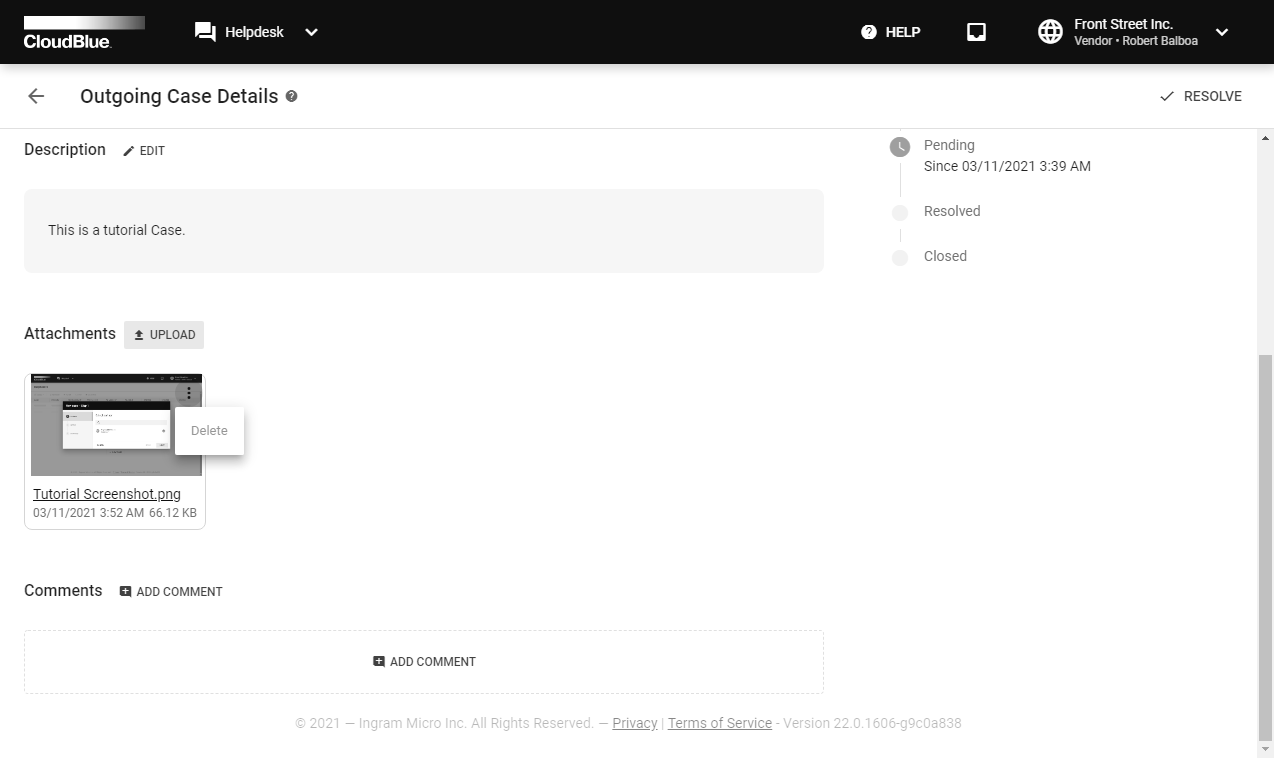
Upload or delete your files by using the corresponding buttons on the user interface.
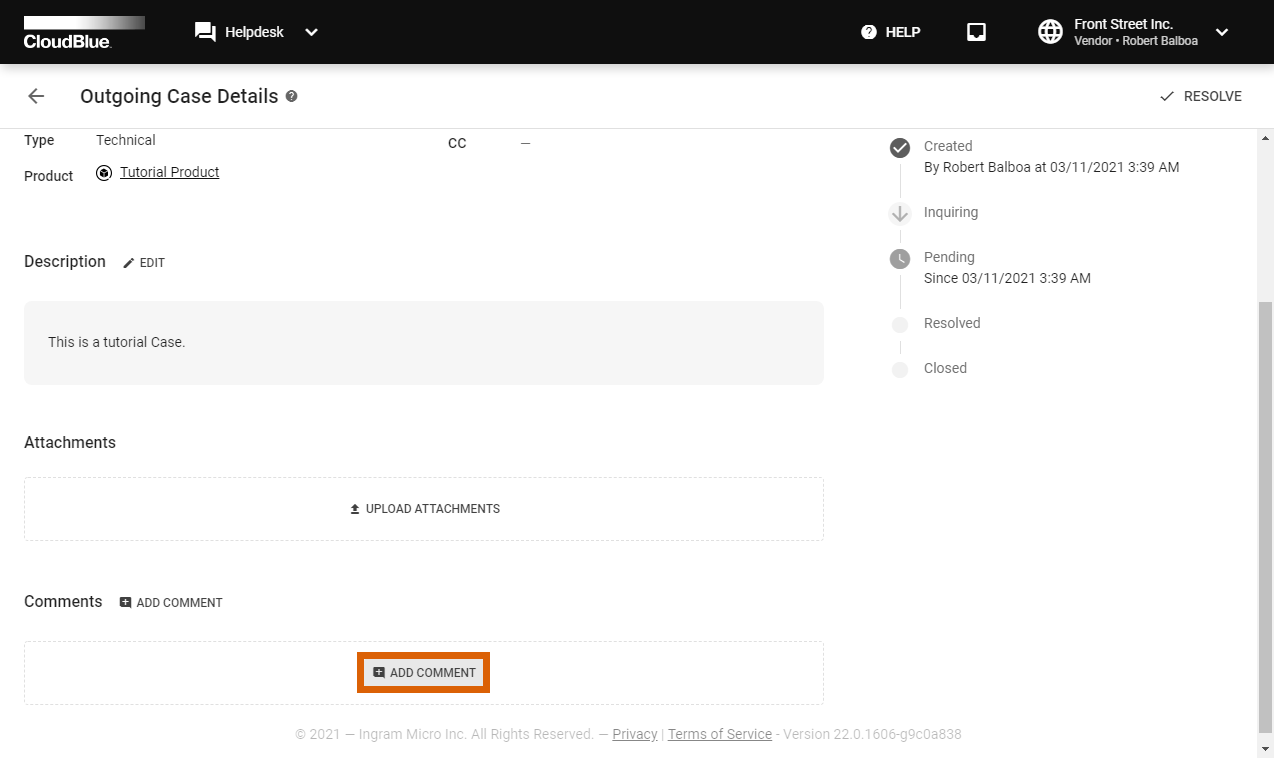
The Comments field is used to submit messages for Partners or to leave a Private message for users of your account. This field also displays the system messages. Follow the steps below to add a comment.
1. Click the Add Comment button to add a new comment.
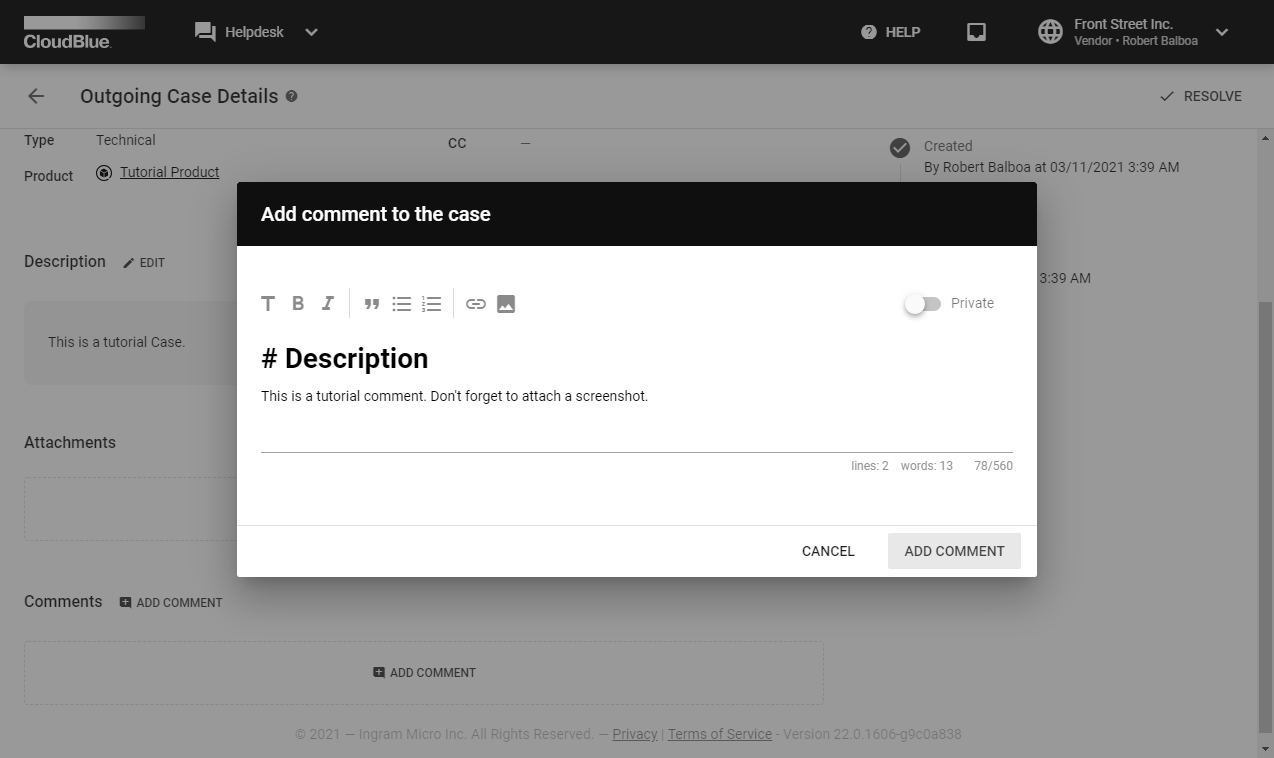
2. Enter your comment into the Comments form.
3. Click on the Private switch to make your comment visible only to users of your account.
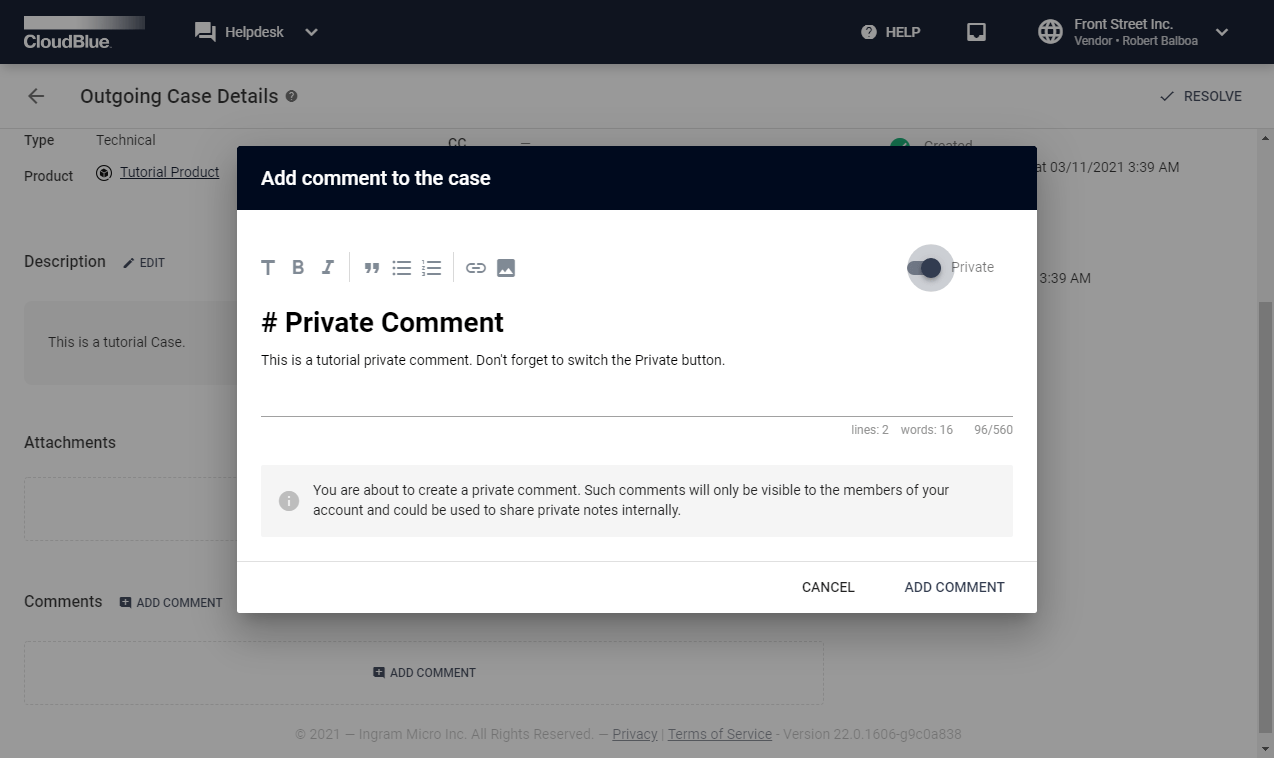
4. Click Add Comment to successfully submit your comment. Therefore, your comment will be available from the Case details screen.

It is possible to edit your comments by clicking on the Edit icon next to your submitted comment.
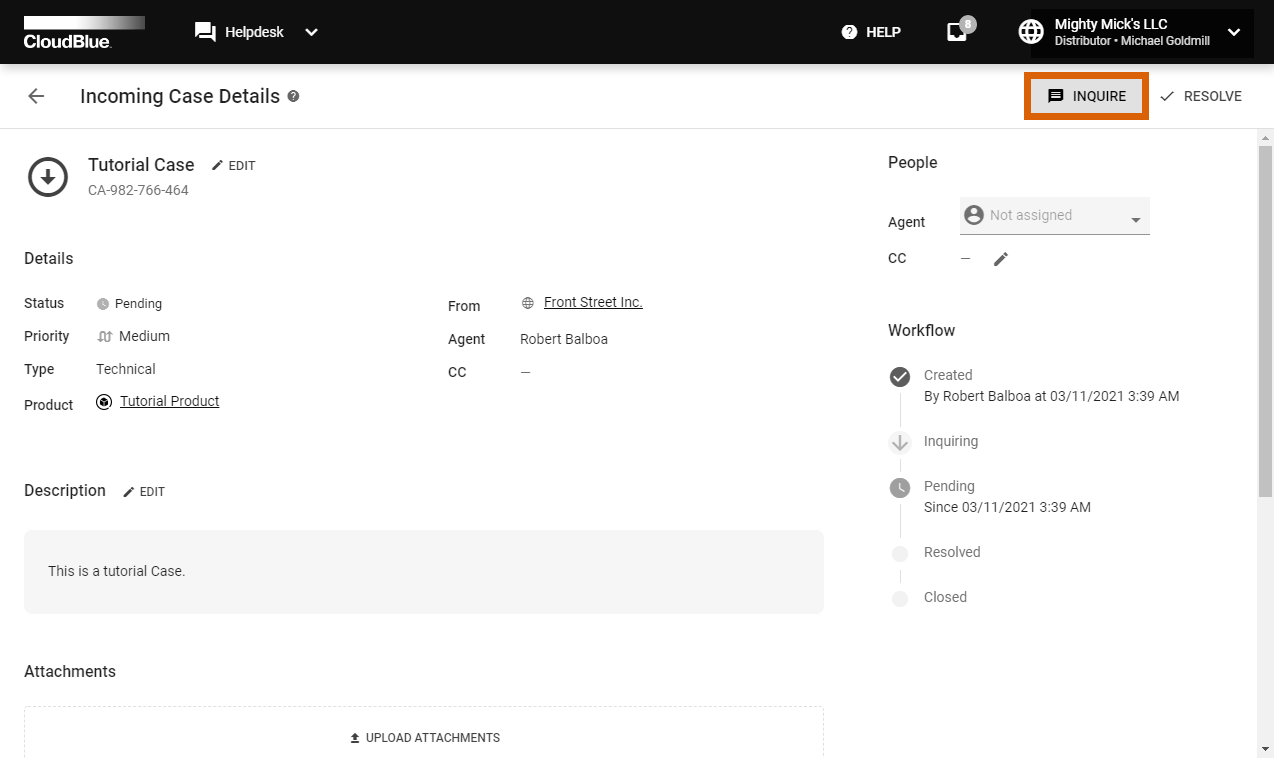
If more information is required for your Incoming Case, you can inquire additional information from the Case details screen. The following steps showcase how to inquire more information and how to transfer your Case to the Inquiring state
1. Click the Inquire button to inquire information from your Partner.
2. Add a comment into the following Inquire form.
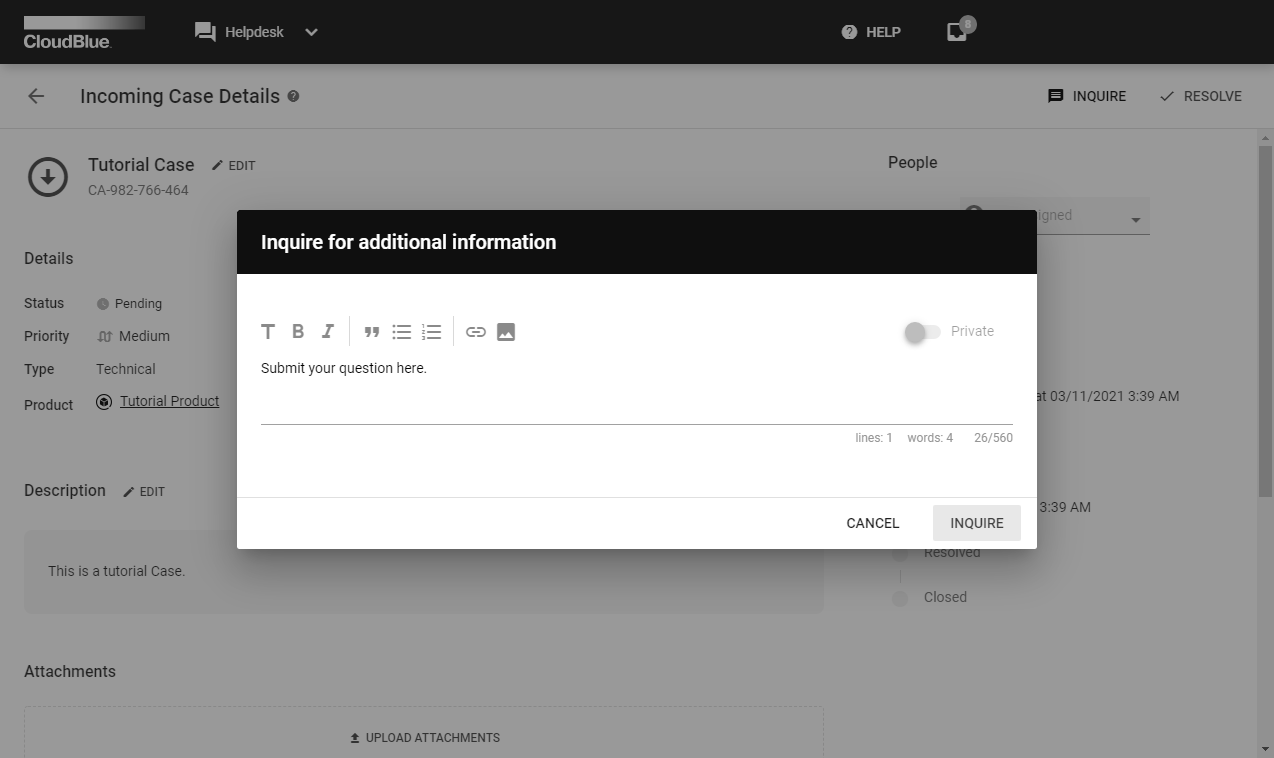
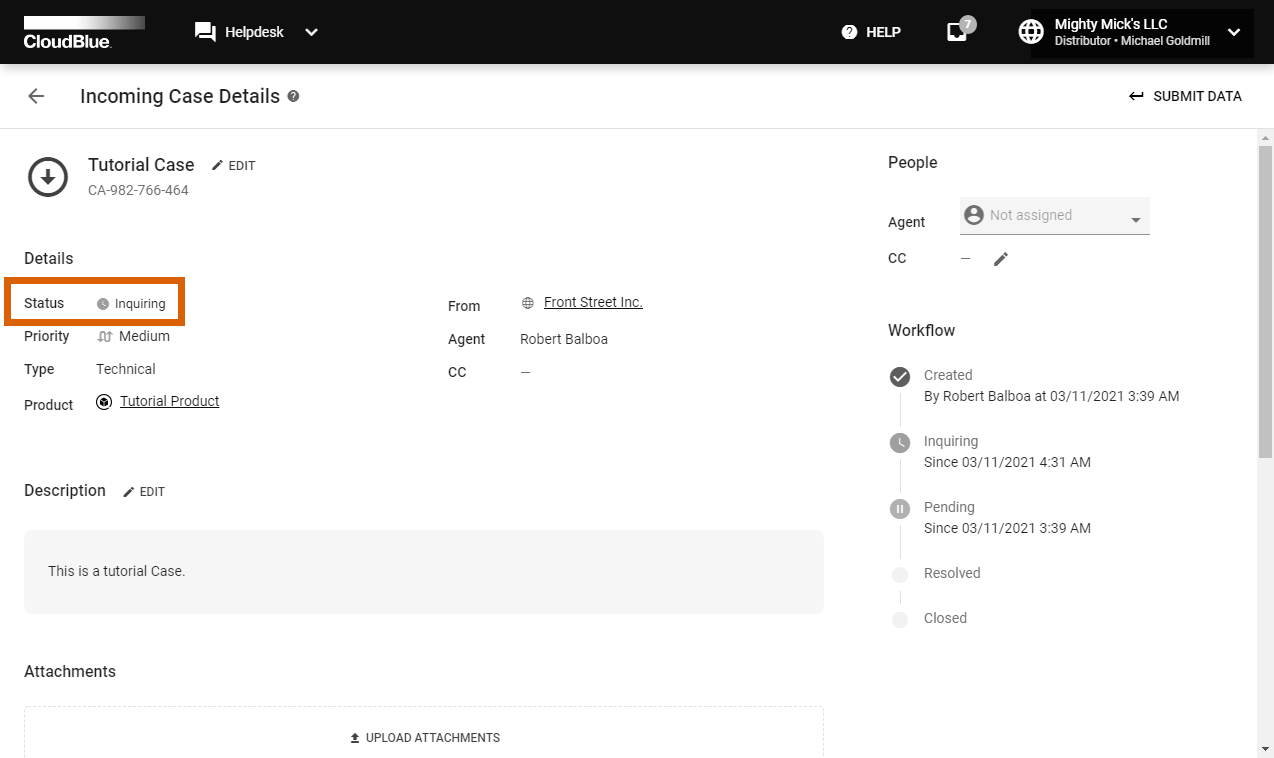
3. Click Inquire to submit your comment. Once your request is submitted, the system transfers the Case to the Inquiring state.

Thus, your Partner will be requested to submit required data to the specified Case.
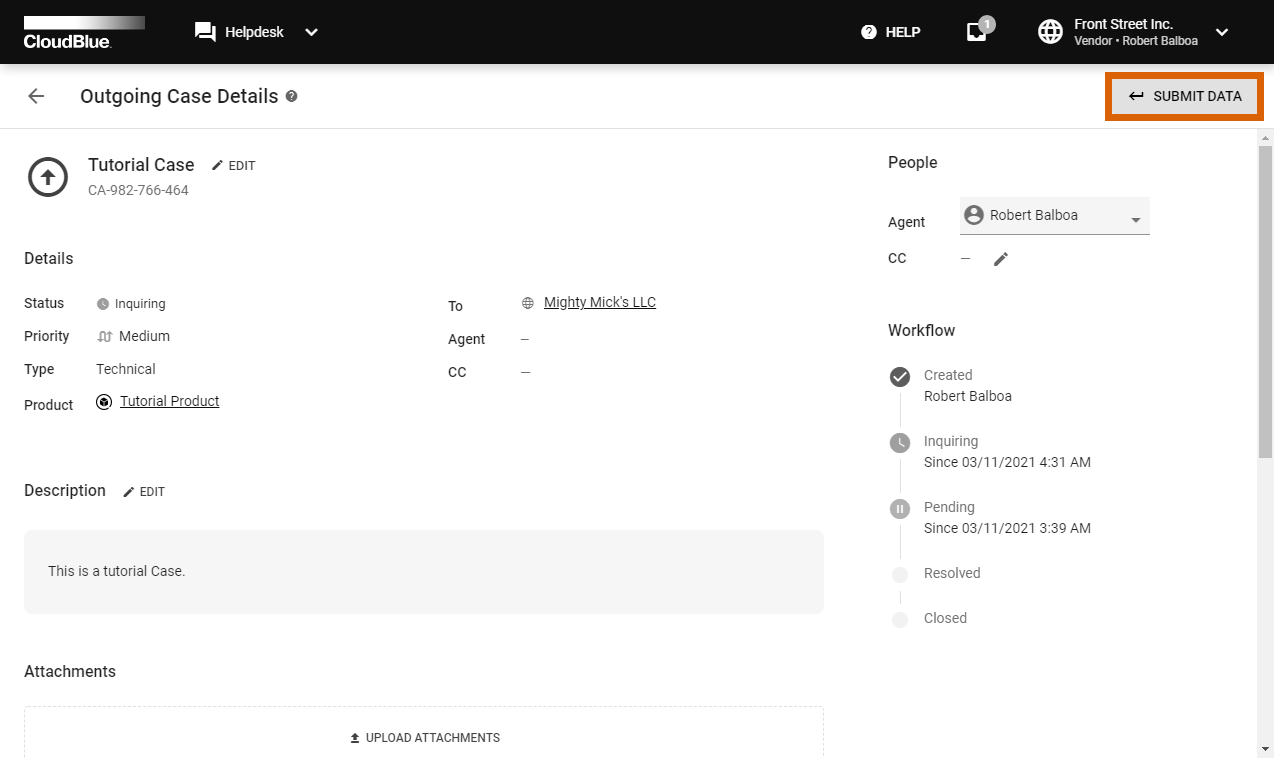
If your Outgoing or Incoming Case is assigned in the Inquiring state, it is required to submit corresponding data and subsequently update the case. Complete the following steps to successfully send all required information.
1. Click the Submit Data button from the Case details screen.
2. Provide required information into the following form.
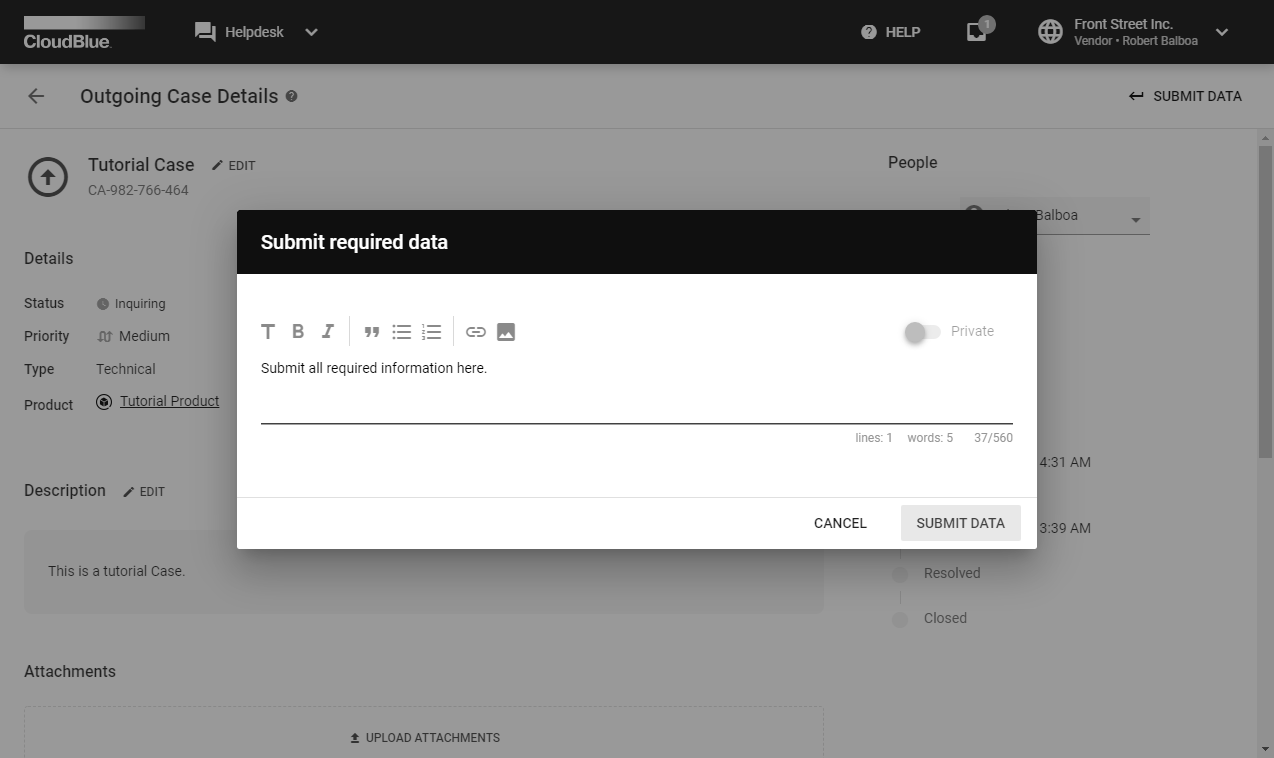
3. Click Submit Data to send required information. Once all required data is presented, the system transfers this Case to the Pending state.
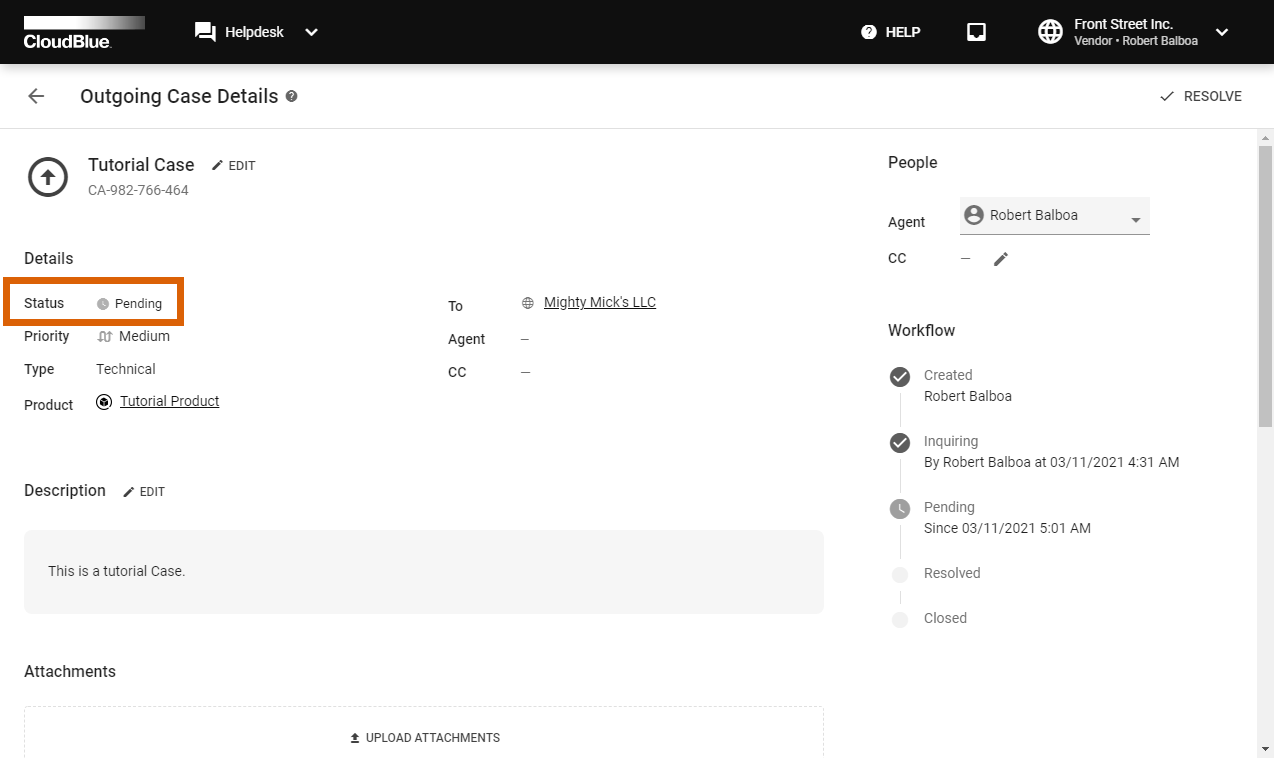
Therefore, your required data will be submitted and the case will be successfully updated.
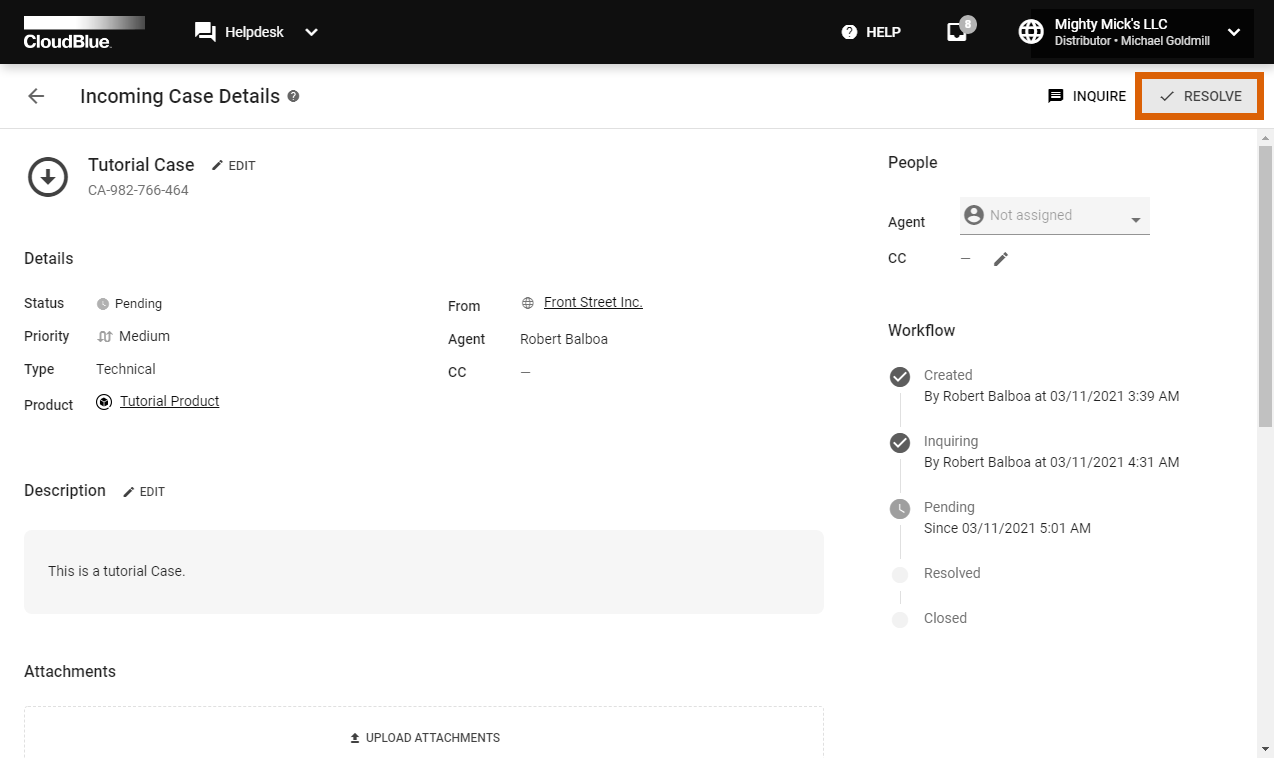
Once your problem or issue is solved, mark yourIncoming or Outgoing Case as Resolved from the Case details screen. Follow the steps below to successfully resolve a Case.
1. Click the Resolve button from the Case details screen.
2. Add a comment with required information into the following form.
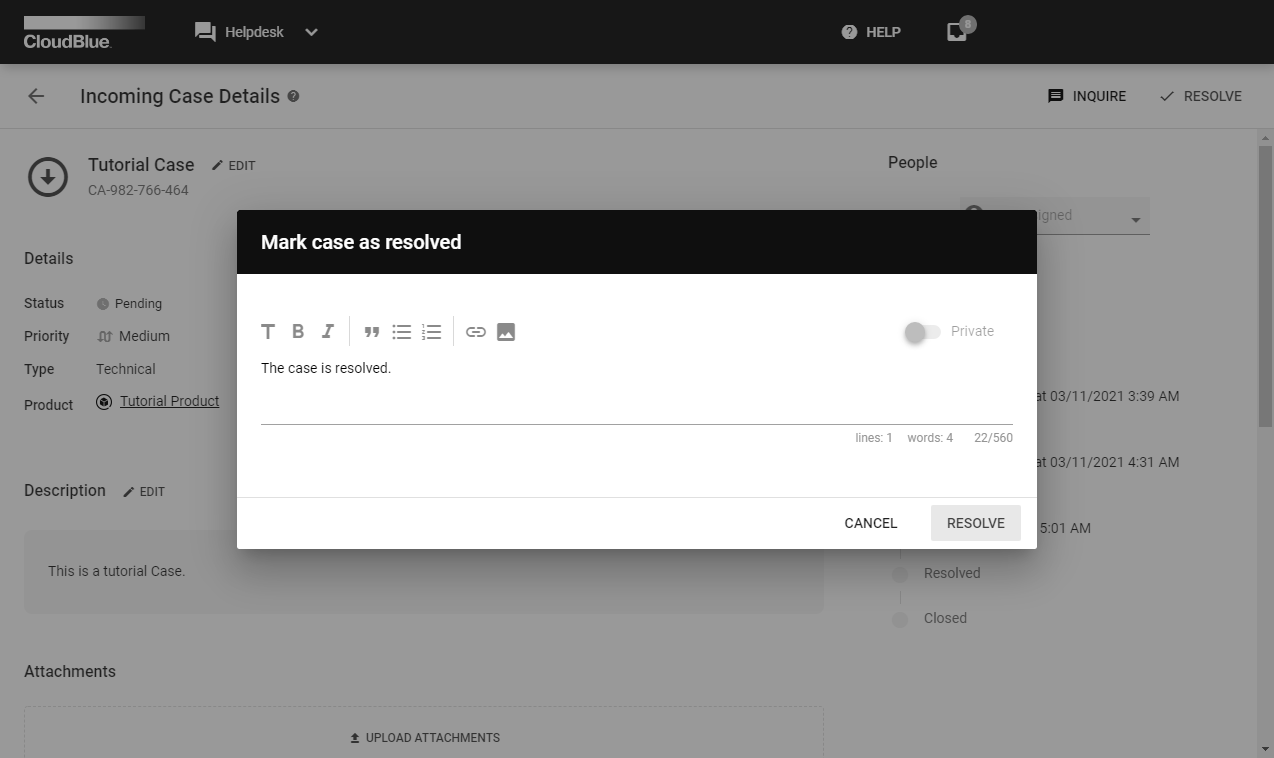
3. Click Resolve to submit your comment. Once your comment is submitted, the system will mark your Case as Resolved.
Thus, the system will ask Case creators to confirm that this Case is resolved and close it. It is also possible to reopen a Case and bring it back to the Pending state by clicking the Reopen button and submitting a comment.
Once an Outgoing Case was marked as Resolved, its creators can close this Case from the Case details screen. The system also closes resolved Cases automatically after the time period specified in the Account module. Follow the steps below to manually close your resolved Case.
1. Click the Close button from the Case details screen.

2. Fill out the following optional form:
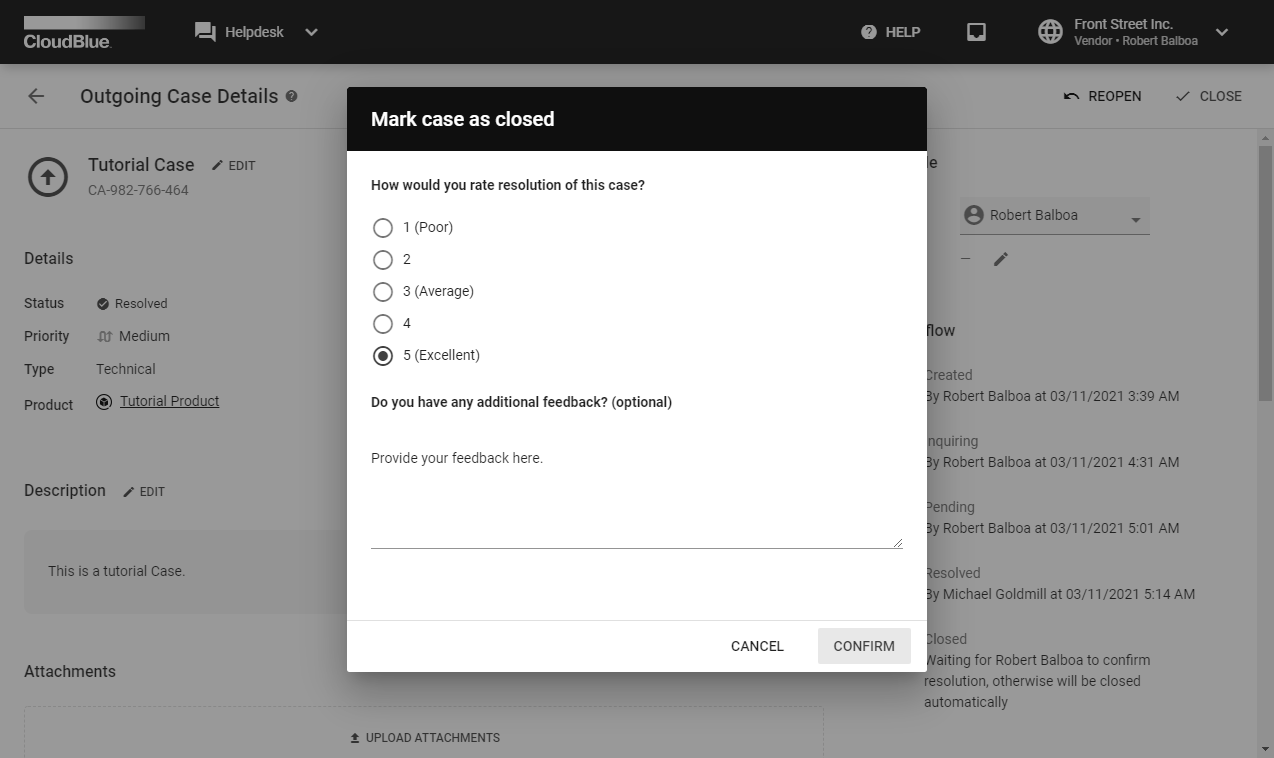
3. Click Confirm to successfully close your Case. The system will mark this Case as Closed and will display the resolution on the Case details screen.
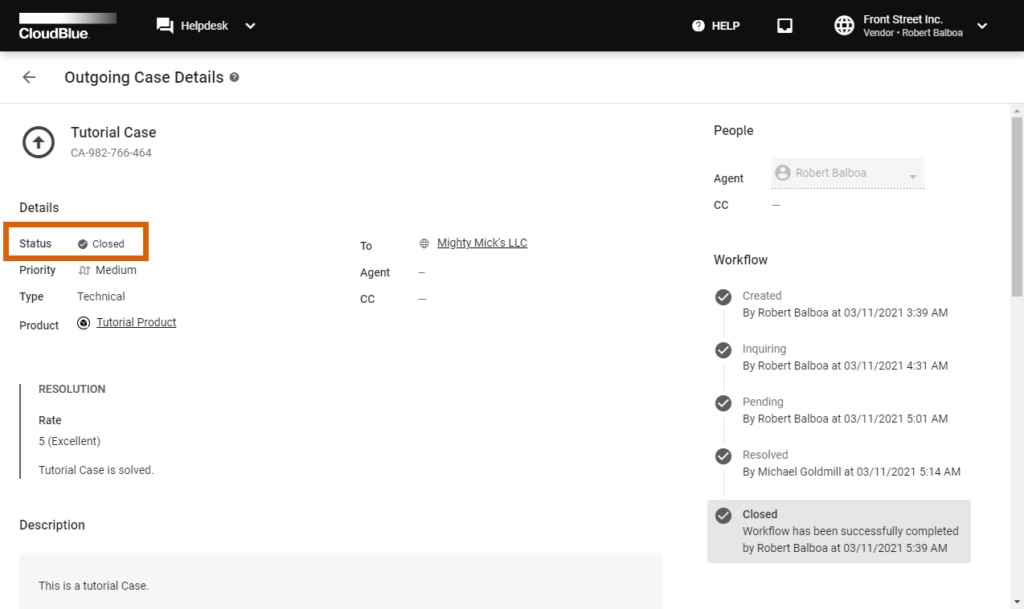
Therefore, you will not be able to reopen this closed Case. However, it is still possible to add comments and upload attachments within your closed Cases.