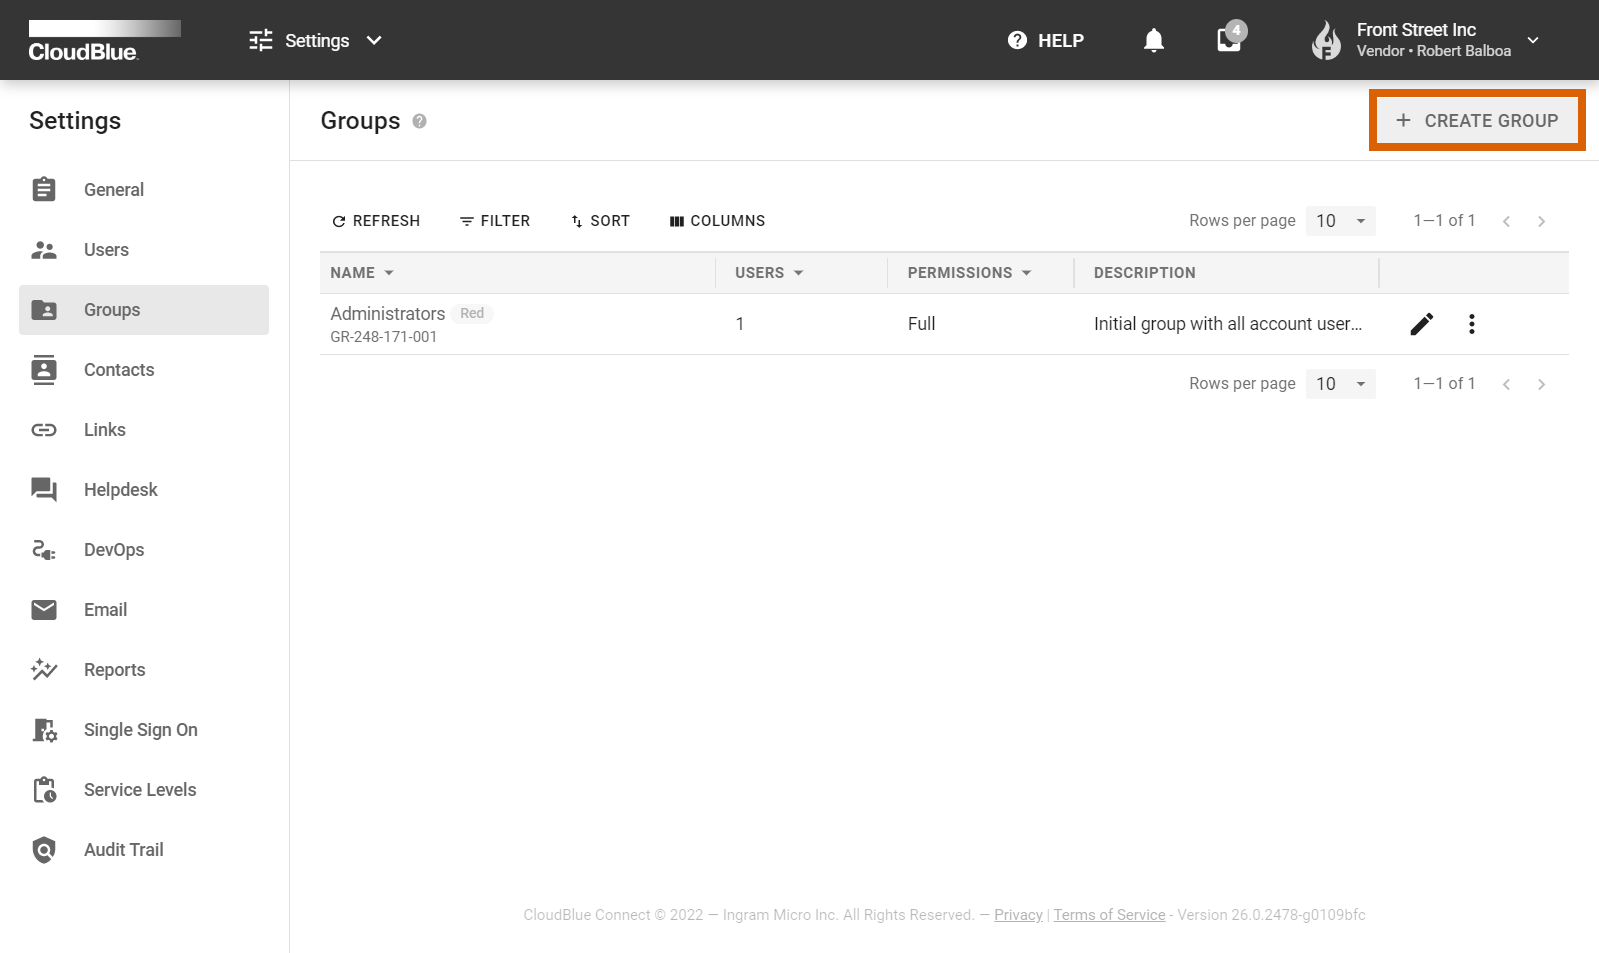
Access the Groups menu to create a new group of users, manage group permissions, add existing users to a group or delete groups from the account.
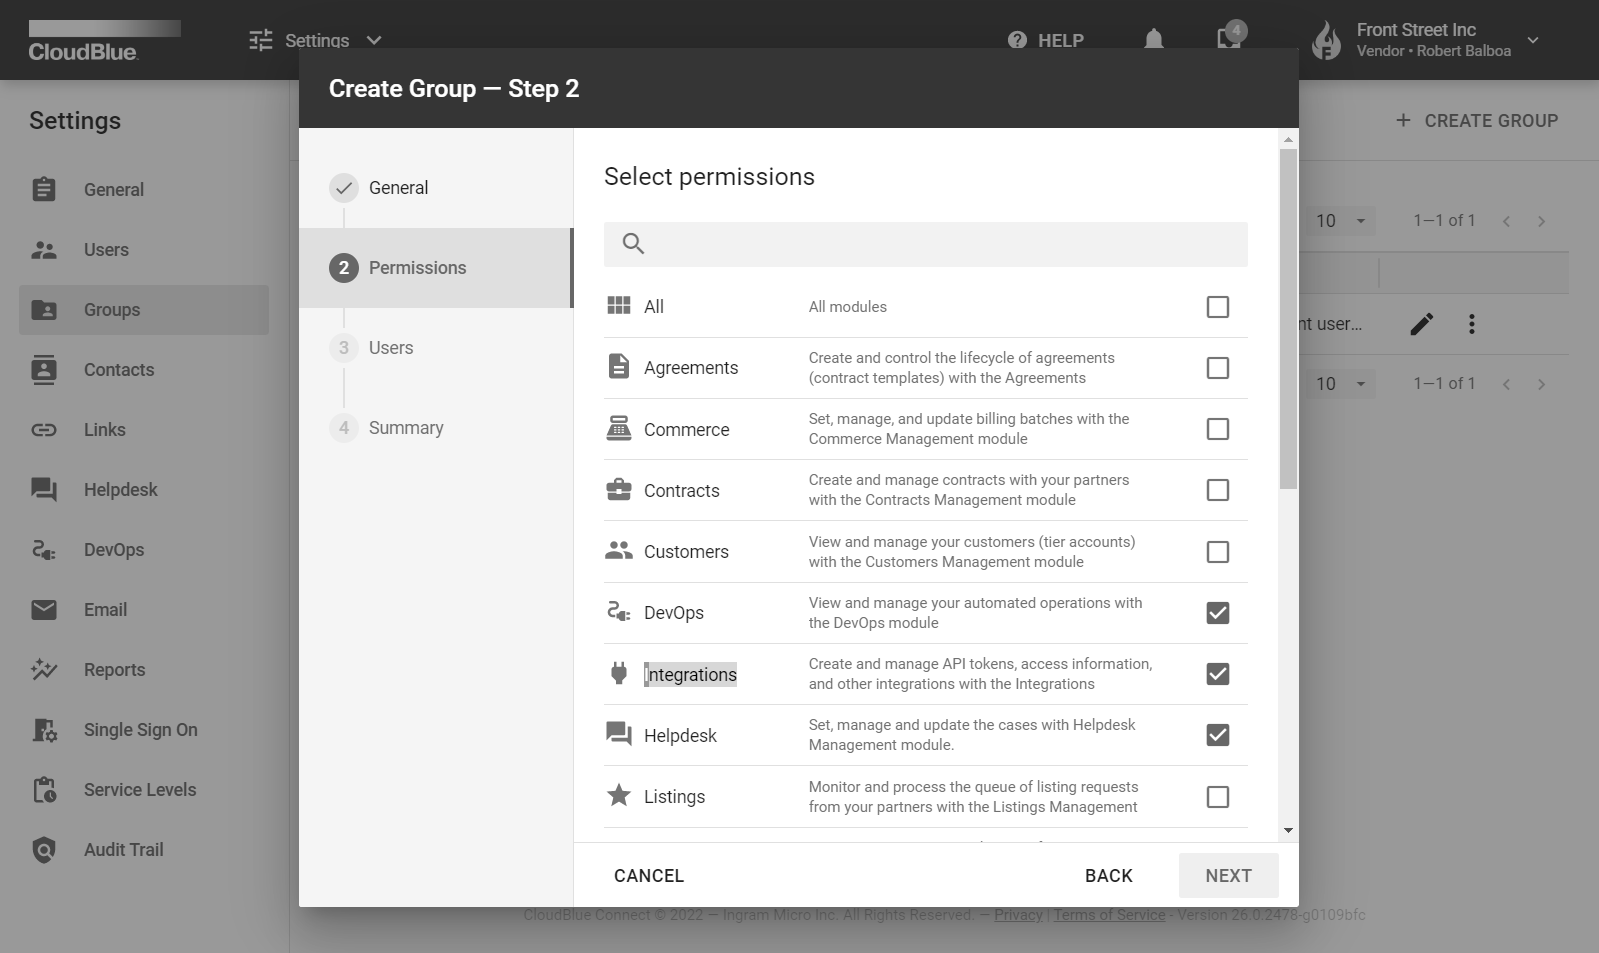
By default, the system provides a group that is called “Administrators”. This group includes all permissions that can be manually adjusted. Group permissions define what Connect modules are available for your specified group of users. Therefore, your users can access Connect modules that are included in their group permissions and cannot access excluded modules.
The following instructions showcase how to add groups to your account, manage your groups, and adjust group permissions on the CloudBlue Connect platform.
Click the Add Group button to launch a group creation wizard. The following wizard steps help you configure a new group:


Locate your group and click the vertical ellipsis (⋮) icon on the corresponding row:
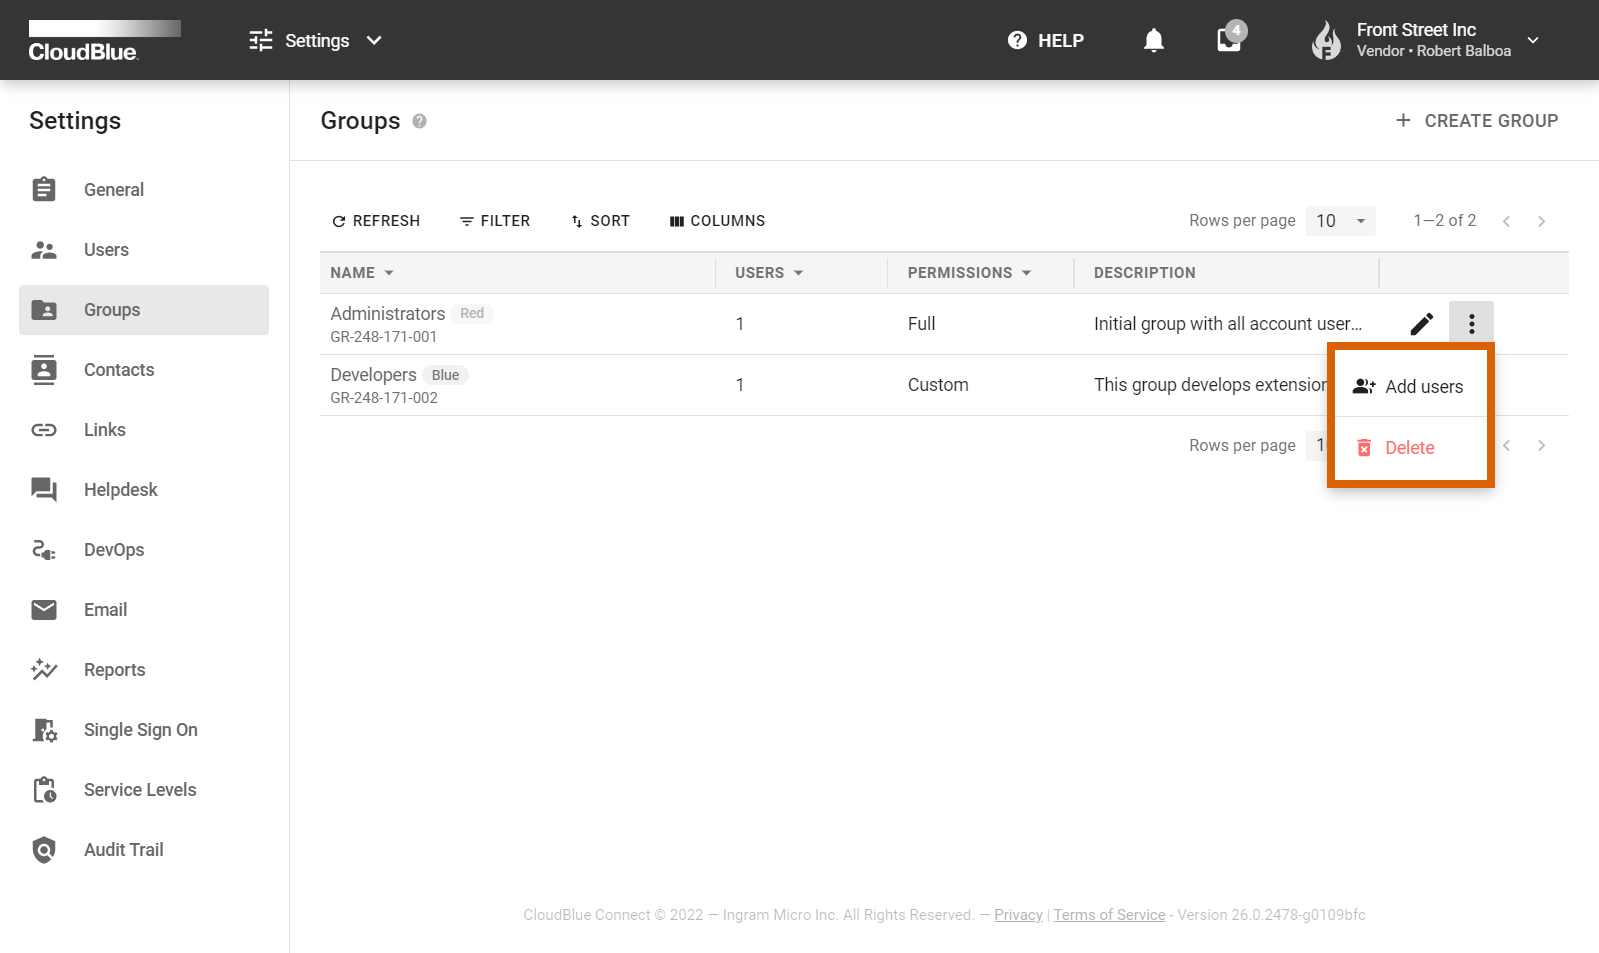
Thereafter, click Delete to remove this group or click Add users to assign new users to your selected group.
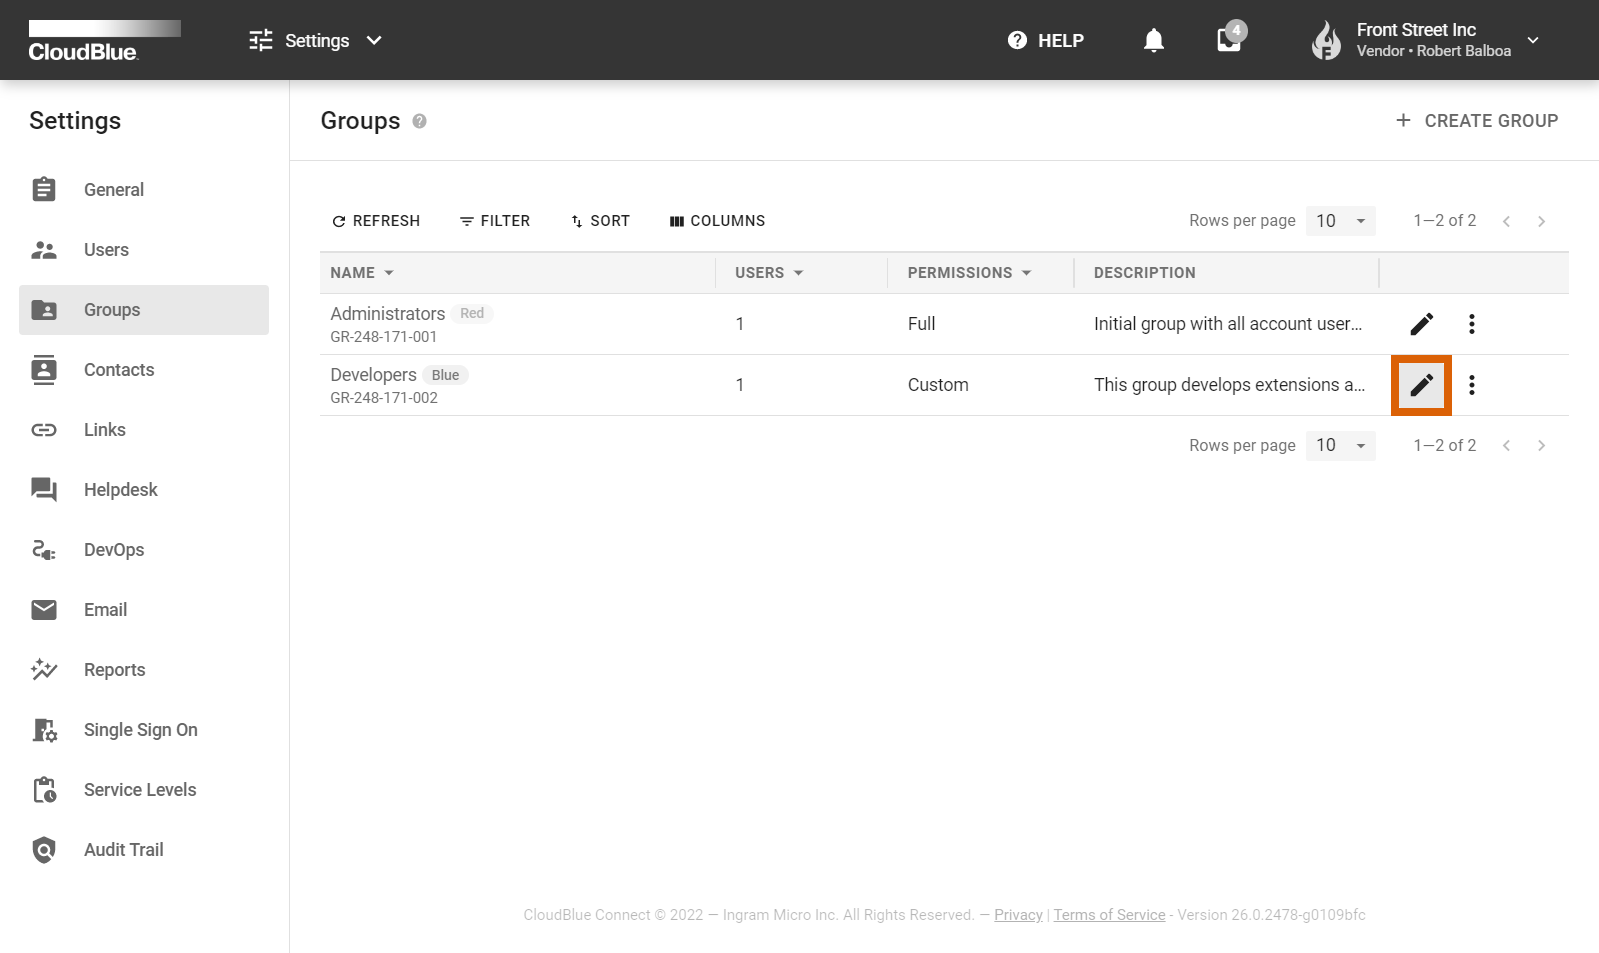
Edit permissions, included users and other general group data by clicking on the edit icon next to your selected group.
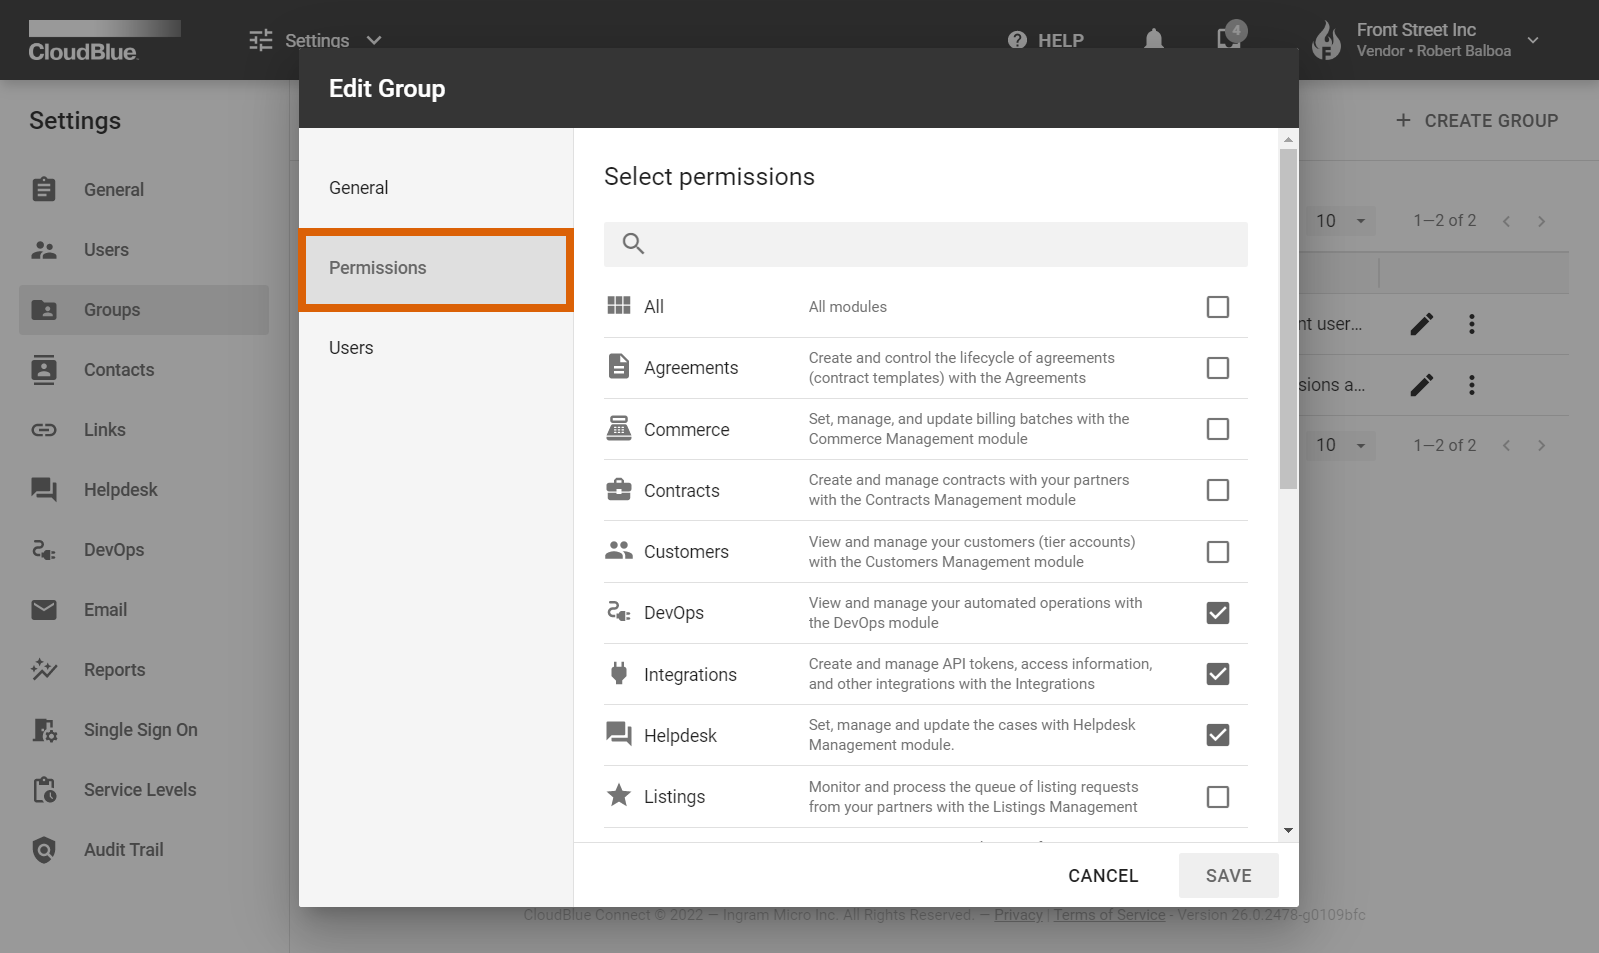
For instance, in case you need to change group permissions, navigate to the Permissions tab and exclude or include required Connect modules in the list.
Make sure to click the Save button to save your adjustments.