To use a commerce platform infrastructure in Connect, Distributors and Resellers should register their platform as a Hub. Namely, hubs represent individual instances of commerce and external systems that allows integrating and establishing marketplaces. Created hubs enable organizations to map required marketplaces and consequently present Vendor products for customers.
Each hub can represent a separate infrastructure that is used for a certain purpose. For example, your organization can create:
Therefore, your organization can establish multiple hubs for testing scenarios, staging and production purposes. Use the following instructions to register and manage your hubs on the CloudBlue Connect platform.
In case of registering a hub for your external system, the Connect platform required to specify your instance identifier. The following showcases how to acquire the data that is necessary for Commerce hub registration.
Before registering a CloudBlue Commerce Hub on Connect, it is necessary to ensure your account provides the adapter package and acquire hub instance data from the Commerce platform.
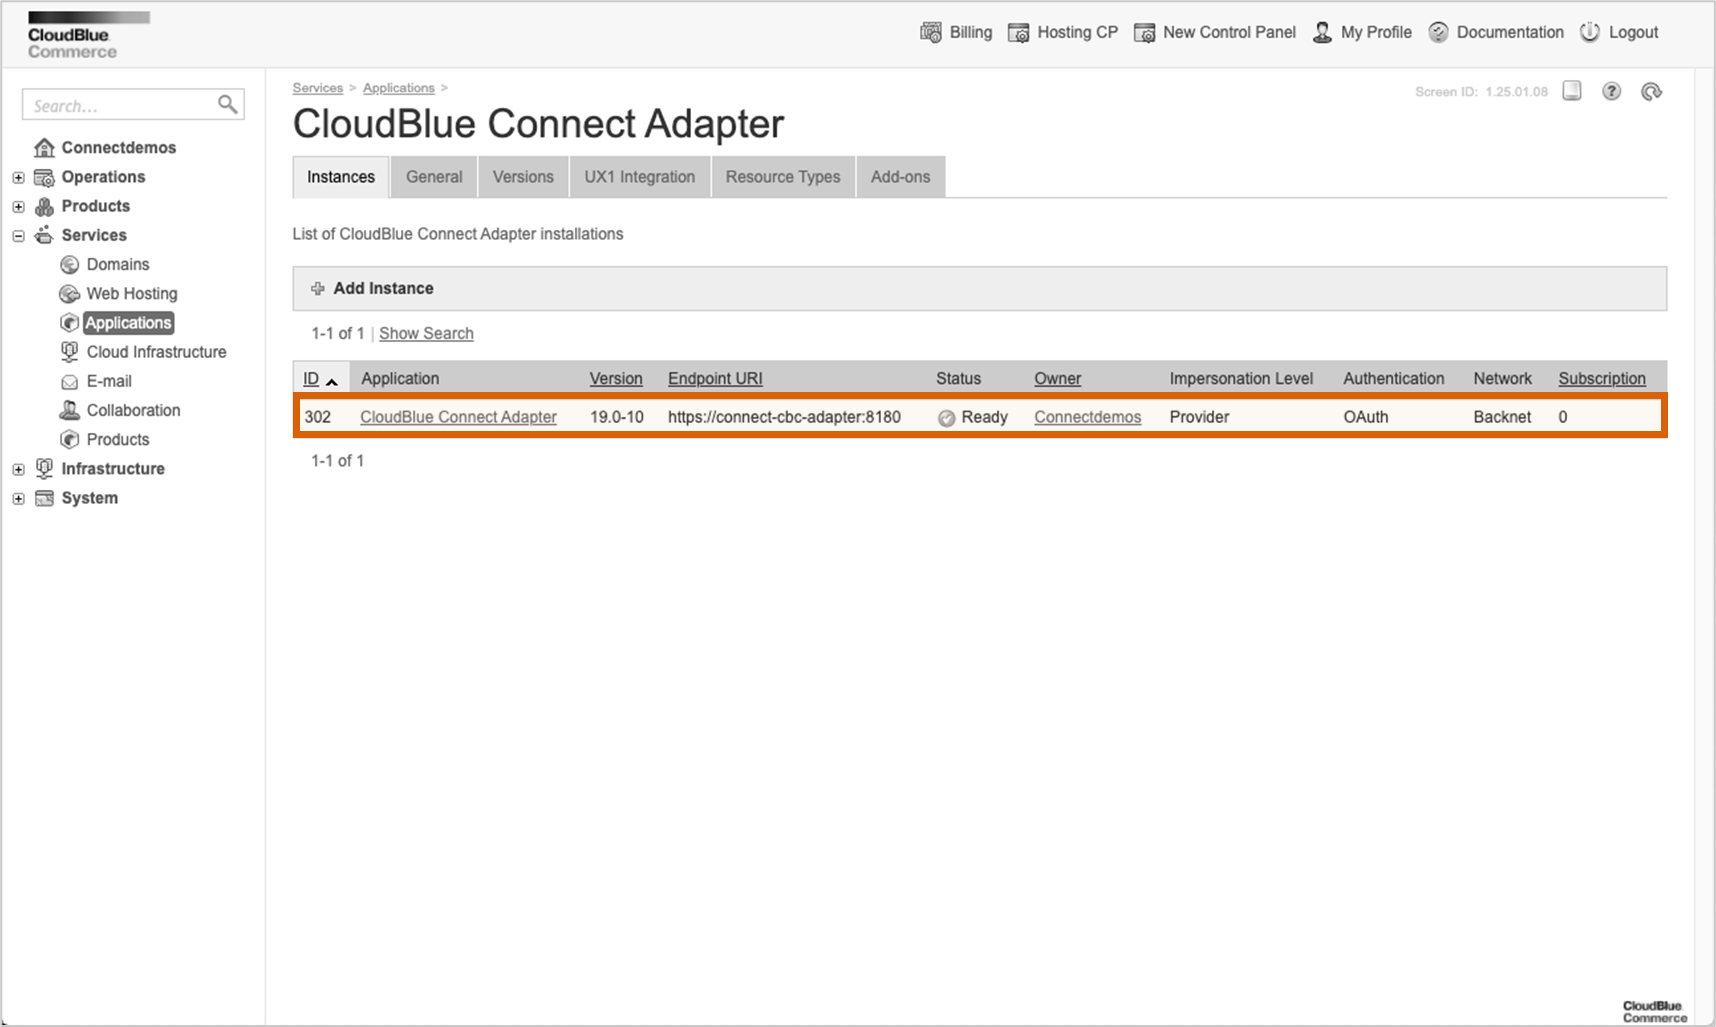
Once the Connect Adapter is configured correctly, the Commerce platform should display the Ready status for your adapter object within the System Applications list.
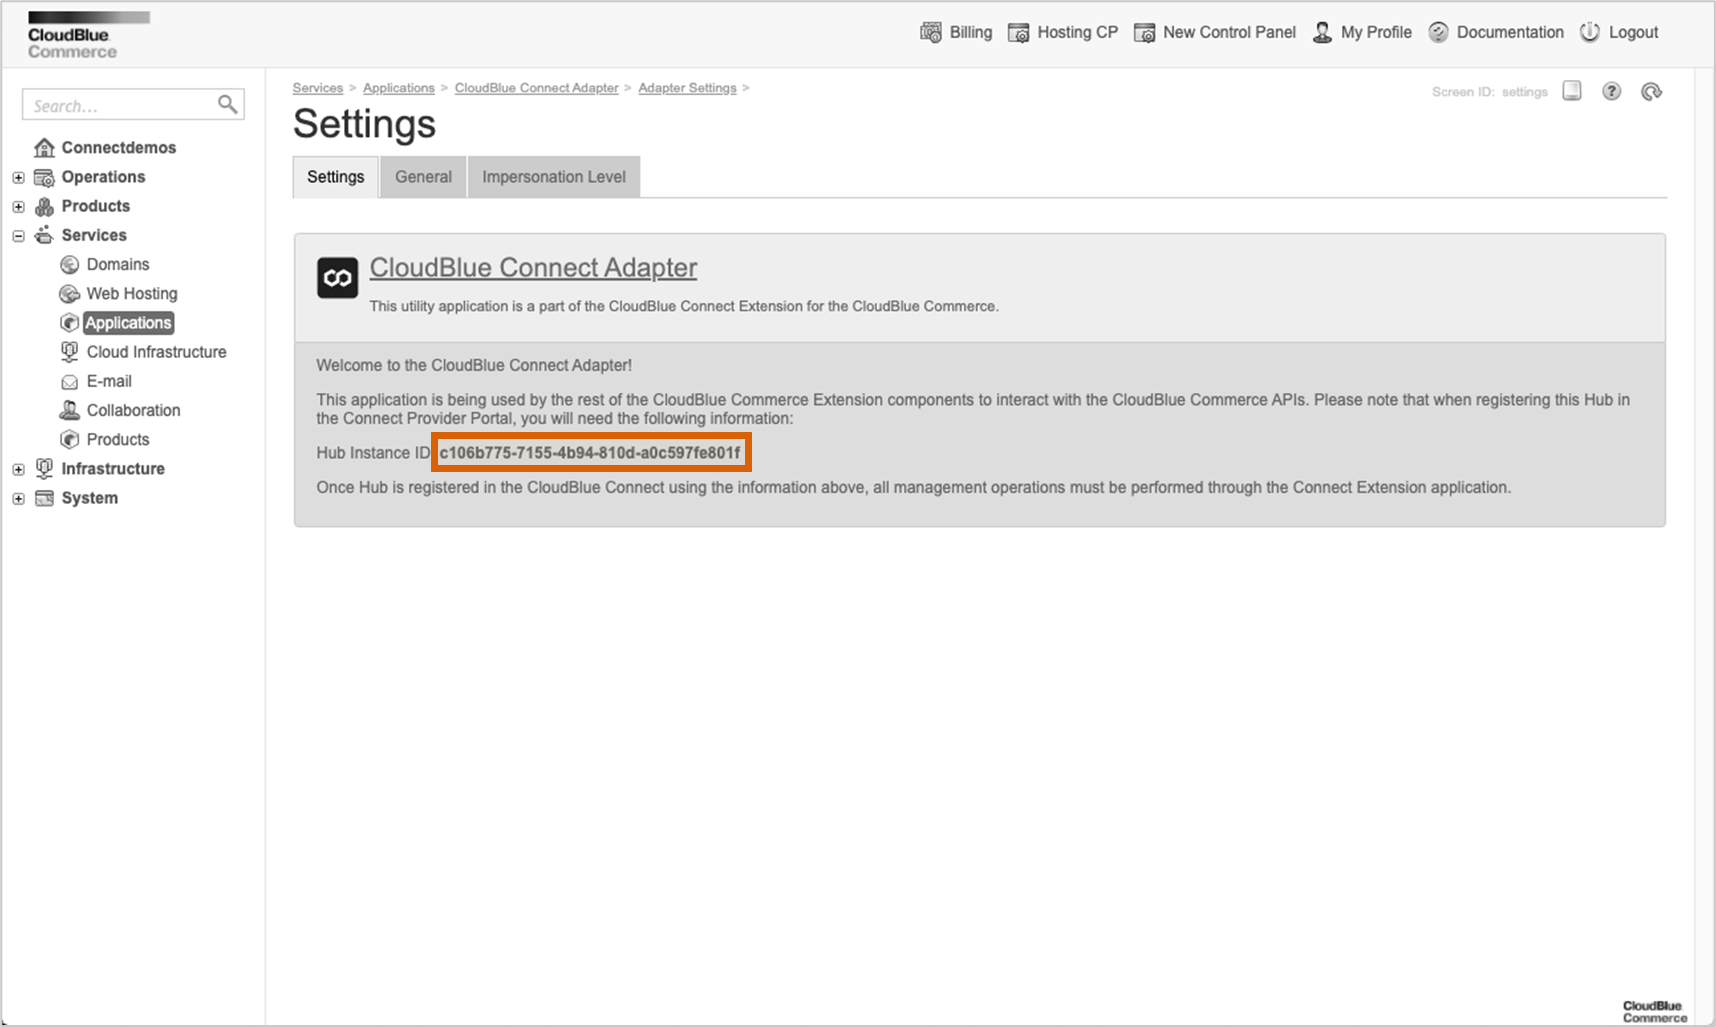
Access the Adapter Package screen to retrieve your Hub Instance ID. This identifier is used to register a Commerce Hub on Connect.
Once both Adapter Service and Adapter Package are deployed, you will be able to instantiate your Hub object that will refer to your adapter of the CloudBlue Commerce.
Follow the steps below to successfully register your Hub on the CloudBlue Connect platform.
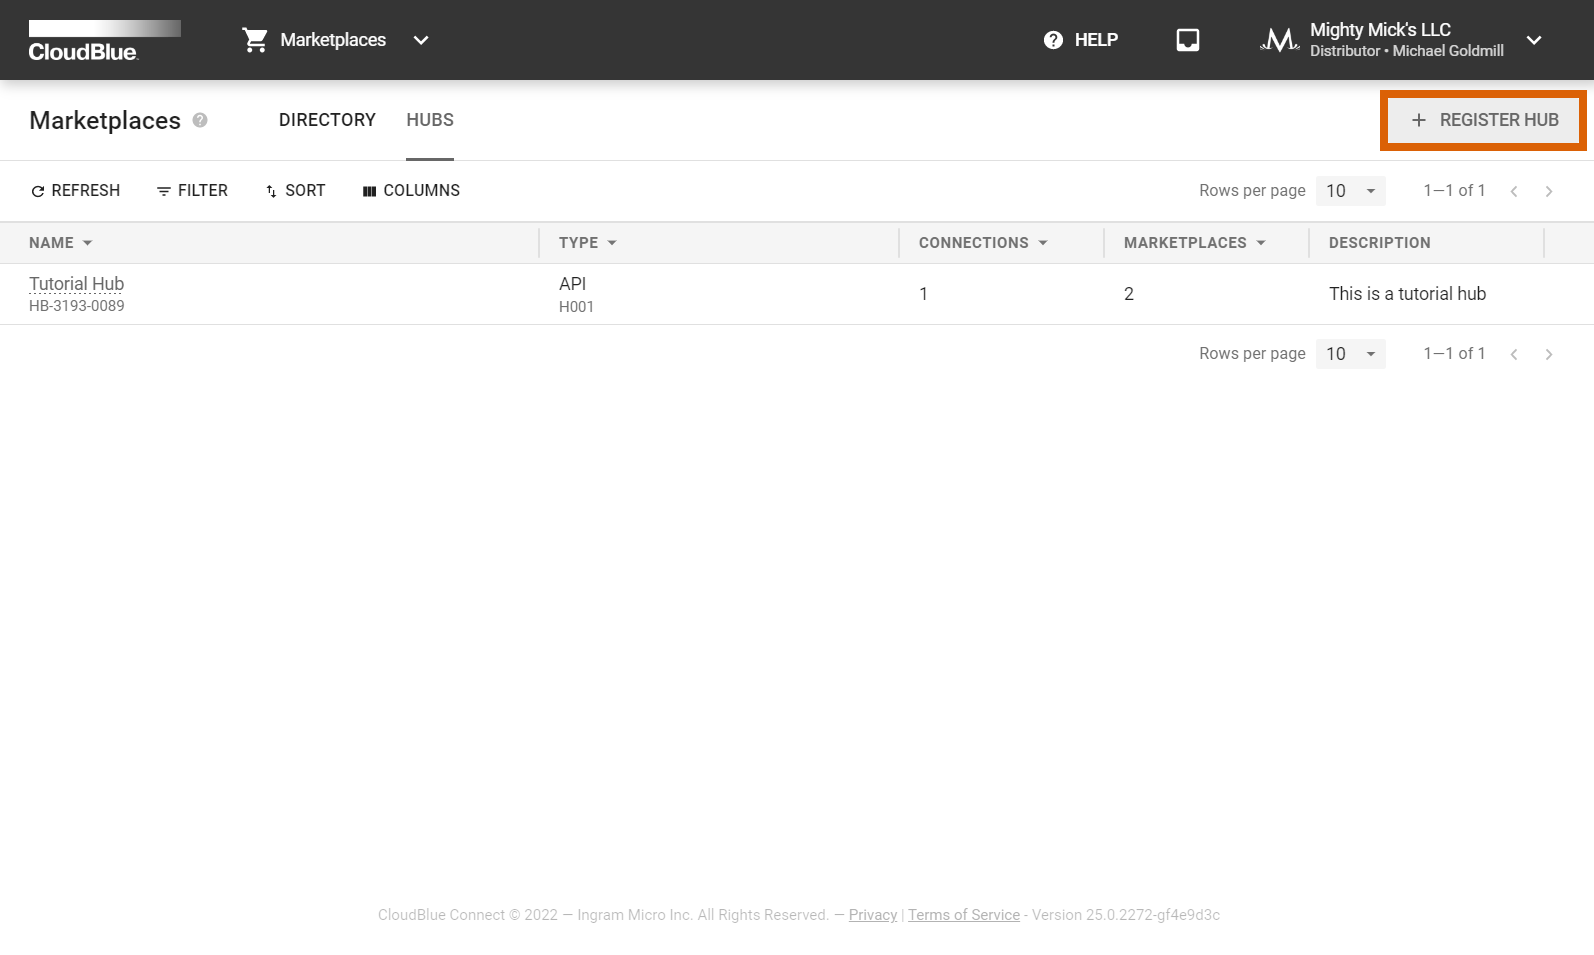
Navigate to the Hubs section of the Marketplace module. Thereafter, click the Register Hub button to start registering your hub manually.
Specify your hub properties in the following form:
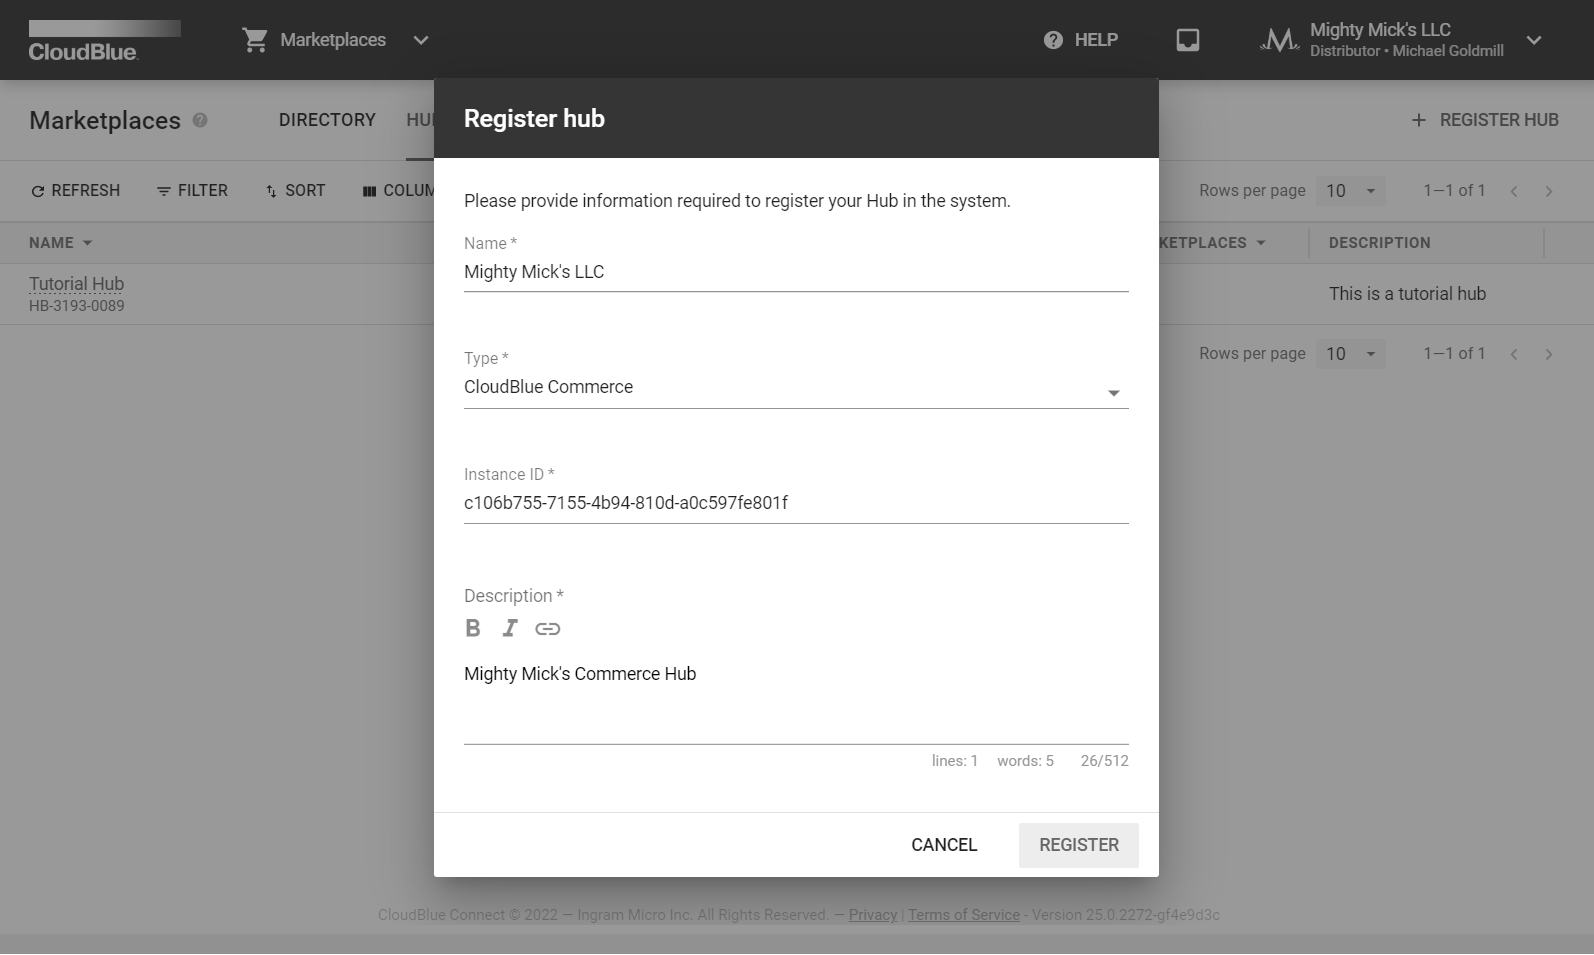
Click Register to finalize your Hub creation on the Connect platform. As a result, your created hub will be available within the hub list. You can create new marketplaces that will be associated with this hub or configure your existing marketplaces and map them to the created hub.
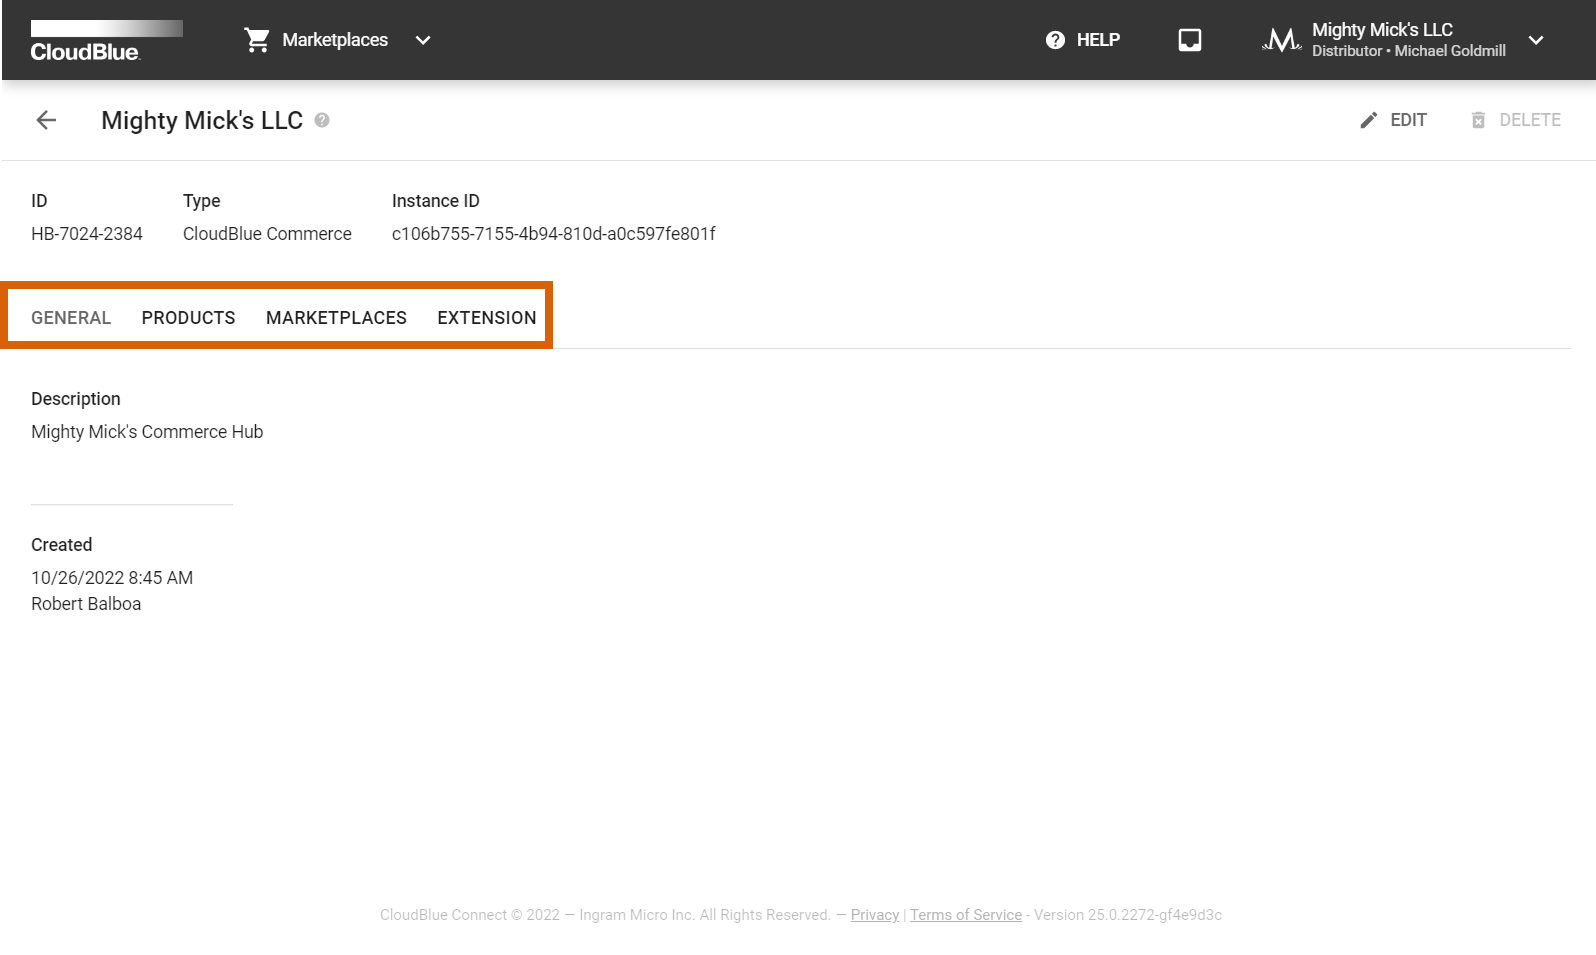
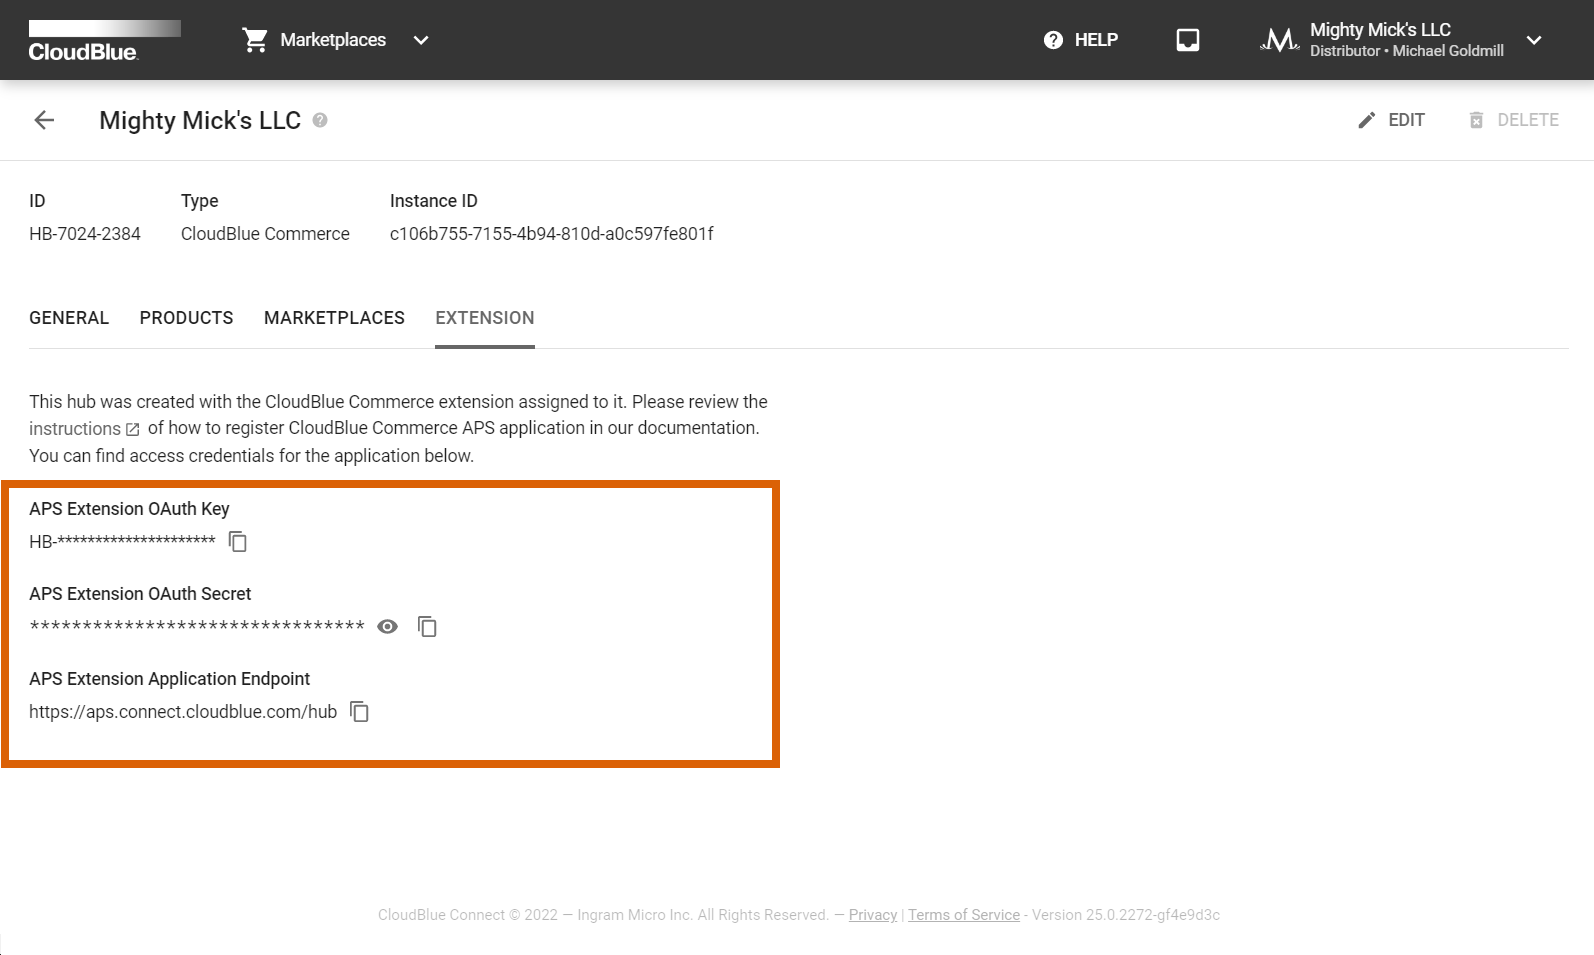
Once your hub is registered and established, click on your hub name to access the Hub Details screen. It allows accessing data that is required for successful integration and provides various operations within the following tabs:
In case your hub is no longer required, remove your hub by clicking the Delete button at the top-right corner of the Hub Details interface. Note that it is not possible to delete a hub that is associated with a marketplace or includes an active connection.