Expanse lets you build a working fulfillment integration for your product without writing code. You describe your API, an AI agent drafts the integration logic, and you refine it in plain language until it’s ready to go live — typically in hours rather than the weeks a custom-coded integration takes.
This guide walks through setting up your first automation, from picking a product to promoting it to production.
Make sure you have the following ready:
Note: If your API doesn’t cleanly map one endpoint to one Connect fulfillment action, generation may not produce a usable result and may require user-input refinement.
From the Expanse module in the Connect Vendor portal, select the product you want to automate and start a new automation. This opens the General tab, where you’ll:
You don’t need to write any code or configure infrastructure at this step.
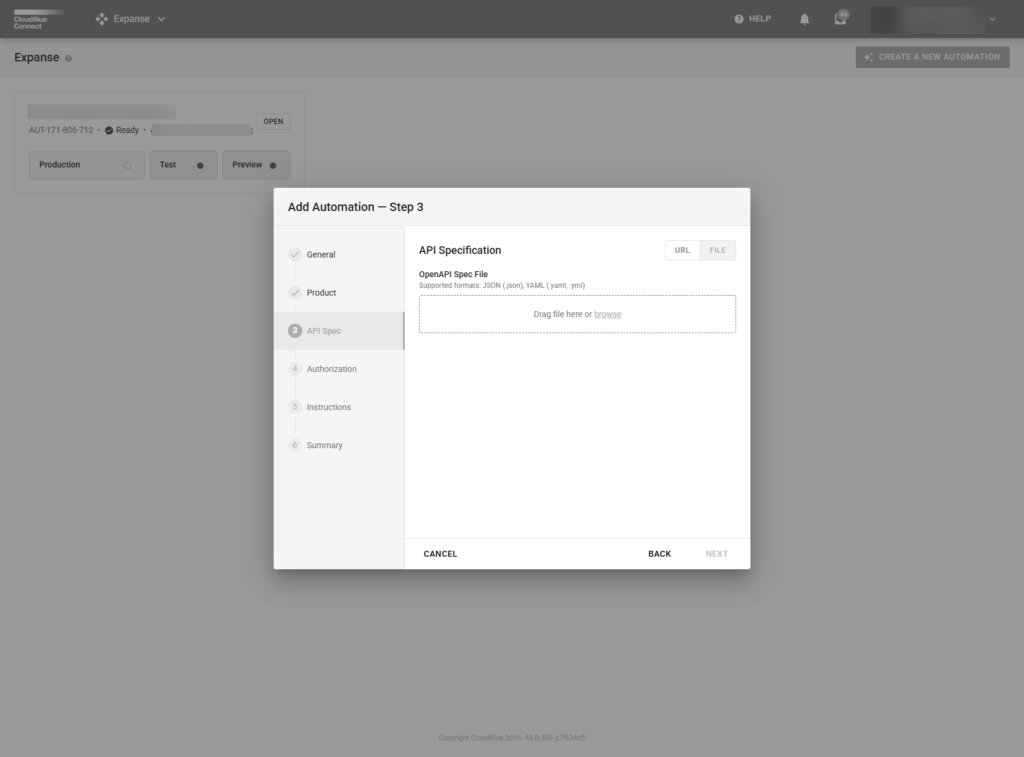
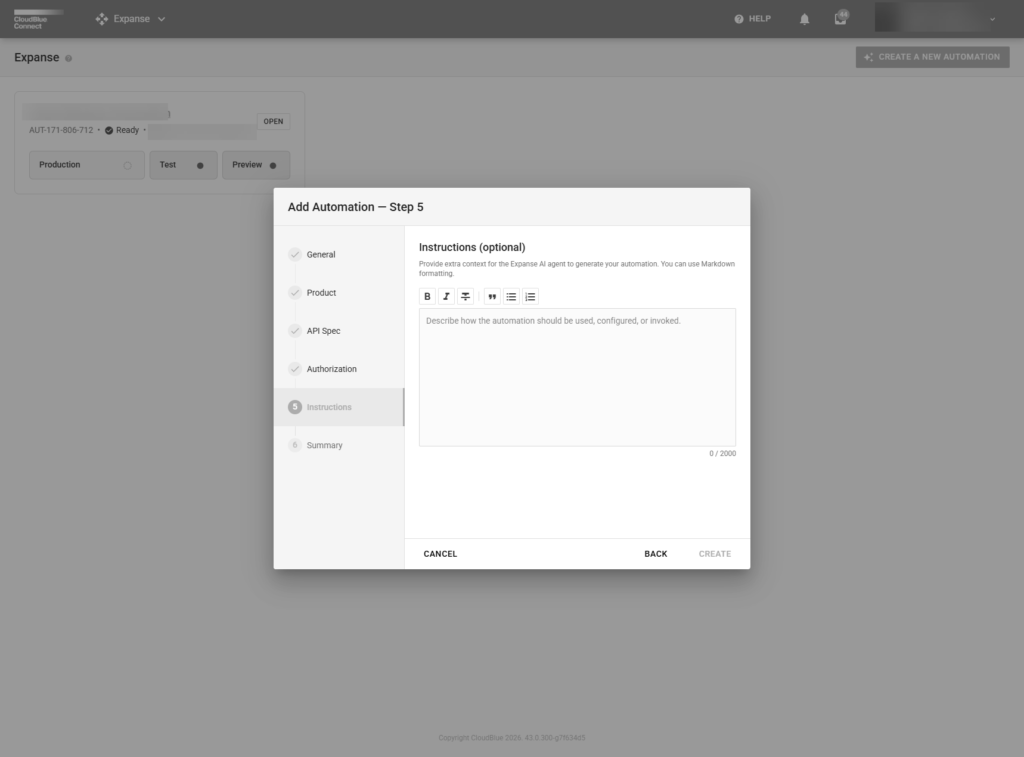
Once your spec is in place, the agent reads your product configuration and your API and drafts a fulfillment flow for each lifecycle event your product needs to handle — for example, purchase, change, and cancellation. This typically takes a minute or more; you can leave the page and come back once it’s ready.
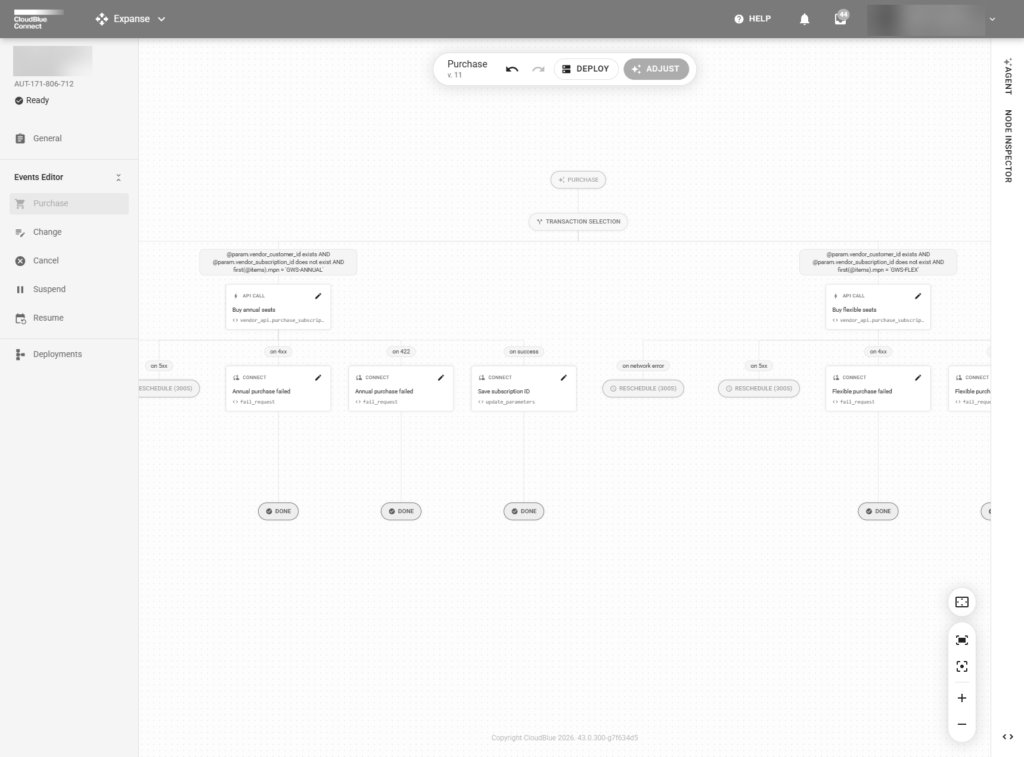
Open the Workspace tab to see the result. Each event is shown as a node graph — the sequence of API calls, decisions, and parameter saves the agent has drafted. You don’t need to read code to check the agent’s work: the graph shows you what will happen, step by step, when a customer places an order.
Switch between event types (purchase, change, cancel, and so on) to review each flow individually.
If something isn’t right, describe the change you want in natural language — for example, “don’t create a new customer if one already exists with this email, reuse it instead.” The agent updates the affected part of the graph accordingly.
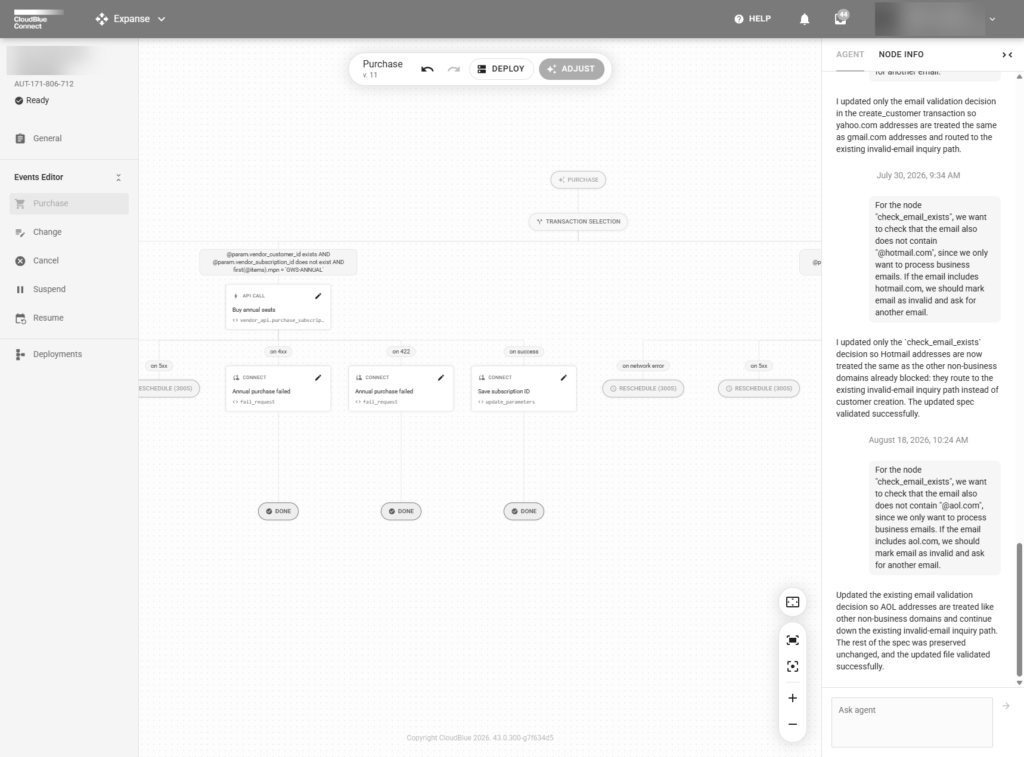
Every refinement is saved as a revision, so you can always see how the automation evolved and roll back to an earlier version if needed.
Promote your automation to the Preview or Test environment from the Deployments tab to run it against real test requests. Watch how it behaves — which API calls it makes, what it saves, and what the outcome is — and go back to Step 4 to refine further if it doesn’t behave the way you expect.
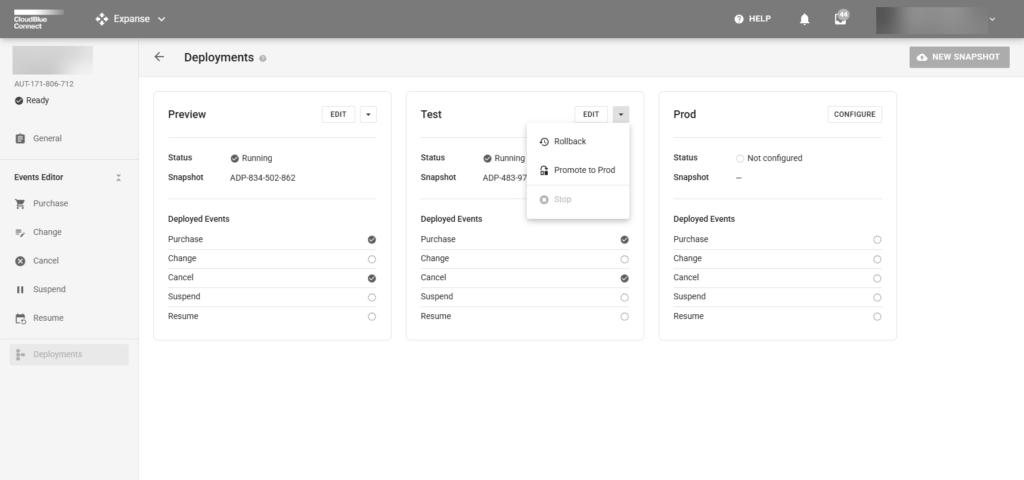
When you’re satisfied with how the automation performs in Test, promote it to Production. Connect will route live customer orders through the deployed version. If you need to undo a production change, you can roll back to a previous deployment at any time — no rebuild required.
Note: If a connector (EaaS Extension) already handles the same product and event in a given environment, it takes precedence and continues to run — your automation stays published but won’t receive traffic until the connector is deactivated. This lets you build and test safely alongside an existing integration.